Follow My Blog

Follow on Bloglovin
Showing posts with label Stampin' Up. Show all posts

6.13.2017

Quick & Easy Tuesdays

Hello! Welcome to another week of Quick and Easy. Today I'm sharing several cards I made with one of the new Memories & More suites from Stampin' Up!. I used the Colour Theory Pack. It includes over 70 double-sided cards in 3x4 and 4x6, plus some acetate sheets and sticker sheets. What's awesome about this line is that there are also several coordinating products (something Stampin' Up! does so well) that include paper, stamps, dies and embellishments.


Above is the first card. I simply used two of the 3x4 cards, some twine and one of the stickers from the kit. Quick & easy, right?! No stamping required!


For card two, I again used one of the included cards and some stickers, but then also stamped the sentiment with the coordinating stamp set - Colourful Seasons.To give the camera some dimension, I punched the white circle out with a 2" Circle Punch, glued that flat on the card base and then popped the rest up.


Card three builds on one of the printed cards. I simply cut one of the 4x6 cards down and stamped the sentiment on it. To add some dimension, I cut some cherry blossoms using the coordinating Thinlits, Seasonal Layers.


For card four, I created a shaker card. Did you see that one coming when I told you above that the kit includes acetate sheets? ;) Again using one of the 4x6 cards (that happened to have a blank square on it), I carefully cut it and glued my acetate sheet to it. The snowflakes are cut from the same Thinlits as above - you get 17 dies in that set! Not only did I add a few of the snowflakes in the shaker compartment, but I also layered them together on the front of the card.

Hope you liked today's samples... I feel a class coming soon with this kit. You really can do so much with it. I've only begun to explore (and used a mere 6 pieces from it!).

Until next time, stay crafty!
Steph

To purchase Stampin' Up!, subscribe to my newsletter, or request a catalogue, visit www.hofkissed.stampinup.net You can also check out my events while there, or visit me on Facebook.

4.04.2017

Quick & Easy Tuesdays

Hello! So sorry I missed posting last Tuesday... it was a week of Migraines! :( Anyway, I'm back today with another "quick and easy" project. Check it out:


The kids were doing some paper weaving a couple weeks ago (remember doing that in school?) and it gave me and idea to do a little on a card with some pretty paper. This would work well with your paper scraps too! I love Stampin' Up! Designer Series Paper (DSP) because it's double sided and the quality is fabulous. It makes it really easy for coordination AND made this project really quick and easy because I could just flip over the paper and knew it would look great!


Another reason why I choose this card to feature today was because I used the Swirly Bird Stamp Set & Coordinating Thinlits. This set has so many fun shapes to create a variety of projects. For the sentiment, I used the Tin of Cards Stamp Set. By adding some heat embossed elements in gold & using a little Gold Glimmer Paper, you really don't need many layers either.


I hope you'll give paper weaving a try on your next project. To achieve this look, just cut yourself 6 strips of patterned paper, each measuring 3" x 1/2".

Until next time, stay crafty!
Steph

To purchase Stampin' Up! products, subscribe to my Newsletter and more, check out my website at www.hofkissed.stampinup.net 

4.28.2016

3D Embellishments + Video Tutorial!

I'm excited to share with you this card I made recently and I loved it so much that I decided to shoot my FIRST EVER video tutorial (& post it on YouTube!). Crazy!


I used one of my all-time-favourite sets, Sprinkles of Life, along with the coordinating Tree Builder Punch. If you purchase this set before May 31st, Stampin' Up! will donate $3 to RMHC. I'm happy to let you know that it'll be in the new catalogue (launching June 1st) and that you won't be disappointed with the new RMHC stamp set either! ;)

I won't go into too much detail (because I want you to check out my video!), but here are a few more shots of some of the card elements.

An inside shot:


A closer look at the glimmer I added with the Clear Wink of Stella Brush:


A closer look at the 3D effect created with the paste - see the how-to in the video below:


Here's the video!


Hope you liked my video. I plan to make more of them (and post more frequently too!).

Until next time, stay crafty!
Steph


To purchase Stampin' Up! products:
www.hofkissed.stampinup.net

Find me on Facebook:
www.facebook.com/hofkissed

Search for me on all Social Media:
@hofkissed

2.27.2016

Happy Birthday

Have you missed me?! Sorry for the unexpected hiatus. I have been buried deep in paperwork and organization, a migraine or two here and there and planning my next couple of months of classes and projects! A few projects are centered around birthdays, so I'm starting back by sharing a birthday card with you!


Since I've been out of it for a bit, I turned to the Internet for some inspiration and found myself checking out some online challenges. I found three that inspired me - the sketch at CAS(E) this Sketch, the colours over at Fusion Card Challenge and then I decided to mash it all up using Friday Mashup!


I'm pretty proud of myself that I managed to work with three challenges on one card and really loving how it all turned out too. Are you wondering where my stencils came from? I used the "garbage piece" from the last Paper Pumpkin - Hello Sunshine.

Until next time, stay crafty!
Steph

Shop online anytime - www.hofkissed.stampinup.net
  • Paper - Pretty in Pink, Shimmer Specialty, Silver Glimmer Paper
  • Ink - Soft Sky, Smokey Slate, Night of Navy
  • Stamps - Age Awareness
  • Tools - Balloon Builder Punch

2.12.2016

Bee Mine

Today's card was inspired by one I saw on Pinterest by Amy Ingram. I used the stamp set from January's Paper Pumpkin - Cute Conversations and paired it with the adorable Balloon Builders stamp set from the Occasions Catalogue.


There are so many possibilities with the Balloon Builders set and I love that there are sentiments too! It had a perfect one for this Valentine's card. I stamped it inside and added a few more hearts and sequins from the trim.


Until next time, stay crafty!
Steph


Built for Free Using: My Stampin Blog

10.26.2015

Catalogue CASE

I love the Stampin' Up! Catalogues! So many pretty things to look at and great inspiration too. Sometimes I love something so much, I've just gotta CASE it. This card is from the Home for Christmas product suite. I CASEd the card down in the front, with a few modifications.


I kept my card a standard A2, thus being able to make a larger tag. I liked seeing more of the scalloped top, so I moved my bow down further and left room for some Cherry Cobbler Thick Baker's Twine. I coloured the stamp from the Cozy Christmas stamp set using Stampin' Write Markers.


Before gluing my DSP down, I stamped one of the images from Gorgeous Grunge - love that set for quick & easy texture. I popped the tag up with Dimensionals and then fringed the ends of my baker's twine.


To finish things off, I added a few Enamel Dots from the same suite and stamped a little more grunge on the inside. This is one of three cards we'll be making in tomorrow's class. :)

Until next time, stay crafty!
Steph

8.19.2015

Custom Birthday Card

I'm writing today to help you get through "hump day". My day started out fantastically with the delivery of some holiday pre-order products from Stampin' Up! - the box both arrived a day early AND in the morning (usually my orders arrive in the evenings). Sweet!

Anyway, here's a custom card I created for a customer. She wanted fun and girly and I had to incorporate "30" and the colour coral. So basically I had fully creative design control and I loved it!


I used a retired set, but I couldn't resist the martini glass with the candle in it. So fun, right?! I embossed it in silver and then coloured it with Stampin' Write Markers. The patterned DSP is from the Cherry on Top paper stack. LOVE, LOVE, LOVE this paper!!

I created lots of interest on the card by punching out an opening with the Note Tag Punch and then popping up my punched out martini image (punched with the Decorative Label Punch) and layering it with some Silver Foil. The sentiment is punched using the 7/8" Scallop Circle Punch and I free-handed the banners for "happy" and "birthday".

The "30th" was cut from Silver Glimmer Paper using the Little Numbers Thinlits. I also added some interest with some White Perfect Accents, new in this year's catalogue.


On the inside, I added a few more stamped martini glasses with lots of room for a personalized message.

Until next time, stay crafty!
Steph

7.31.2015

DSP Butterfiles


Good morning! Hope you had a wonderful work week. Today I hope to bring you a little inspiration for the weekend. I'm heading up north for a couple of days and this is one of the cards I'm bringing along with me to assemble. Check it out:


Originally, this was going to be a swap card for my team, but plans changed. Do you have a ton of DSP or patterned paper and you're not sure what to do with it? Maybe you have a drawer full of scraps? Well, I often grab a few of my punches and randomly punch different shapes from my scrap drawer and save the pieces in baggies to use at a later date. I usually do butterflies, flowers and circles.


For this card, I used the large and small butterflies, layered them and then used some Gold Sequins and a tiny pearl in the middle. The trick to layering the DSP pieces is to not think about or pay too much attention to what patterns and colours you're putting together. I haven't come across something that doesn't work yet!


My card base is Pool Party and my layered front is Watermelon Wonder, embossed with the Tiny Triangles TIEF. Once I glued that to the card, I wrapped some Gold Thread around and glued some circles - Crumb Cake is punched with a 1-3/8" circle and the Whisper White is a 1-1/4". I glued those randomly on the front and then popped the butterflies on top with Dimensionals.

Hope you love it and I've inspired you to use some of those scraps!

Until next time, stay crafty!
Steph


7.15.2015

Birthday Balloons

Believe it or not, I'm already in full swing creating holiday cards and prepping for my fall shows. It's always a very busy time for me and this year, I'm trying to get ahead even further. At this years shows, and in my online store, I'm going to be offering boxed sets of cards. I'm thinking of offering a variety of small and large sets with between six and 12 cards and envelopes.

Here is one design I created - a boxed set of six birthday cards.


Each box will contain a variety of patterns that are mostly gender neutral. This is a very simple design, but I think it'll be popular. Since the balloon is popped up, it appears as though it's floating away.


I think I will add some ribbon and a tag to the completed boxes, not only for presentation, but also so that they can easily be given as a gift.

Until next time, stay crafty!
Steph


Stampin' Up! Items Used: Whisper White Thick Card Stock, Big Shot, Balloon Framelits, White Baker's Twine, Window Sheets, Designer Series Paper, Dimensionals

7.13.2015

Creatures for Kiddies

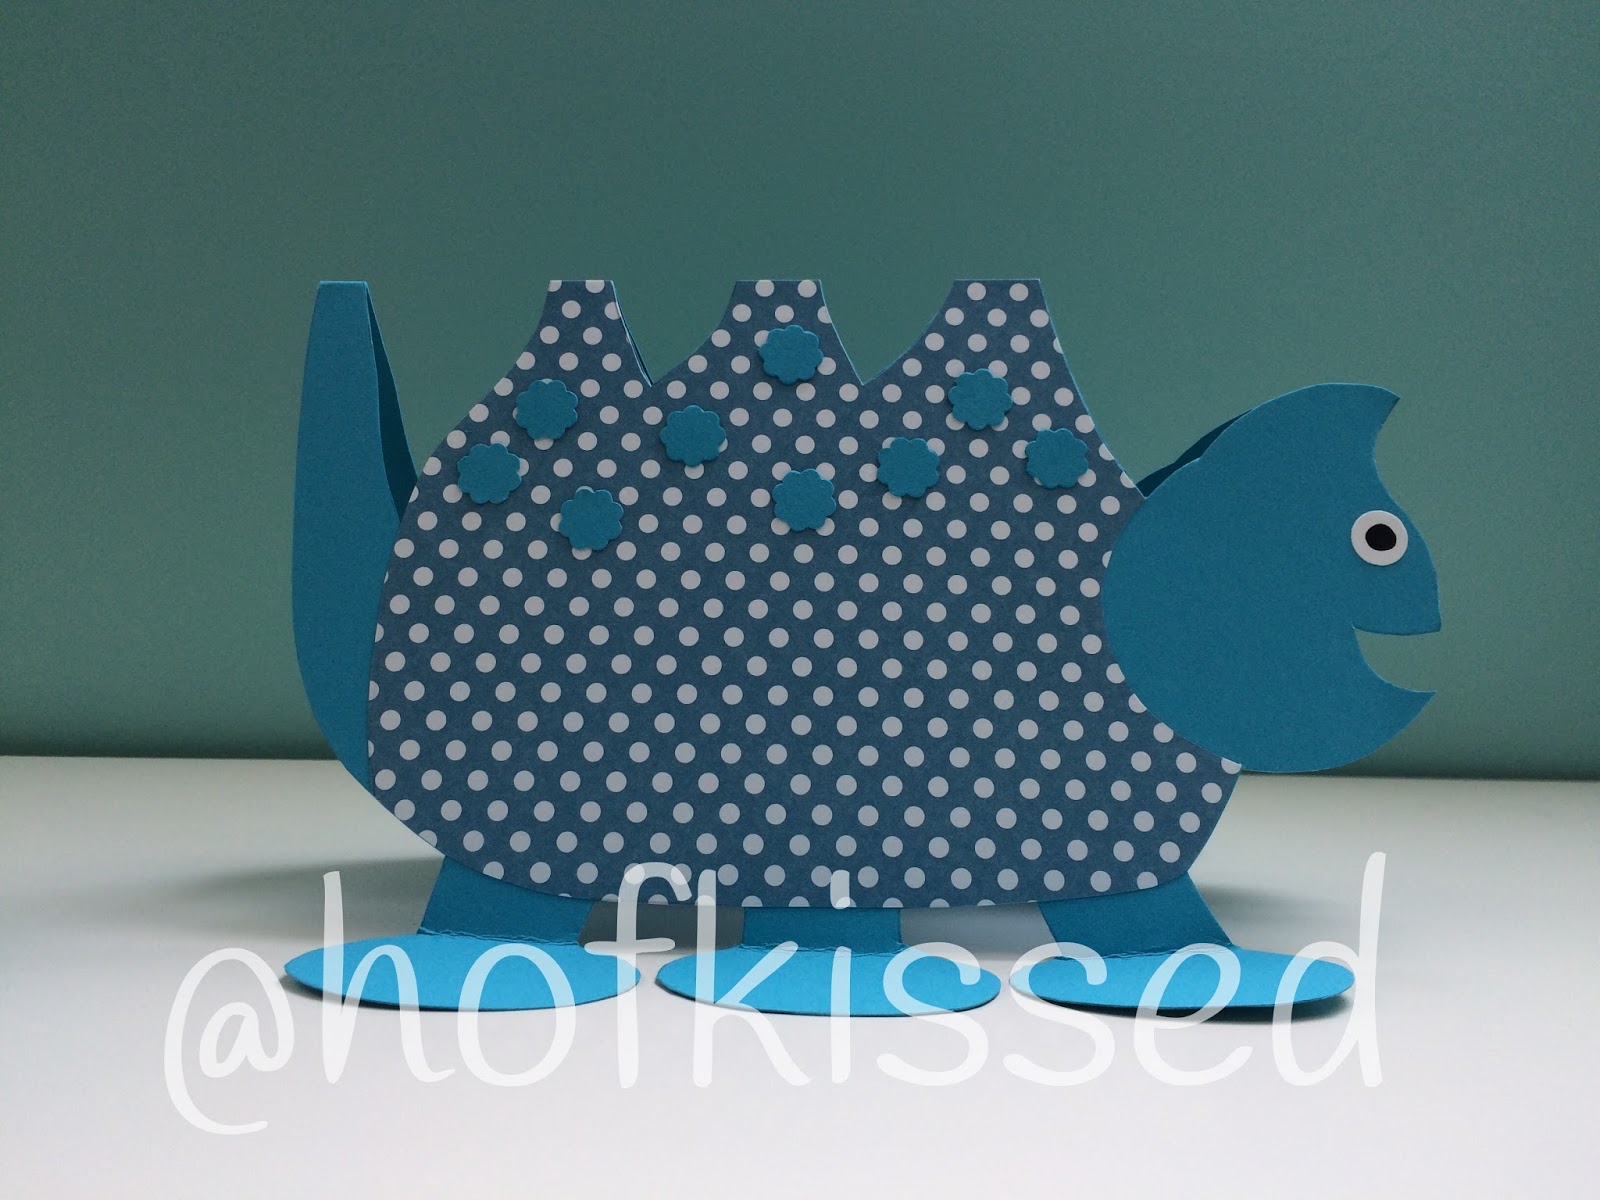
Sorry I was MIA on Friday, but thought I would post a quick one today in case you missed me! I haven't had much time for creating lately as we're still working through these renos! However, I was doing a few science activities with the kiddos though over the weekend from the 365 Science Activities book from Usborne Books and we came across these "water creatures". All I saw were some cute cards for kids, so I adapted them to fit in an A6 envelope, pulled out some paper and drew my creatures. Take a look:

A dinosaur.

A ladybug.


A turtle.

I scored the tops of all the feet because once you pull the card out of the envelope, you bend at the foot to make it more lifelike and 3D. I thought they were simple but cute!


Until next time, stay crafty!
Steph

7.03.2015

For the Boys


I was recently asked to create 25 birthday cards for a customer. I love using the note cards and envelopes because they are just the perfect size and my customers love the simpler designs and lower cost I can provide for large orders.

Today I'm going to show you the designs I created for the boys. Come back Monday to see the uber cute ones I designed for the girls! ;)

Here's a look at the three different designs:


I haven't had a chance yet to purchase any new "kid" stamp sets from the new catty (there are some AWESOME ones in there!), but I love to keep my favourites around, even when retired, because I'm asked to create cards for kids often.

Here's a look at the first design. It's actually the first time I inked up this set (from the recent Occasions Catalogue) and sad it didn't carry over. I just love them!


This set is an oldie but a goodie! Having a little boy myself who LOVES "mighty machines", this one will stay in my stash for years to come.


Aside from the sentiment and punch on this last one, the items can still be found in the Annual Catalogue. The background was easily and quickly created using the stars masks. I just sponged using Cucumber Crush & Hello Honey inks and then stamped the lego image from the Boys Will Be Boys stamp set in the same colours.


Have a wonderful weekend and don't forget to check back on Monday for the girly designs. ;)

Until next time, stay crafty!
Steph

7.01.2015

Happy Day!

Not only is today Canada Day, but it's also the first day I'm back after a loooong hiatus! I told you last week that I was switching things up a bit. You will now be able to find me, blogging, Mondays, Wednesdays and Fridays. For daily doses of creativity, you can find me on Instagram or Facebook. :)

Since today is Canada's birthday, I decided to share with you the decor wreath I created. Originally I wanted it to hang on the front door, but since it's been a little humid and rainy, I didn't trust that this mostly paper wreath was going to survive! Take a peek...


It's currently hanging on my "communication centre" at our front door with a Canadian Flag print from the local paper. This project cost me well under 10 dollars as I found the wreath at a thrift shop for $3 and then just used DSP, card stock, buttons and ribbons I had lying around. All in shades of red & white of course!

Here's a closure look:


I was also inspired to create this wreath because I have a class running on July 9th featuring projects created using the Simply Scored Tool. We won't be doing this wreath, but instead, a rosette. Using them on a wreath is only one of many possibilities. Maybe I'll show you some other ideas in the near future. ;)

Until next time, stay crafty!
~Steph

10.07.2014

Create a Gift Bag from a Magazine!


I've been toying with many ideas for bags I can use to package my products in after a sale. I've always used paper bags, both for the environment and to promote/coincide with my paper goods. When I could avoid to do so, I reused bags instead of purchasing them and have used everything from spiced-up brown lunch bags to kraft bags to my DSP bags found here. This is a new venture for me - bags created from old magazines… and what better magazine than the oh-so-inspirational catalogues from Stampin' Up! ?! :)


This is certainly not a new idea, but this bag design is all me. It uses two catalogue pages and I don't even want to admit how many pages I went through before I finally designed something that worked and that I liked!


Three important factors I needed in my design - that it folded flat (for transporting & storage), it was sturdy enough to hold a good amount of product & that it was still 100% recyclable if the recipient didn't want to hang on to it (no staples!).

I'm just so thrilled with my what I came up with. I'm excited that I don't have to just throw all my old magazines into the recycling bin and that I can both advertise my Stampin' Up! business and my love for paper good products with this packaging.

Until next time, stay crafty!
Steph