Follow My Blog

Follow on Bloglovin

4.28.2013

Mum's The Word

Happy Sunday... and if you follow my Blog, you know what that means... it's sketch week at Sunday Stamps! Holly put together a great sketch for us this week. With SU! releasing their retiring list this past Wednesday, this sketch is perfect for showcasing retiring DSP. Check it out:


Paper: River Rock, Riding Hood Red, Twitterpated DSP
Ink: Basic Grey
Stamps: Teeny Tiny Wishes
Tools: Big Shot, Oval Framelits, Holiday Frame TIEF, Boho Blossoms Punch
Accessories: Pearls
This sketch really was perfect for me because I needed to clear out some space for new products that are coming my way from the new catty (being released to customers May 31st!). It's a great sketch to use up some DSP, and I also used some card stock in retiring colours.

I decided on a Mother's Day card because Mother's Day is only a few weekends away now... but the sentiment can be easily swapped out for another. Especially when you use Teeny Tiny Wishes! I added lots of interest with the TIEF and the boho blossom flowers.

Hope you'll play along with us this week. We'd love to see what you create with the sketch!


Until next time, stay crafty!
Steph

4.24.2013

Say Buh-Bye!

It's that time of year... time to ship out the "old" and bring in the new. Stampin' Up! released their retiring list today (and 2013-2014 catalogue for us Demonstrators!) and there are many great deals to be had!

This card seemed fitting considering Dinoroar is on the retiring list. :( This is such a fun set, especially if you've got kids in you life! I think it's definitely worth considering if you don't already have it in your collection!


Paper: Riding Hood Red, Whisper White
Ink: Black StazOn
Stamps: Dinoroar, Happiest Birthday Wishes (retired)
Tools: Square Lattice TIEF, XL Oval Punch

These images are so much fun to colour, but this time, I left it up to the receiver of the card. I included two crayons with each card for instant gratification! I thought this was such a fun birthday card for either a boy or a girl and so I've made several like this (and a with different images) that have become part of my cards for sale.

Have I convinced you yet to purchase this awesome set? Maybe it isn't for you, but I'm sure you'll find something you "need" on the retiring list. Check it out and then make your purchase through my online store! Remember, all consumables (i.e. paper, embellishments, etc) are only available while supplies last...

View all the retiring products here.

Until next time, stay crafty!
Steph

4.23.2013

Circle Butterfly CASE

I created this card a while back, but never got the opportunity to post it. So long ago in fact that I forget now who I CASEd this card from or where I even came across it! :s Sorry!

Paper: Lucky Limeade, Whisper White, Lovely Flowers DSP (retired)
Tools: Circle Punches, Butterfly Punch
Accessories: Jewels
Is this card clean & simple (CAS) or what?! Sometimes simplicity is best, although, I can't believe I didn't do any stamping on this card! I popped up all the circles and added some small jewels for some bling. I think the Stripes TIEF was the best choice for this card... I think I'll even create more just like this, but in different colour tones. I like it so much!

Until next time, stay crafty!
Steph

P.S. Don't forget that the SU! Retiring List will be posted tonight at midnight (MDT)!

4.21.2013

Calypso Coral Stays... and Saying "Hi" at Sunday Stamps!

Good morning & happy Sunday! I was so excited to hear that Calypso Coral is sticking around when Stampin' Up! announced their Colour Refresh a couple of weeks ago. I was just as excited when I saw the Colour Challenge this week at Sunday Stamps with Calypso Coral, Basic Grey & Very Vanilla. Such a sweet combo!


Paper: Calypso Coral, Very Vanilla, Epic Day DSP (This & That)
Ink: Calypso Coral, Basic Grey
Stamps: A Round Array
Tools: 7/8" Scallop Circle Punch, 1/4" Scallop Circle Punch
Accessories: Washi Tape, Pearls
This card is filled with product from the NEW 2013 - 2014 Catalogue. The best part is that you can get these products now! The DSP & Washi Tape (so excited for this!!) is from the new This and That line. It's available for purchase in a bundle (with a discount!) or on it's own until the end of the month. Then it won't be available again for purchase until June.

The stamp set is also new - A Round Array - and is available in a sweet bundle with the coordinating punch for 15% off until May 30th. The bundle price will not be available in the new catalogue.

This card was quick & simple to piece together. I cut the card layer from the DSP and then stamped various images from A Round Array on a piece of Very Vanilla cardstock. I adhered the VV piece with Washi Tape (awesome product & totally re-positional!) and then double popped-up my sentiment.

Hope you like my card and will play along with us this week. Don't forget to get some inspiration from the other Design Team members too!


Until next time, stay crafty!
Steph

4.20.2013

Dress It Up, Part Deux!

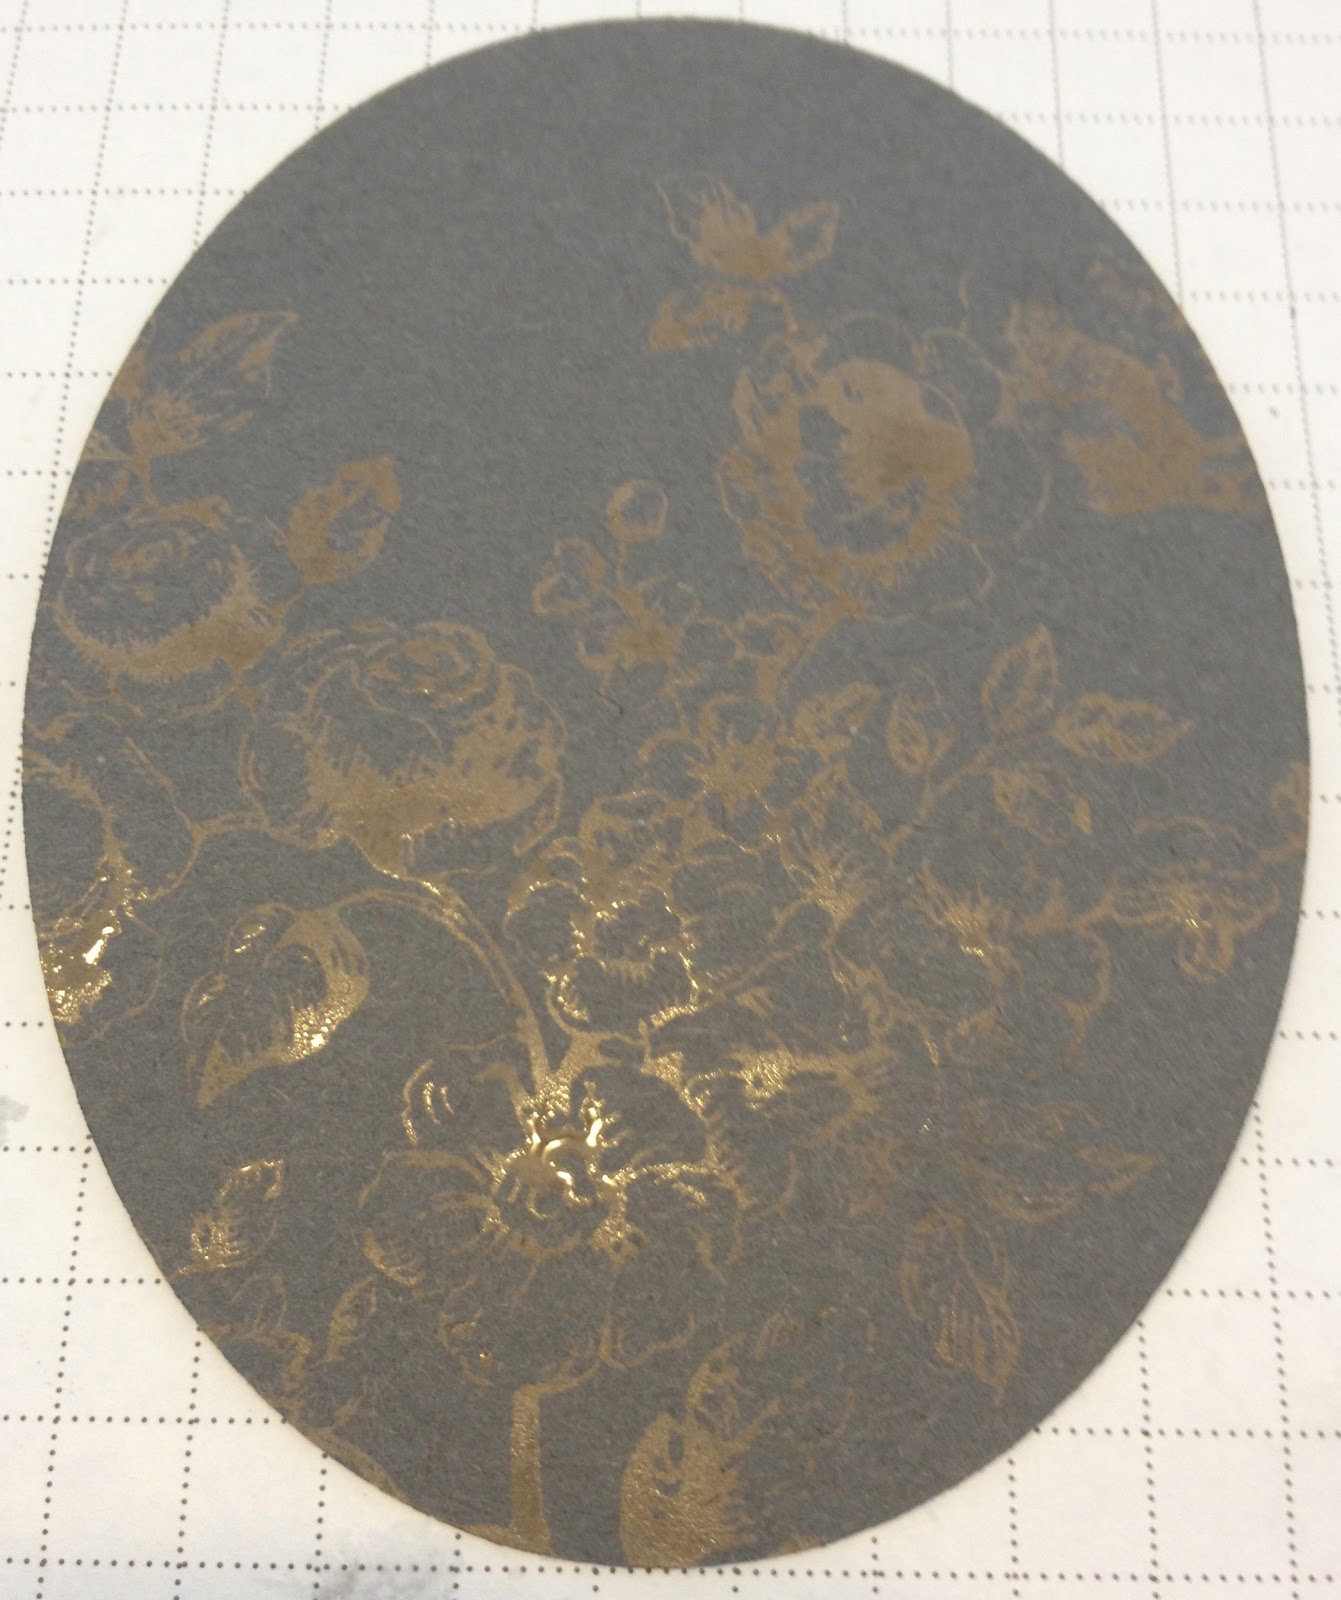
To continue from yesterday's post, I want to take you through the final design process of the shower invitations I created. Specifically walking you through how to make the gorgeous dress! First, here's what the final invitation looked like:


If you'd like to know how to recreate the dress, keep reading...
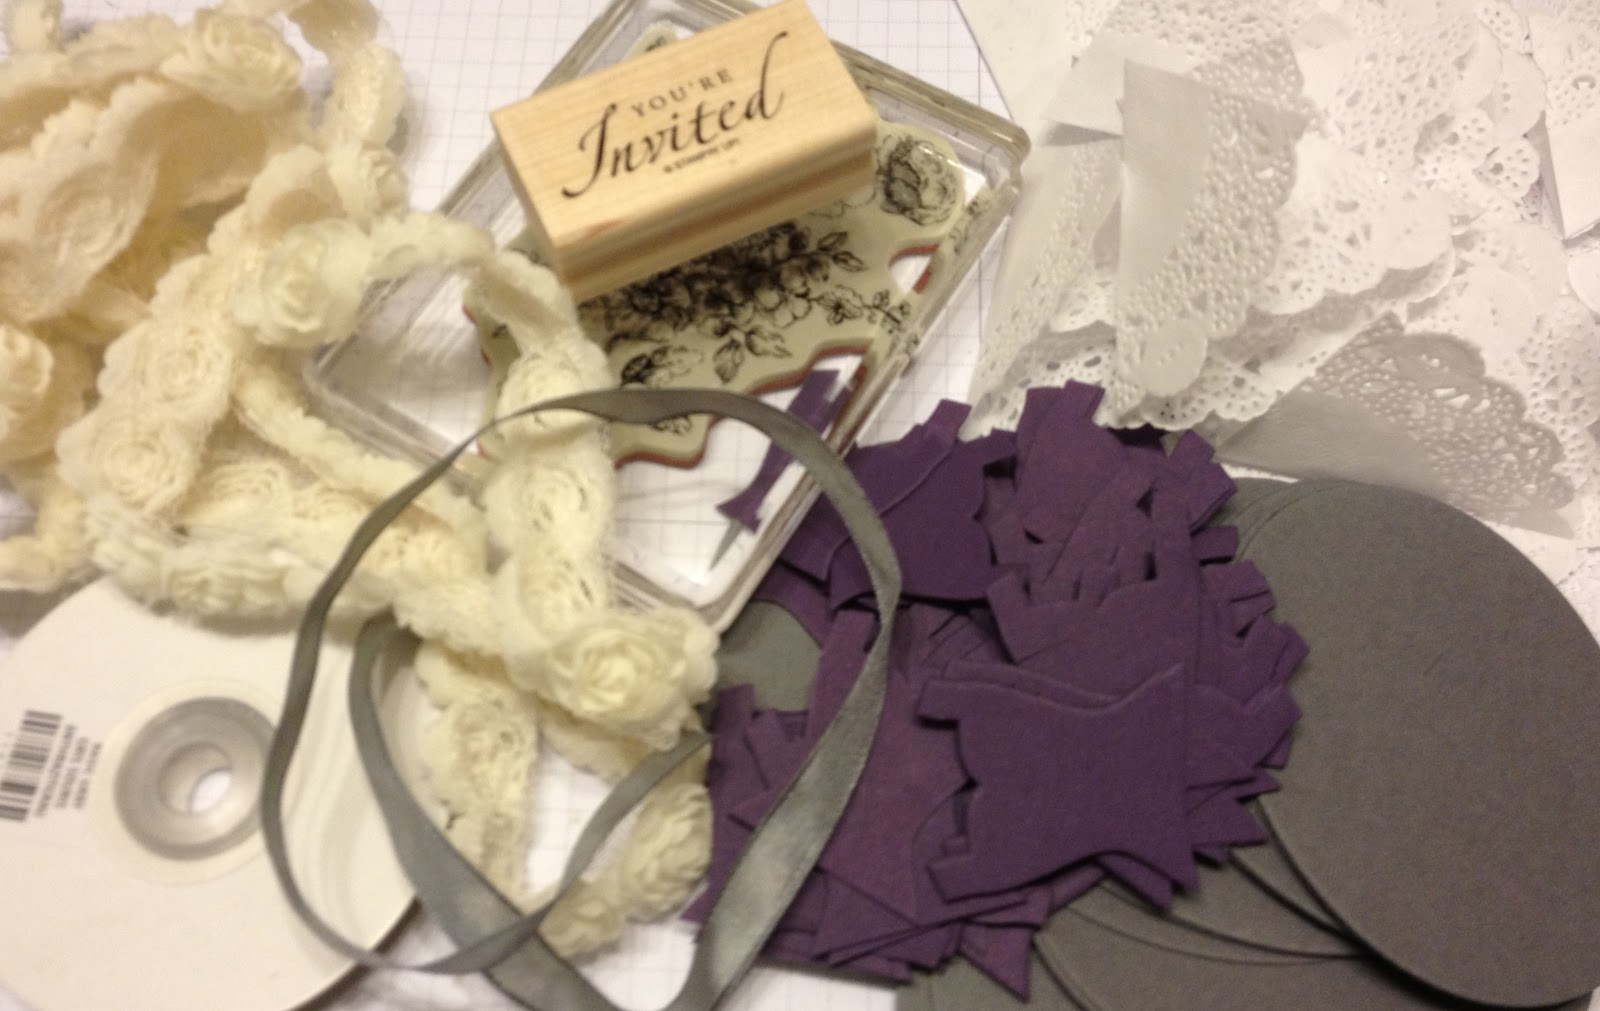
Using the Dress Up Framelits, cut out only the top half of the dress.


To make the skirt, the Tea Lace Paper Doilies from the Spring Catalogue are the perfect size. A few simple folds turn the round doily into a triangular skirt.


Fold the top down approximately a quarter of the way.


Fold the right side inwards, lining the scalloped edge to the edge of the inner circle of the doily.


Fold the left side over, lining the edge flush with the right edge.


Fold the top point over to create a flat edge. This is the "waist".


Next, you'll need some of the gorgeous 5/8" Flower Trim, also from the Spring Catalogue. It comes in one long strip, so you'll need to cut apart the flowers and then trim away some of the mesh backing so that it doesn't peek out from the flower.


Aside from the pieces created above, you'll need two small pieces of ribbon. One needs to be long enough to wrap around the waist of dress and the other slightly smaller. You'll fold this one in half to create "tails" to the sash.


Glue the skirt to the top and wrap the longer ribbon around the waste and secure at the back. I used tape to hold it in place. For the sash and the flower, I used glue dots to hold them in place.


This is what the dress looks like completed:


I hope you've enjoyed this tutorial!

Until next time, stay crafty!
Steph

4.19.2013

Dress It Up!

I've recently finished 50+ custom shower invitations and will share several steps of the design process with you over the next couple of posts. Here are the materials I used:


The bride's colours are purple and grey, so I incorporated them into the invitations. After a few designs, I settled on one that used a bleaching technique. Today's post will walk you through that. Bleaching works best with a darker piece of cardstock.

To bleach, I like to use a spare wood mount stamp case. These are perfect for all sorts of things. I fold some paper towel and pour some bleach on top. You don't want to add too much... just enough to get on the stamp.


Once you've "inked up" your stamp with the bleach, stamp the image on your cardstock:


And watch the magic happen before your eyes...


Here is the final result. It dries in under a minute, and I think is a really cool technique.


Once I completed my 50+ bleached ovals, it was time to add the sentiment. I used the retired stamp set Sincere Salutations and Elegant Eggplant.


Once all of my ovals were stamped, I glued them to the base of my card. I used Naturals White Cardstock because I didn't want a stark white base.


Make sure you come back and visit me again tomorrow so that you can see the completed card and another step-by-step guide on the second part to my design... want a hint? It involves the Dress Framelits from the Spring Catalogue. :)

Until next time, stay crafty!
Steph

4.16.2013

For the Babes at Sunday Stamps

Kathya's got a great sketch challenge this week over at Sunday Stamps... perfect to get your creativity flowing!


 Paper: Pretty in Pink, Certainly Celery, Bashful Blue, Whisper White
Ink: Pretty in Pink, Certainly Celery, Bashful Blue, Basic Grey
Stamps: Patterned Occasions (SAB), That's the Ticket, Itty Bitty Banners
Tools: Big Shot, Perfect Polka Dots & Stripes TIEF's, Scallop Circle & 1-1/4" Circle & Ticket Duo Punches
Accessories: Pearls, Ribbon

When SU! announced their "Colour Refresh" last week, I thought that I should use up and showcase some of the retiring colours. These three are perfect for baby cards - soft & subtle! I played around a lot with texture and dimension. I popped up the elephant image and if you think the little pearl accents aren't SU!, think again! I coloured our pearls using Sharpies. :)

Check out what the rest of the wonderful design team has created and then post your design. We love seeing your creations. You have until Friday evening.


Until next time, stay crafty!
Steph

4.12.2013

Magnetic Bookmarks

Last year I posted some magnetic bookmarks I made (you can view that post here)... I received some feedback that I needed some gender neutral and masculine ones also. So here they are:


To make these, you need the Two Tags Bigz Die and the 1-3/4" Scallop Circle Punch... if you want to add that extra layer. You also need some magnets. I used full magnet sheets, so my entire bookmark is backed in magnet, but you can opt to do a smaller magnet also. You can then decorate as desired, but don't make it too bulky or else your book won't close.

Until next time, stay crafty!
Steph

4.11.2013

Give Thanks. Give Gift Packs.

Today I have a simple set of note cards. I CASEd the design from Leena Girsa. She always inspires me! Check them out:


Paper: Note cards & envelopes
Ink: Midnight Muse, Pool Party, Sahara Sand, Certainly Celery, Pretty in Pink,
Early Espresso, Elegant Eggplant, Pool Party, Summer Starfruit
Stamps: Everything Eleanor, Sincere Salutations (retired)
Each set comes with four cards and four envelopes. These cards are strictly stamping - the Everything Eleanor stamp set is perfect for this type of collage stamping because it has a lot of elements. All you need aside from this stamp set is a sentiment and the card is complete.

For my colour schemes, I referred to one of my favourite tools - the Colour Coach. If you don't have one, I highly recommend it... but you should wait until the new catalogue because of the "Colour Refresh" that Stampin' Up! has announced. In case you missed it, here are the details:


Until next time, stay crafty!
Steph

4.07.2013

Spring Colours for Sunday Stamps

Well, the sun is shinning here, for the moment, but it certainly doesn't feel like Spring out there! I'm hosting the challenge this week at Sunday Stamps and chose some spring-like colours for this week's colour challenge.

Paper: Not Quite Navy, Wild Wasabi, Whisper White
Ink: So Saffron, Wild Wasabi, Not Quite Navy
Stamps: Best of Flowers, Bitty Banners
Tools: Big Shot, Honeycomb TIEF, Scallop Border & 1-1/4" Circle Punch
Accessories: So Saffron Ribbon (retired)
I was excited to ink up my Best of Flowers stamp set for the first time... I just love the images. The size of the images are smaller than the originals, but for a card maker, they're perfect. Plus, the new image coordinates with the 1-1/4" Scallop Circle Punch! Who doesn't love a stamp & punch combo?!

If you need some more inspiration, check out what the rest of the design team has created for you and then post your project so that we too can get inspired!


Until next time, stay crafty!
Steph

4.01.2013

Online Interview


Good Morning! Just a quick post to say that Hofkissed (that's me!) has been featured in an online interview! If you're interested in checking it out, you can visit the article here.

The interview is all about me - how and when I started creating cards, my favourite products and tips for starting up your own business and selling product online. You also get to see a little peak of my "craft loft". :)

Enjoy!
Steph