

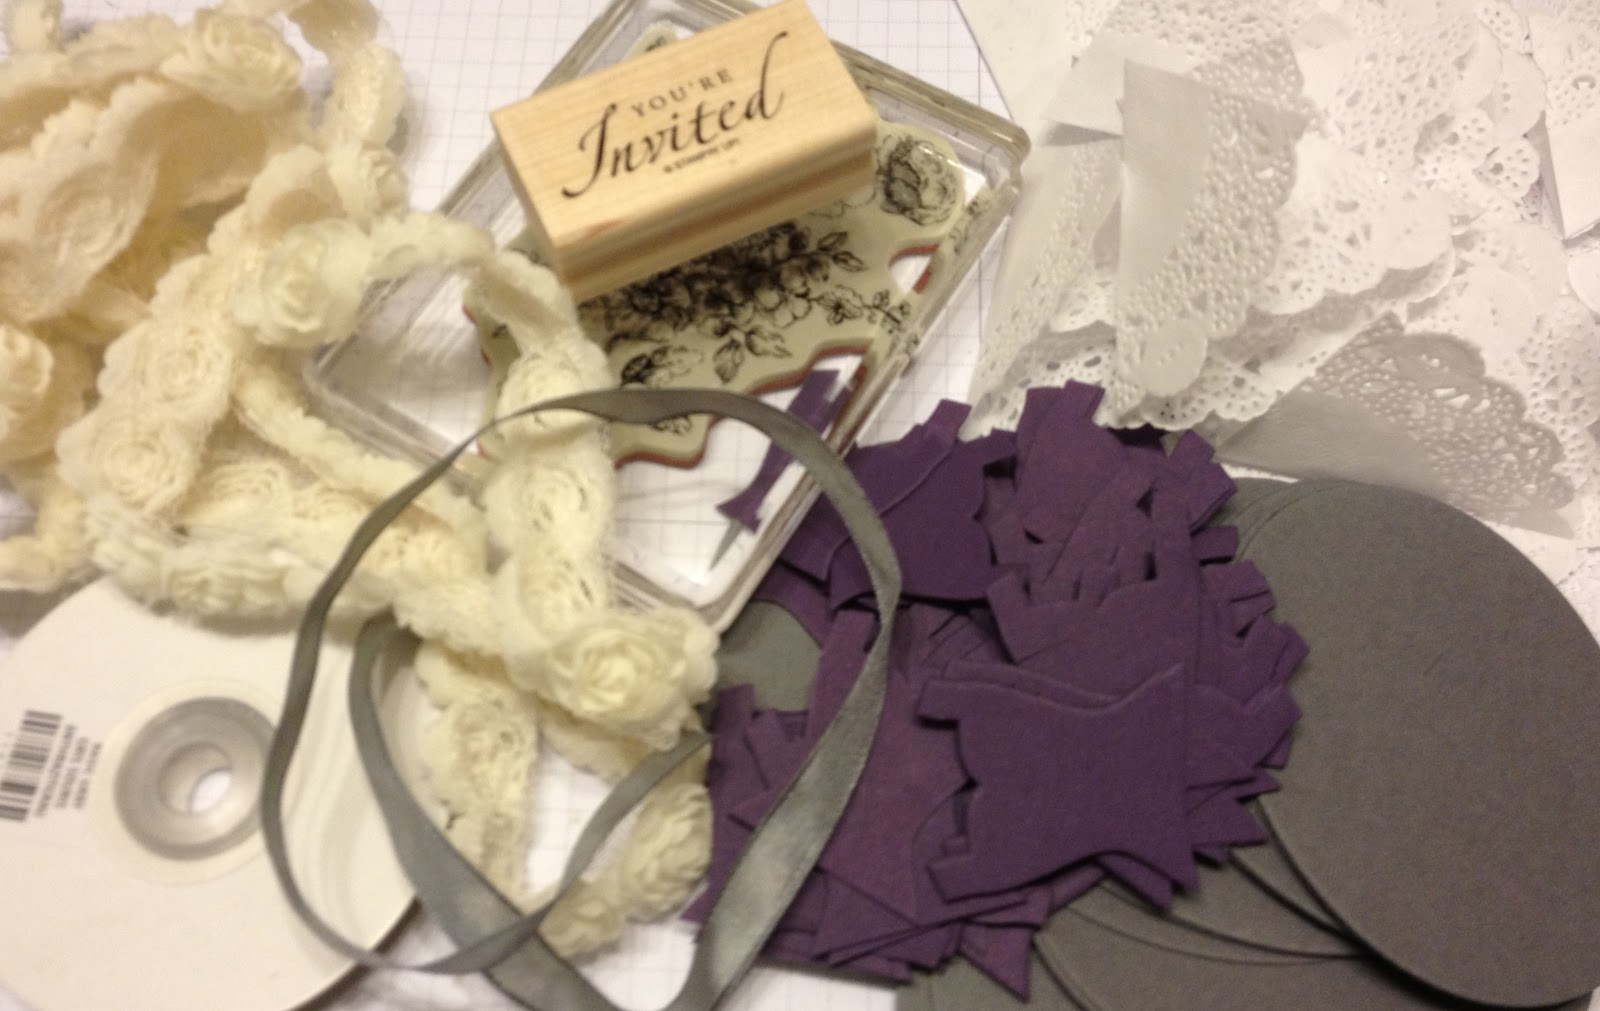
The bride's colours are purple and grey, so I incorporated them into the invitations. After a few designs, I settled on one that used a bleaching technique. Today's post will walk you through that. Bleaching works best with a darker piece of cardstock.
To bleach, I like to use a spare wood mount stamp case. These are perfect for all sorts of things. I fold some paper towel and pour some bleach on top. You don't want to add too much... just enough to get on the stamp.

Once you've "inked up" your stamp with the bleach, stamp the image on your cardstock:

And watch the magic happen before your eyes...
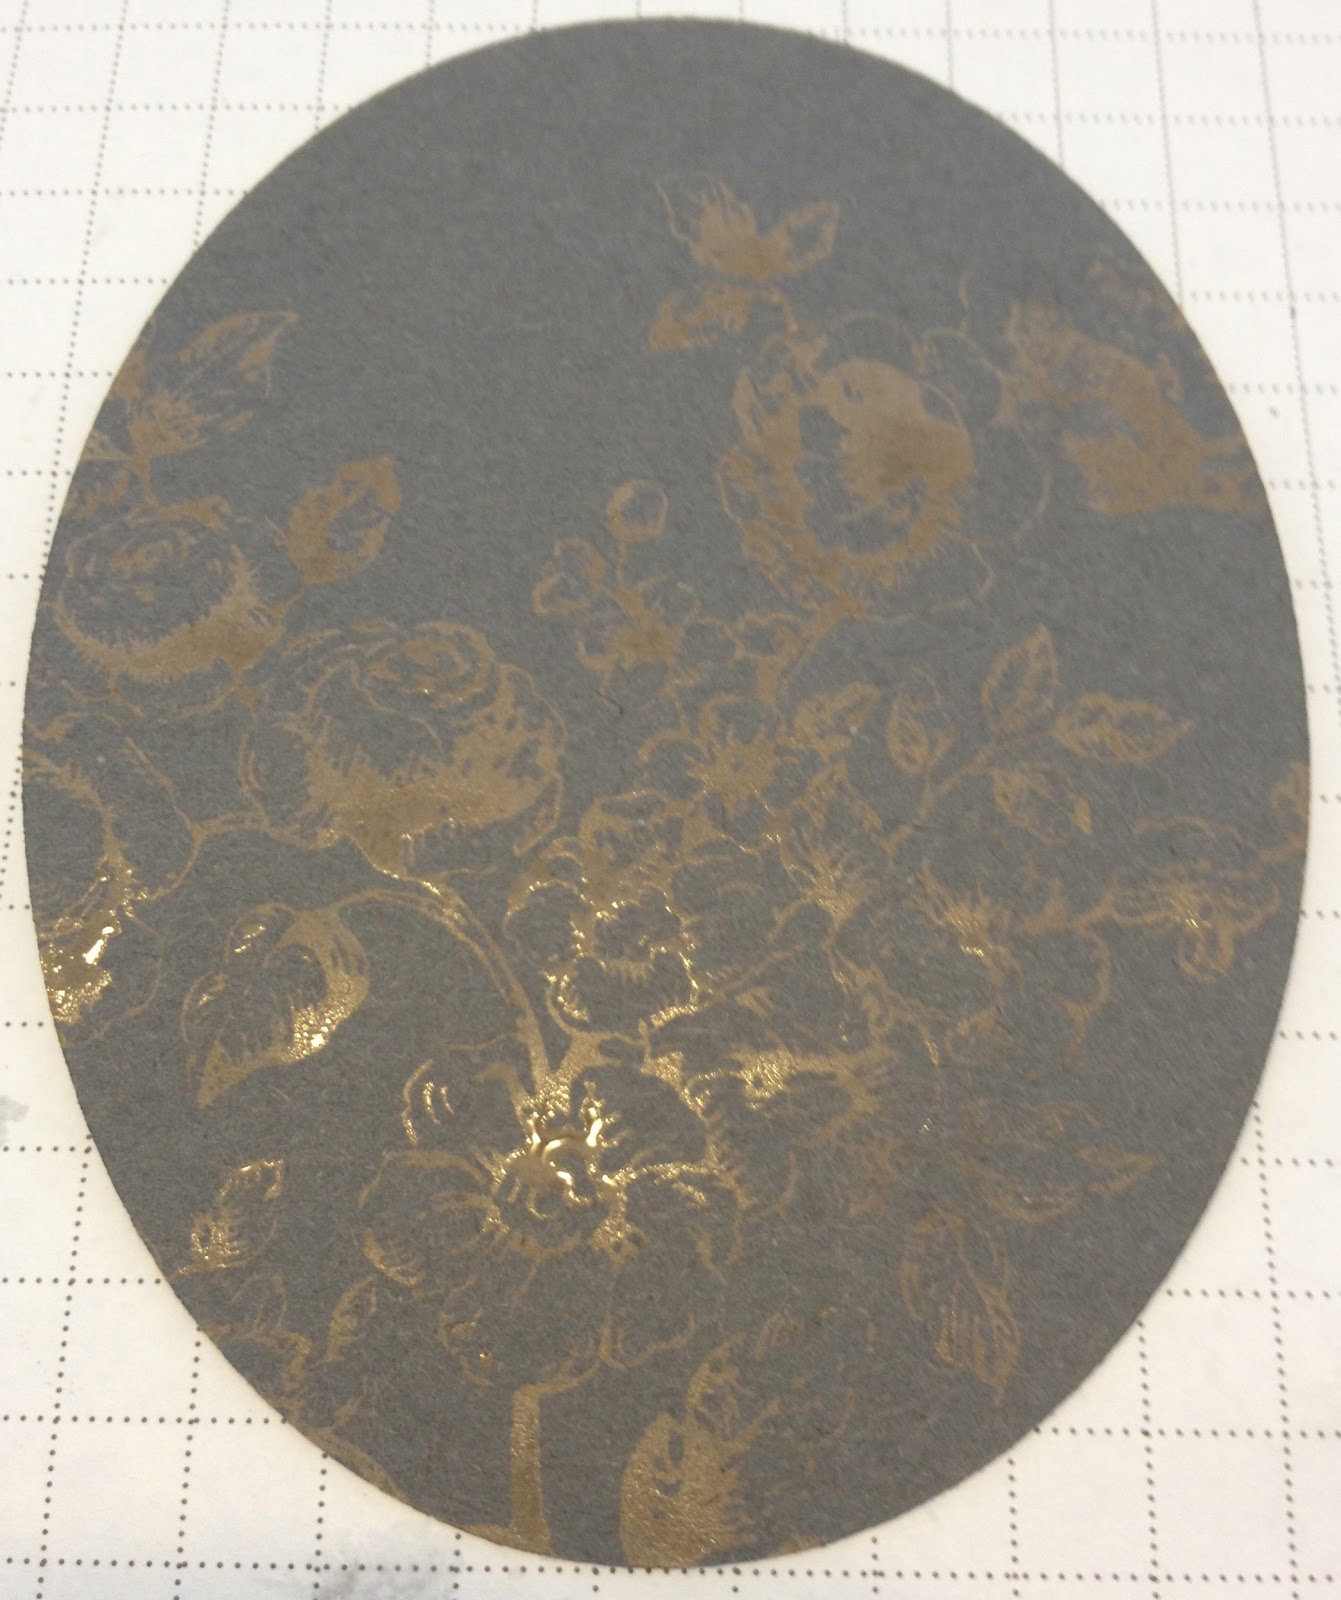

Here is the final result. It dries in under a minute, and I think is a really cool technique.

Once I completed my 50+ bleached ovals, it was time to add the sentiment. I used the retired stamp set Sincere Salutations and Elegant Eggplant.

Once all of my ovals were stamped, I glued them to the base of my card. I used Naturals White Cardstock because I didn't want a stark white base.

Make sure you come back and visit me again tomorrow so that you can see the completed card and another step-by-step guide on the second part to my design... want a hint? It involves the Dress Framelits from the Spring Catalogue. :)
Until next time, stay crafty!
Steph
No comments:
Post a Comment
Thanks for stopping by and taking the time to leave a comment. I truly appreciate it and love reading what you have to say!