Follow My Blog

Follow on Bloglovin
Showing posts with label Information: Tutorial. Show all posts

4.19.2013

Dress It Up!

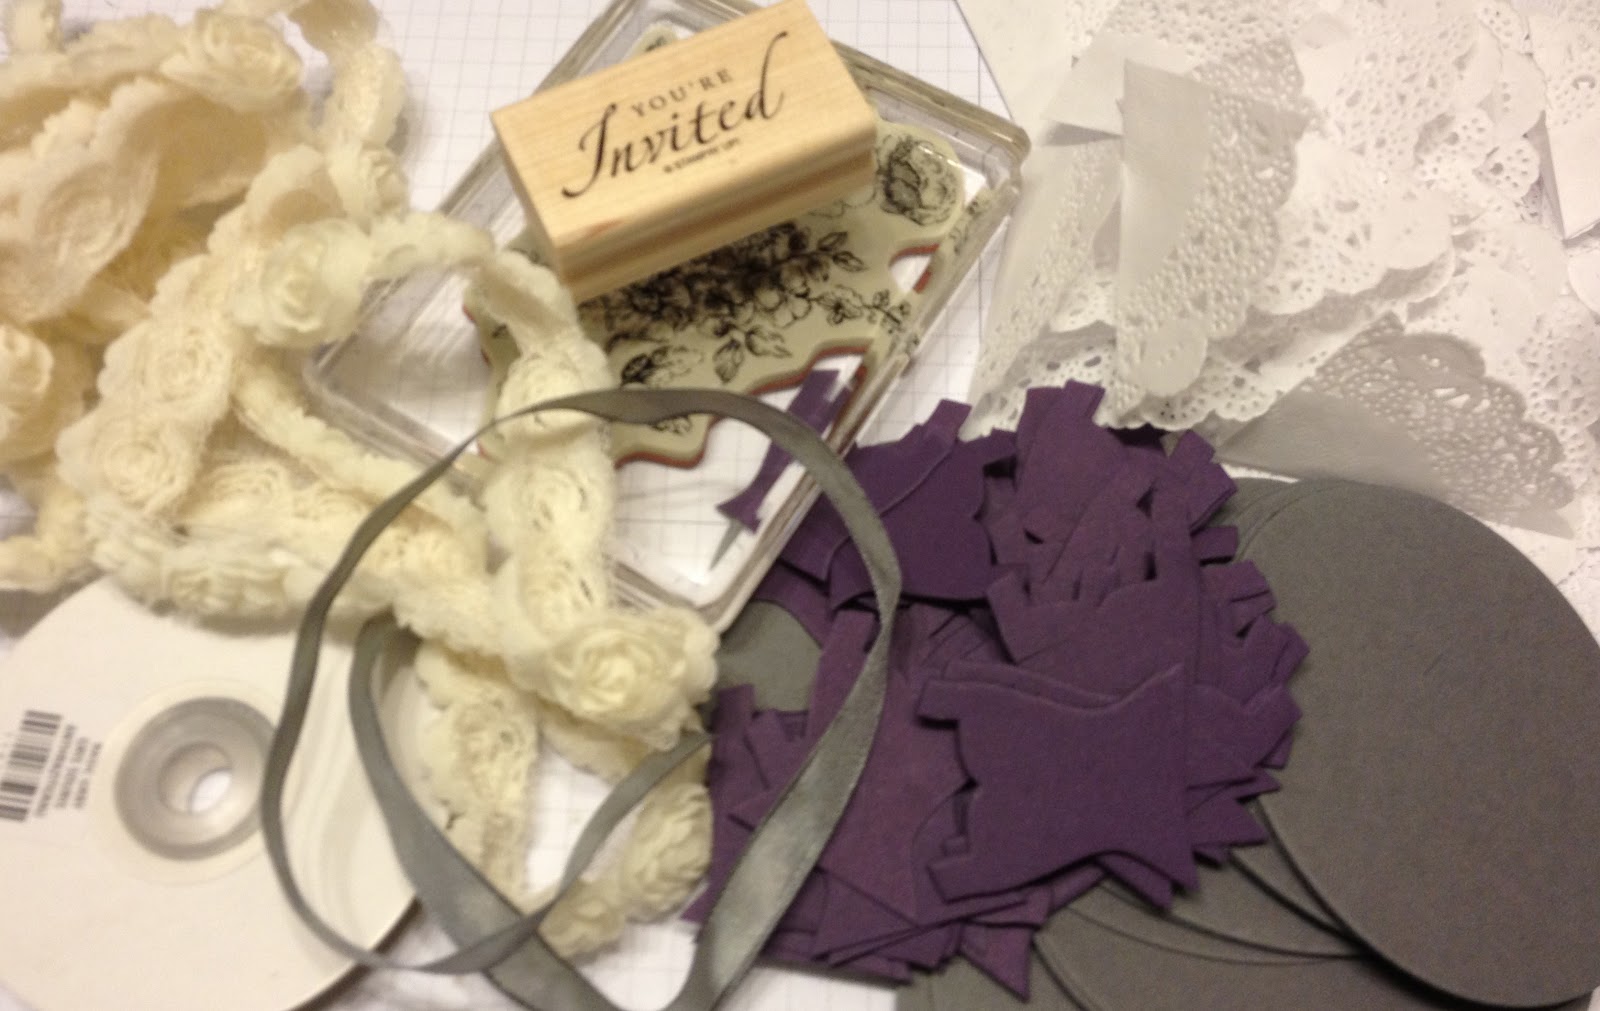
I've recently finished 50+ custom shower invitations and will share several steps of the design process with you over the next couple of posts. Here are the materials I used:


The bride's colours are purple and grey, so I incorporated them into the invitations. After a few designs, I settled on one that used a bleaching technique. Today's post will walk you through that. Bleaching works best with a darker piece of cardstock.

To bleach, I like to use a spare wood mount stamp case. These are perfect for all sorts of things. I fold some paper towel and pour some bleach on top. You don't want to add too much... just enough to get on the stamp.


Once you've "inked up" your stamp with the bleach, stamp the image on your cardstock:


And watch the magic happen before your eyes...
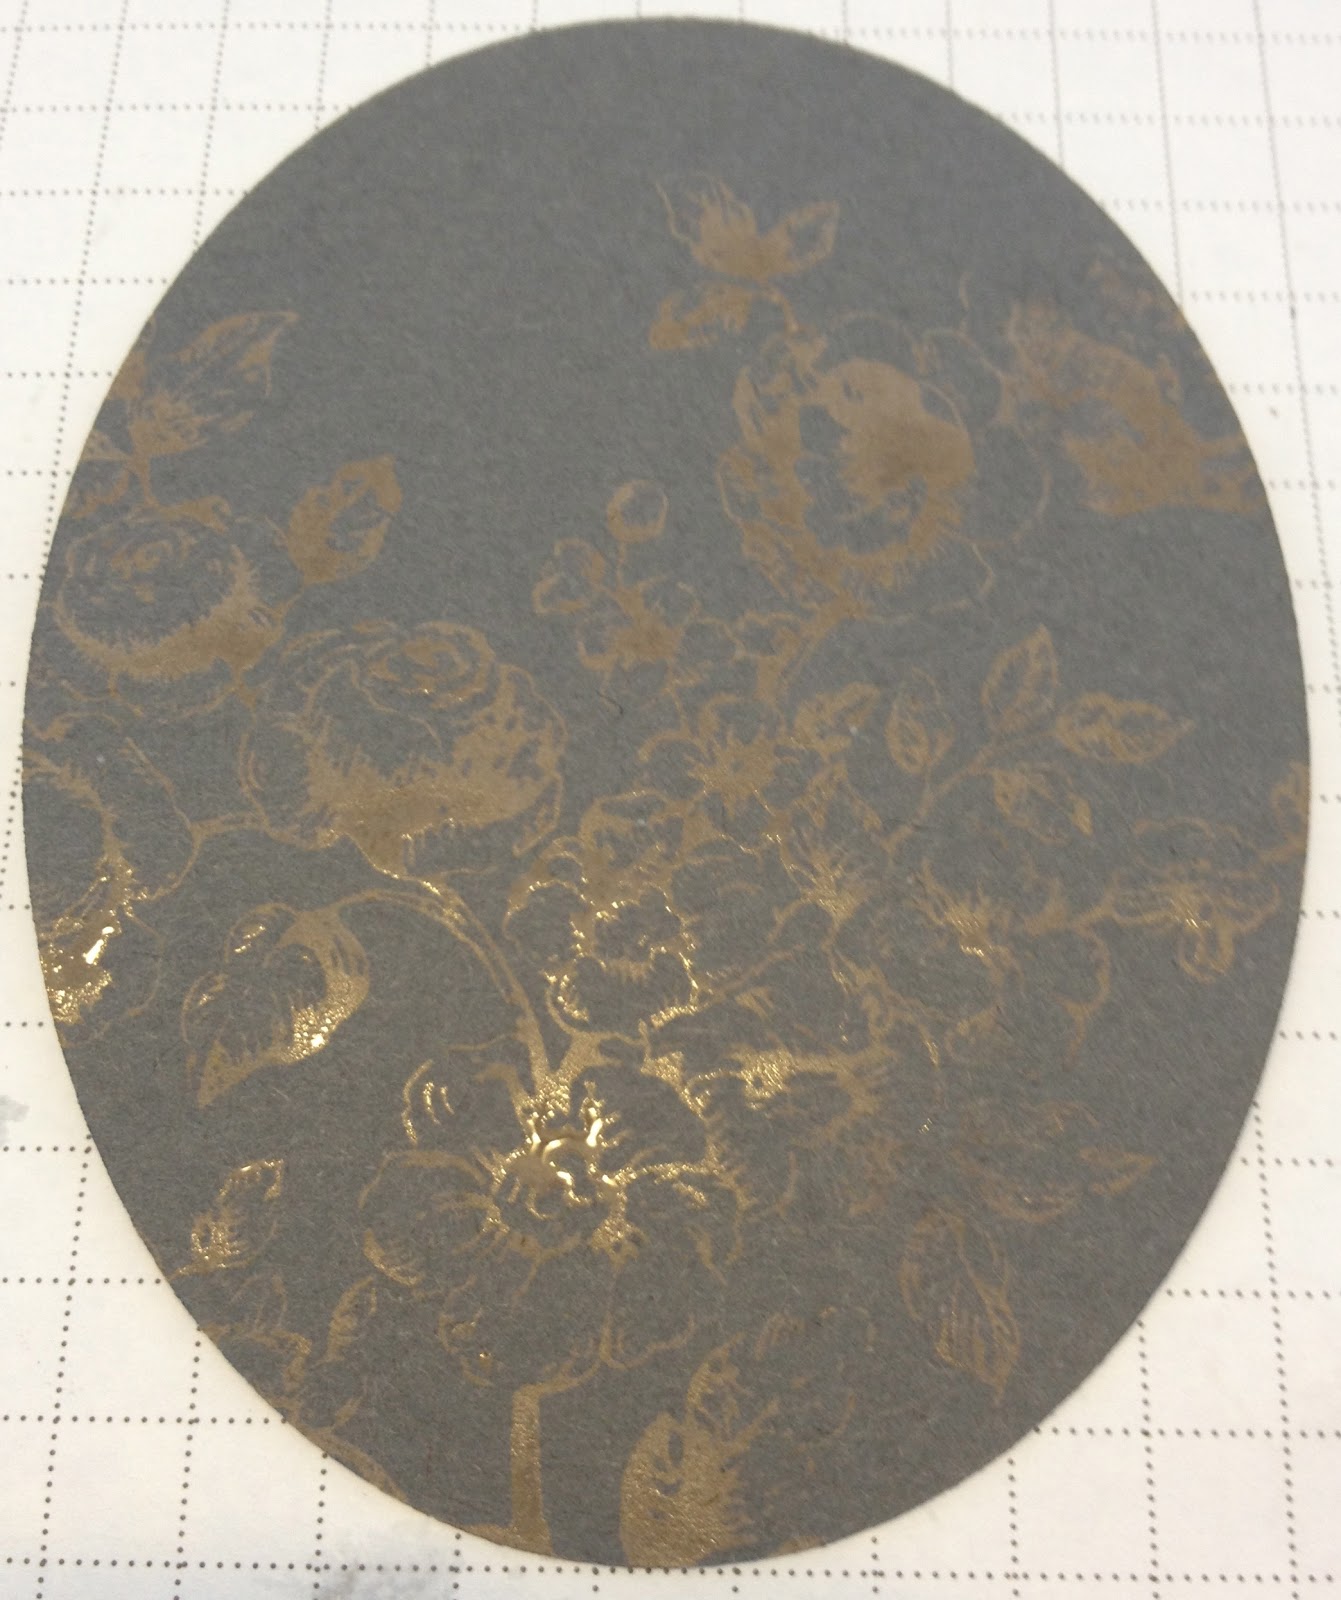

Here is the final result. It dries in under a minute, and I think is a really cool technique.


Once I completed my 50+ bleached ovals, it was time to add the sentiment. I used the retired stamp set Sincere Salutations and Elegant Eggplant.


Once all of my ovals were stamped, I glued them to the base of my card. I used Naturals White Cardstock because I didn't want a stark white base.


Make sure you come back and visit me again tomorrow so that you can see the completed card and another step-by-step guide on the second part to my design... want a hint? It involves the Dress Framelits from the Spring Catalogue. :)

Until next time, stay crafty!
Steph

10.06.2012

Folded Tree Tutorial

Wow, two posts in one day! :) I've been asked by several people on how I made my mini folded trees. You can see my post on them here. Because of this, I decided to make a quick tutorial to help you make them too!

Step 1:
Chose your DSP of choice and punch either 2-1/2" circles & cut them in half (at 1-1/4"), or use your punch to only punch 1/2 circles.


Step 2:
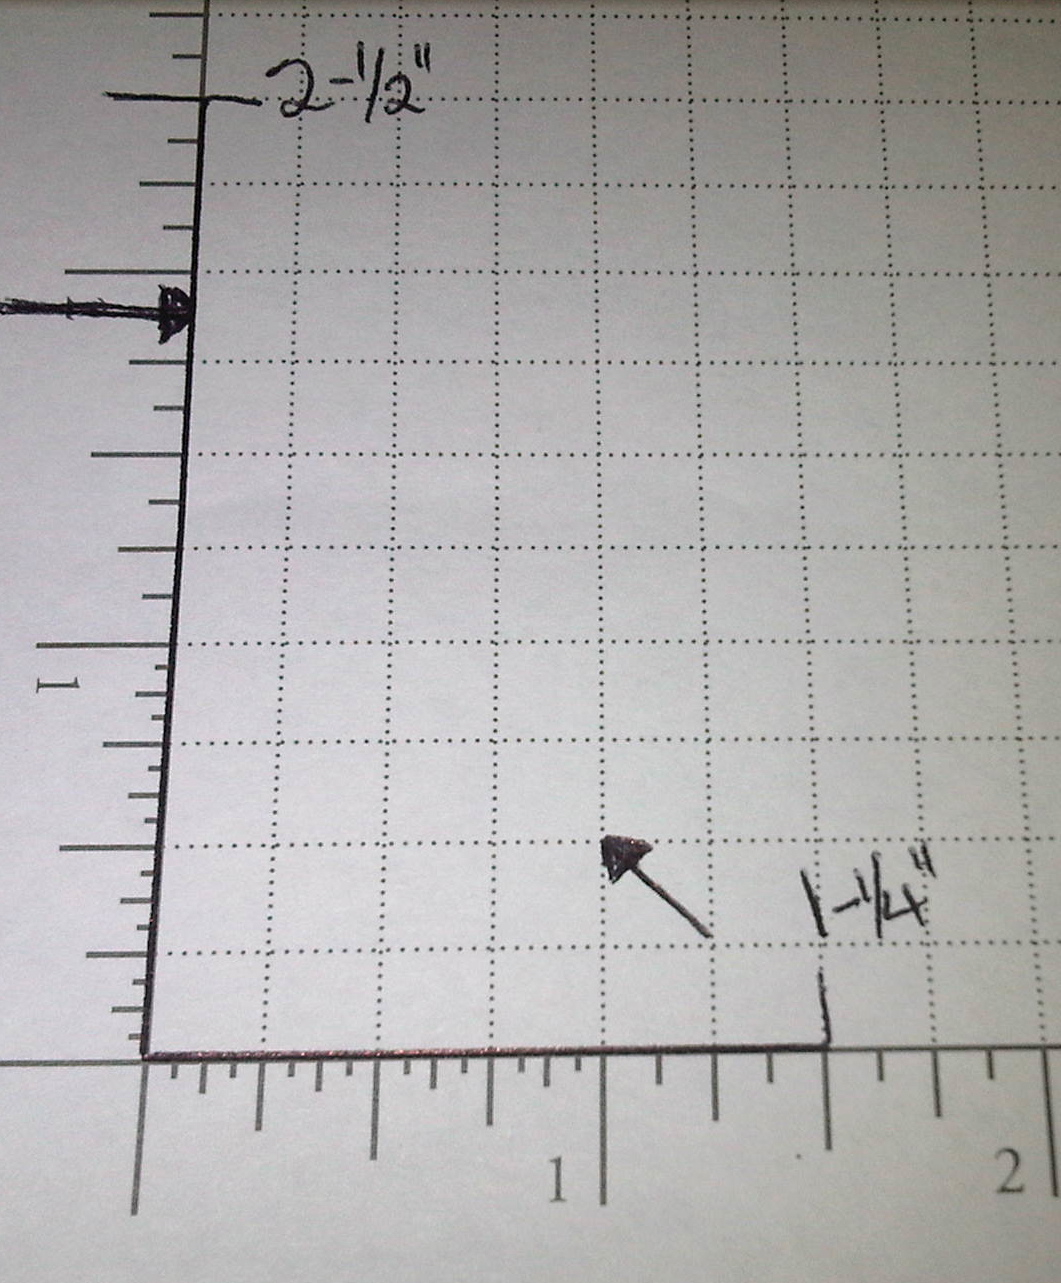
Create a template on your grid paper. I created this one after many attempted folds. :) Draw your markers exactly where I have mine on the grid.


Step 3:
Place your 1/2" circle on your template & fold diagonally using your markers. Your fold doesn't have to line up exact, but close.


Step 4:
Your fold should now look like this.


Step 5:
Now, using the top point as a guideline, fold your next tree layer. I liked having a tad overhang for my trees... I thought it made them look more "real".


Step 6:
Repeat Step 5 to make your last tree layer. Trim the top overhang if you're left with too much.


Step 7:
I glued my tree layers down with Tombow, but this is a personal choice. I didn't want the trees to be too bulky... but you can leave them unglued too if you want.


Step 8:
To finish things off, I cut strips of card stock in coordinating colours for the trunks and used the star punch from the Merry Minis Punch Pack to punch stars from Glimmer Paper. I wanted that bit of shine, but card stock or DSP could work just as well.


I hope this Tutorial has helped you... I would love some feedback since this is my first one. :) Enjoy making these mini trees. BE AWARE, they can be addictive to make!

Until next time, stay crafty!
Steph