


I can't believe it's mid-July already! That not only means that it's time for another Blog Hop (yay!), but it's also Christmas in July (double yay!!). If you can believe it, this is the time of year that I start crafting and thinking up Christmas projects... and I've got TWO for you today!

Ok, seriously, how cute are these pigs?! I just couldn't resist dressing this guy up in a little Santa suit and hat, complete with cotton trimming. :) The stamp set is called This Little Piggy and the paper is from the Coffee Break DSP.

On the inside, I used Labeler Alphabet and a strip of DSP. Did you know that if you cut your 12" x 12" DSP down to 4" x 6" pieces, you can have a piece for the front and one for the inside when you cut 3/4" off. ;)

Here's a closer look at this cutie. Don't you just love when you're able to take your products further?! Did you think I could take some coffee paper and a pig and make a Christmas card??
Speaking of using "non-Christmas" products to make Christmas cards... my Paper Pumpkin arrived today and the kit was so cute, I just couldn't wait to play! However, I didn't create as intended. If you follow me, this shouldn't come as a surprise. haha
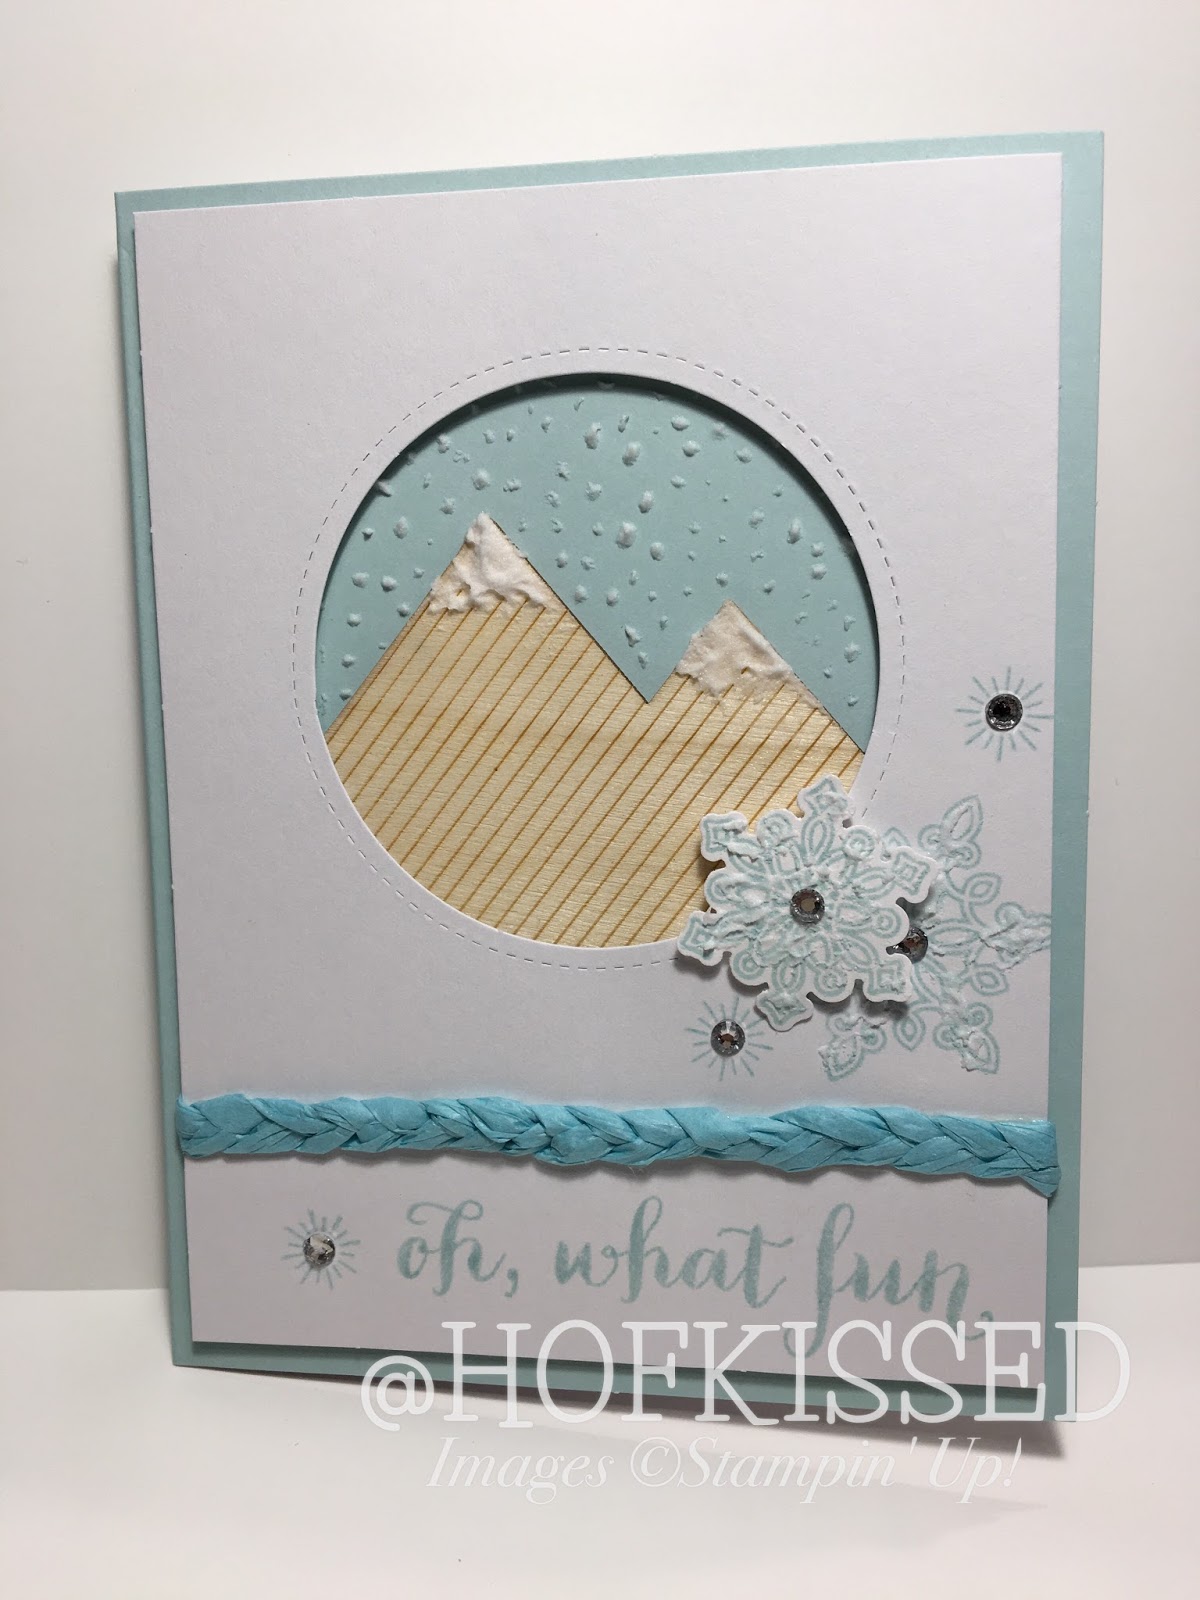
I used a few pieces from the kit, but then mixed it with the Oh, What Fun and Flurry of Wishes stamp sets and played a little with the Embossing Paste. That stuff is so cool!! When I saw the wooden mountains contained in the kit, I just thought of white tips and the paste was the perfect thing to make that happen, along with some falling snow. If you're wondering about that braided accent... it was created with the tissue paper that Paper Pumpkin kits come wrapped in.

On the inside, I mixed an image from the stamp set I received in the kit, along with one from Flurry of Wishes. I kept it pretty simple.

Here's a closer look at some of the detail. I did add some paste to areas on the stamped snowflakes, however, I'm not sure that really added much to the project.
Thanks for tuning into this long-winded post! I hope you enjoyed the two projects I shared with you today. I'd love to hear what you think!
Don't forget that this is a Blog Hop... so hop on over to my friends too:
1. Leena at A La Cards
2. Sandy at Lolly & Sand
3. Me, Steph at Hofkissed <<You Are Here
Until next time, stay crafty!
Steph
To purchase Stampin' Up! and to view all my classes & upcoming events, visit me at hofkissed.stampinup.net


