Follow My Blog

Follow on Bloglovin
Showing posts with label girl. Show all posts

7.26.2016

Thoughtful Branches Baby Card

I'm sorry I didn't post this yesterday, as I promised on Instagram... life got a little hectic! Anyway, here's the full card using Thoughtful Branches an exclusive bundle that will be available August 2nd, while supplies last!

This was a special card I made for my dear friend who's having her first baby. I created the card in the colours she chose for her nursery (grey, pink & teal) and designed it in a way so that she can easily frame it - I only adhered the grey front with a couple of glue dots and made it 5x7".


Of course a little stamping on the inside too... even though that will be recycled, I couldn't leave it blank. The little banners are from a long ago retired baby set.


Every baby card should have a little sparkle! I added lots of Wink of Stella on the letters...


...and on the hydrangea leaves too, though it's harder to see in this picture.


If you missed it on Instagram the other day, this is what my complete gift looked like - among other things, I included some handmade thank you cards for her as well. ;)

To purchase Stampin' Up! products, be sure to visit my webstore: www.hofkissed.stampinup.net and don't forget to check out my Facebook Page too - www.facebook.com/hofkissed

Until next time, stay crafty!
Steph


6.30.2016

Colour Challenged?

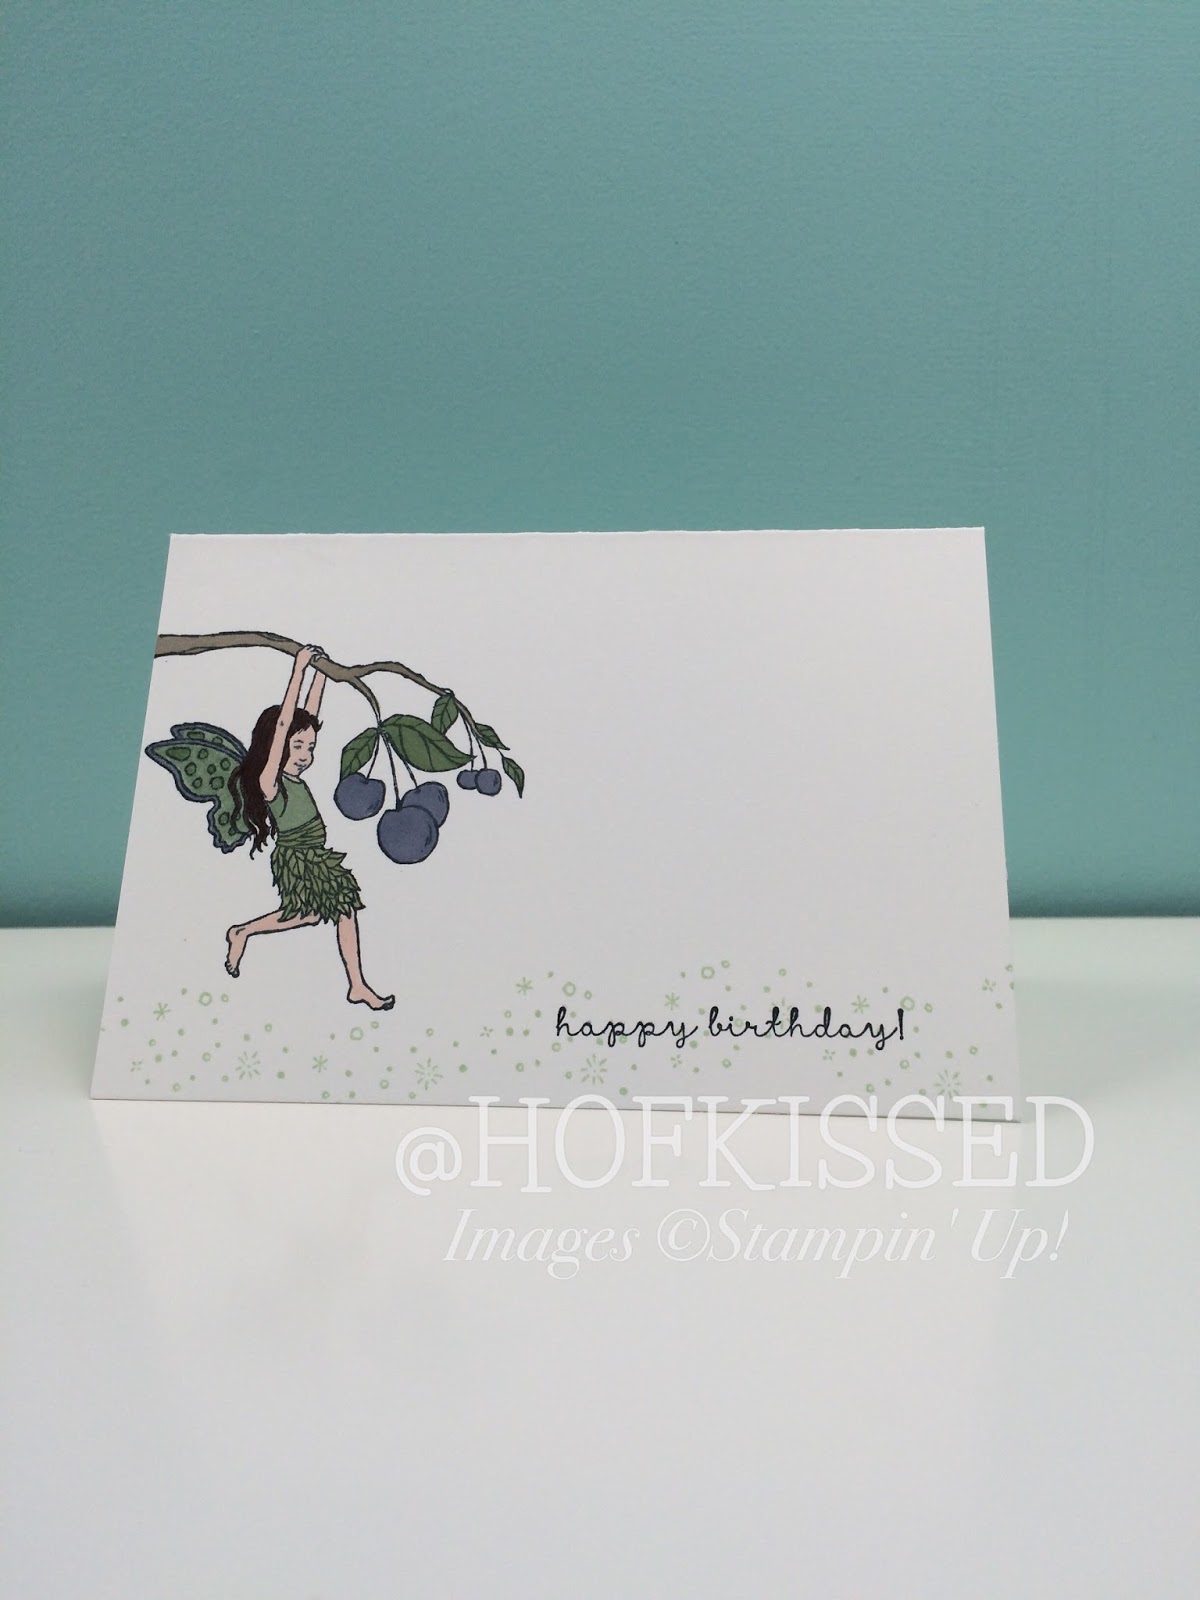
Hello! As promised, here's my second post today. It's another fairy card and it was created for Sunday Stamps colour challenge (SSC129). Check it out:


All I used to create this card was a Whisper White Note Card, Fairy Celebrations & Stampin' Write Markers. The colours I chose were Wisteria Wonder, Pear Pizzazz, Pistachio Pudding, Wild Wasabi, Crumb Cake, Blush Blossom (my neutral for skin tone) and Chocolate Chip.


The trick to colouring with Stampin' Write Markers is to go over  it twice, when colouring. This gives you a perfectly blended image!


A sweet sentiment on the inside finishes things off... with a little fairy dust, of course!

I really enjoyed this soft colour pallet, why don't you give it a try too? If you struggle with colour choices, colour challenges such like this one are the perfect thing for you to try!


If you'd like to purchase Stampin' Up! products, visit my online store at www.hofkissed.stampinup.net and never hesitate to contact me should you have any questions!

Until next time, stay crafty!
Steph

Fairies for CAS(E) this Sketch!

I'm having lots of fun with some online challenges... and lucky you, this will one of two posts today! ;) I created this card using sketch #178 over at CAS(E) this Sketch.


To create this card, I used a few basic items - Blooms & Bliss Designer Series Paper (DSP), Fairy Celebration Stamp Set, Baker's Twine, Vellum Card Stock, Bitty Butterfly Punch & Jewels.


I used a combo of a Circle Punch and Circle Framelits to create my opening and coloured the fairy with Stampin' Write Markers in colours that I pulled from the DSP. I brushed some Wink of Stella on the fairy wings and created a decorative edge on my sentiment using the Decorative Label Punch. The Baker's Twine is a retired colour (Crisp Cantaloupe), but it works well. For a whimsical feel, I pulled the twine apart before wrapping and tying it on my card.


In the inside, I added a little fairy dust and a sweet sentiment.

Hope I've inspired you today - why don't you give this sketch a try?


To order Stampin' Up! visit my website at www.hofkissed.stampinup.net

Until next time, stay crafty!
Steph

10.05.2015

Littly Pony Punch Art

I've been gravitating toward "punch art" lately, partly because I need to make cards with images I don't have, but also because it's lots of fun! My daughter was invited to a birthday party this past weekend and the birthday girl loves My Little Pony. I went to Pinterest and was inspired by Kelly Kent's card of a horse.


I kept the punch art elements very similar to Kelly's, but of course I had to change the colours and add some eyelashes to better represent My Little Pony.

I used the XL Oval Punch, Large Oval Punch, Owl Builder Punch and Bird Builder Punch to build my pony. To give the eyes more life, I used the White Gel Pen. I wanted to add a little interest, so I used the Star Framelits for the pony to pop through.


For a special added touch, I used the Little Letters Thinlits (love those!!) to personalize the card and then some glitter - what girl doesn't like some sparkle?!


Until next time, stay crafty!
Steph

8.19.2015

Custom Birthday Card

I'm writing today to help you get through "hump day". My day started out fantastically with the delivery of some holiday pre-order products from Stampin' Up! - the box both arrived a day early AND in the morning (usually my orders arrive in the evenings). Sweet!

Anyway, here's a custom card I created for a customer. She wanted fun and girly and I had to incorporate "30" and the colour coral. So basically I had fully creative design control and I loved it!


I used a retired set, but I couldn't resist the martini glass with the candle in it. So fun, right?! I embossed it in silver and then coloured it with Stampin' Write Markers. The patterned DSP is from the Cherry on Top paper stack. LOVE, LOVE, LOVE this paper!!

I created lots of interest on the card by punching out an opening with the Note Tag Punch and then popping up my punched out martini image (punched with the Decorative Label Punch) and layering it with some Silver Foil. The sentiment is punched using the 7/8" Scallop Circle Punch and I free-handed the banners for "happy" and "birthday".

The "30th" was cut from Silver Glimmer Paper using the Little Numbers Thinlits. I also added some interest with some White Perfect Accents, new in this year's catalogue.


On the inside, I added a few more stamped martini glasses with lots of room for a personalized message.

Until next time, stay crafty!
Steph

8.10.2015

Dora Punch Art

Happy Monday! Hope you had a wonderful weekend. Yesterday I got to hang out with some friends and celebrate the birthday of one of my children's friends. She really loves Dora, so naturally, I had to create a custom piece for her!


When I sat down to create this card, I had to turn to Pinterest for inspiration. I was instantly drawn to Christi's card and started my punching. I changed things up slightly from the punches she used as follows: shoes & shoulders: Heart to Heart (retired); hands & socks: Boho Blossom (retired); legs & arms: Word Window; hair: XL Oval; face: Ornament (retired) and eyes & mouth: Owl Builder 


The trick with punch art is that you sponge all the edges to give dimension to the pieces. The colours you choose to do this depend on your paper colours. You always want to go a shade or so darker than the paper.


For added dimension, I popped up Dora's head and didn't glue her fingers down.


This is what the card looked like on the gift. I didn't use an envelope because I wanted the card to be seen!

Until next time, stay crafty!
Steph

7.08.2015

Hoarding

I don't know about you, but there are two three types of crafty things I like to hoard - paper, buttons and ribbon. I don't know why I can't stop buying all the new pretty colours and patterns. Oh wait, just thought of another one... Washi Tape.

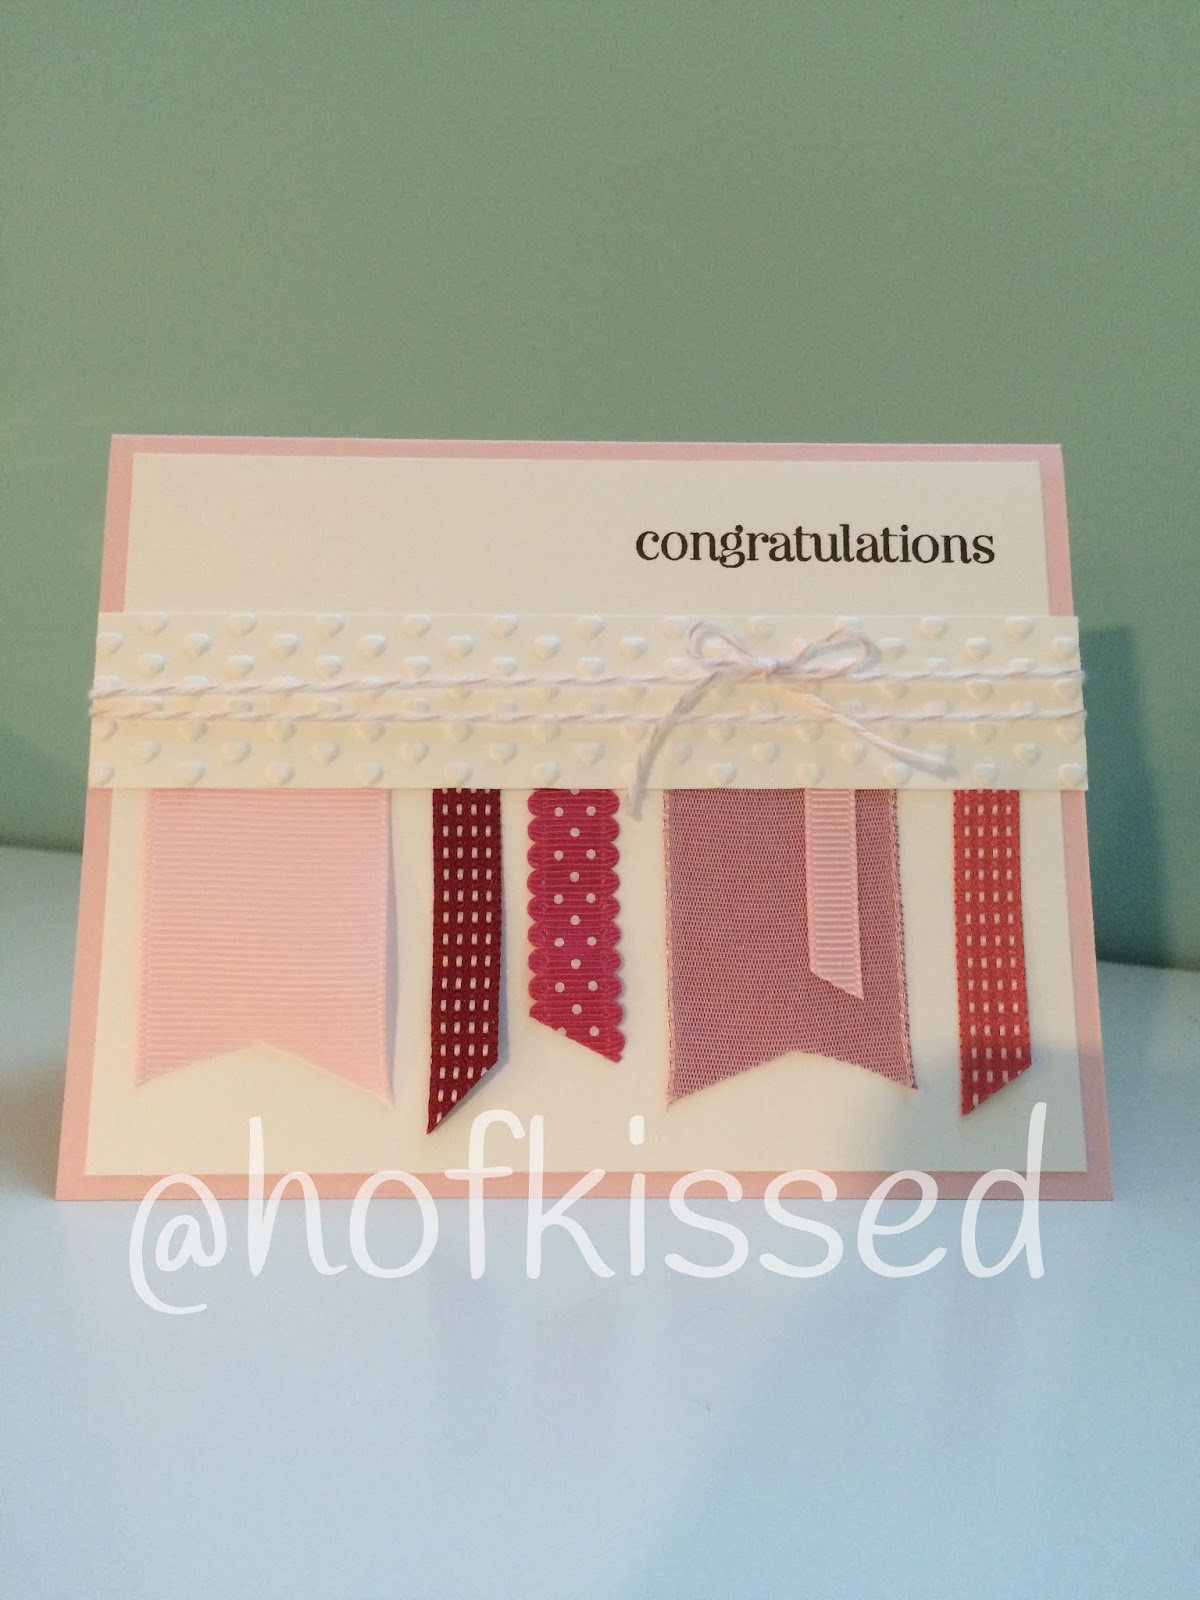
Anyway, my point is, I need to start using these things more in my card making. Here's one way I came up with to use some ribbon:


I'm sorry to say that almost all of the items I used to create this card (and sorry for the dim lighting!) is retired. But I guess that's what happens when you hoard. ;)


I wanted to showcase this simple card to you because I think it still offers a lot of punch with the various ribbon textures, colours and patterns, plus, the embossed panel & baker's twine.


Inside I kept it just as simple with a peek of the baker's twine and a sentiment.

What do you like to create with your ribbon?

Until next time, stay crafty!
Steph

7.06.2015

For the Girls

Happy Monday. Hope you had a wonderful weekend! As I promised in Friday's post, today I was going to share the girl cards I created for a customer recently. Here's a look at the bunch:


I use the note cards and envelopes (the watercoloured ones are retired) for simple, yet beautiful cards. These are for young girls, so I used bright colours, feminine designs and colours and of course some bling!

Here's a closure look at card one:


These cute little cupcakes are from a retired set, but just the perfect size for these little note cards and a 1" circle punch. ;) For added colour and texture, I used some Cherry on Top Washi Tape.


For the second card (and perhaps my favourite), I stamped the ballerina image three times and then colored each slightly differently with Stampin' Write Markers and alcohol based ones for the skin tones. I also couldn't forget the bling, adding a few jewels to the ballerinas' waists.


The third card uses the awesome Triple Banner Punch (but you can actually make 4 different sizes if you saw my Instagram post yesterday) to created quick and easy banners. I adhered them with a tiny staple and lastly used the AWESOME stamp set Stampin' Up! released this year for RMHC called Sprinkles on Top. It also has a coordinating punch. So many possibilities!


Lastly, a cute little purse card. What girl doesn't enjoy carrying around various purses with random toys, chapstick or a few dollars in it?! I stamped them in Soft Sky, Watermelon Wonder, Wisteria Wonder and Mint Macaron and added a large jewel to each. For the sentiment, I used Petite Pairs and popped it up on a punched piece of silver paper for a little extra sparkle.

Until next time, stay crafty!
Steph