Follow My Blog

Follow on Bloglovin
Showing posts with label 3D. Show all posts

12.15.2017

A Week in Review

Hello!

This is the first post of many weekly installments I'm entitling "A Week in Review".  These posts will showcase a variety of projects, many of which I have teased with on Instagram, but here, you'll get more detail. ;)

Cards:

This first one features some current & new products that are coming up in the new Occasions Catalogue (live January 3rd). I used the Ronald McDonald Stamp Set - Sharing Sweet Thoughts - in conjunction with the Everyday Jars Framelits and some new products, including some yummy DSP and a tiny strawberry punch! I kept the card fairly simply, but created a small shaker element. I stamped some strawberries & coloured them with Stampin' Blends and used some punched strawberries as the shaker pieces.


This next card features many new products, including a sequin embossing folder!! Eek!! Speaking of sequins, there are some self-adhesive sequins in the new catty too! The other elements, some scalloped velvet trim and silver vellum embellishments, are part of an embellishment pack. It's pretty fabulous. To make some of those vellum pieces really pop, I burnished the vellum to make certain areas white and this technique also naturally curls the vellum, making it look more dimensional.


This last card is one I designed for my class tonight. I love the Half Full Stamp Set. To give the wine glass extra depth, I coloured them in with my Stampin' Blends, followed by my Fine Tip Glue Pen - did you know it hardens and turns glossy, as well as glue? I love using it to accent pieces of a project!


Scrapbooking:

One of my goals for the new year is to keep up with my memory keeping. I've got years of catching up to do! Here's a simple layout I created. I was inspired by a quilting pattern for the snowman. I cut my pictures with Layering Circles Thinlits and laid some silver Foil Snowflakes in behind. I also snuck a few new embellishments (from that same embellishment pack I chatted about above).


3D Projects:

Obviously I love handmade, but when it comes to holiday decor, I love adding a new piece or two every year to my decorating. Here's a table centerpiece I created. I repurposed the base from a floral arrangement I had received and added some floral foam & cotton balls. The tree "trunks" were from a past Paper Pumpkin kit and the "trees" were originally going to be from a past kit as well (October 2014). That kit included pie-shaped boxes, but they weren't in colours I wanted for this project. While I could've covered them in DSP, I opted to trace the boxes and create new ones instead. I hammered three different sized holes on all sides and from the inside, covered a few randomly with Glimmer Paper in all the metallics and the remainder with Vellum. The pieces then have interest with or without light.


My last project is with the little Pizza Boxes - how cute are they?! They're perfect for a some homemade baked goods or small treats. I created a removable band for them, as well as some Santa cinnamon sticks. My mom used to make them when I was younger, so I thought I'd give it a try. I painted the ends and then added the beard and pom pom with Embossing Paste. I think they make the perfect topper to my boxes.


Hope you enjoyed this first installment of many. See you next week for my Week in Review. ;)

Until then, stay crafty!
Steph

If you would like to purchase Stampin' Up! or take a class, visit www.hofkissed.stampinup.net or check me out on Facebook at www.facebook.com/hofkissed

5.30.2016

A Portfolio of Recent Work

Today I'm sharing a variety of my recent work. Let's just say I had a busy weekend! ;)

THREE CARDS:

I love pulling apart Paper Pumpkin and creating something different! I used various pieces from the March 2016 kit, along with a leaf image from the Flower Patch Stamp Set.

This was a complete "out of the box" design that came to me as I was about to cut my card base. I thought, why not create a really irregular card base?! I designed as I went and kinda love how it turned out.

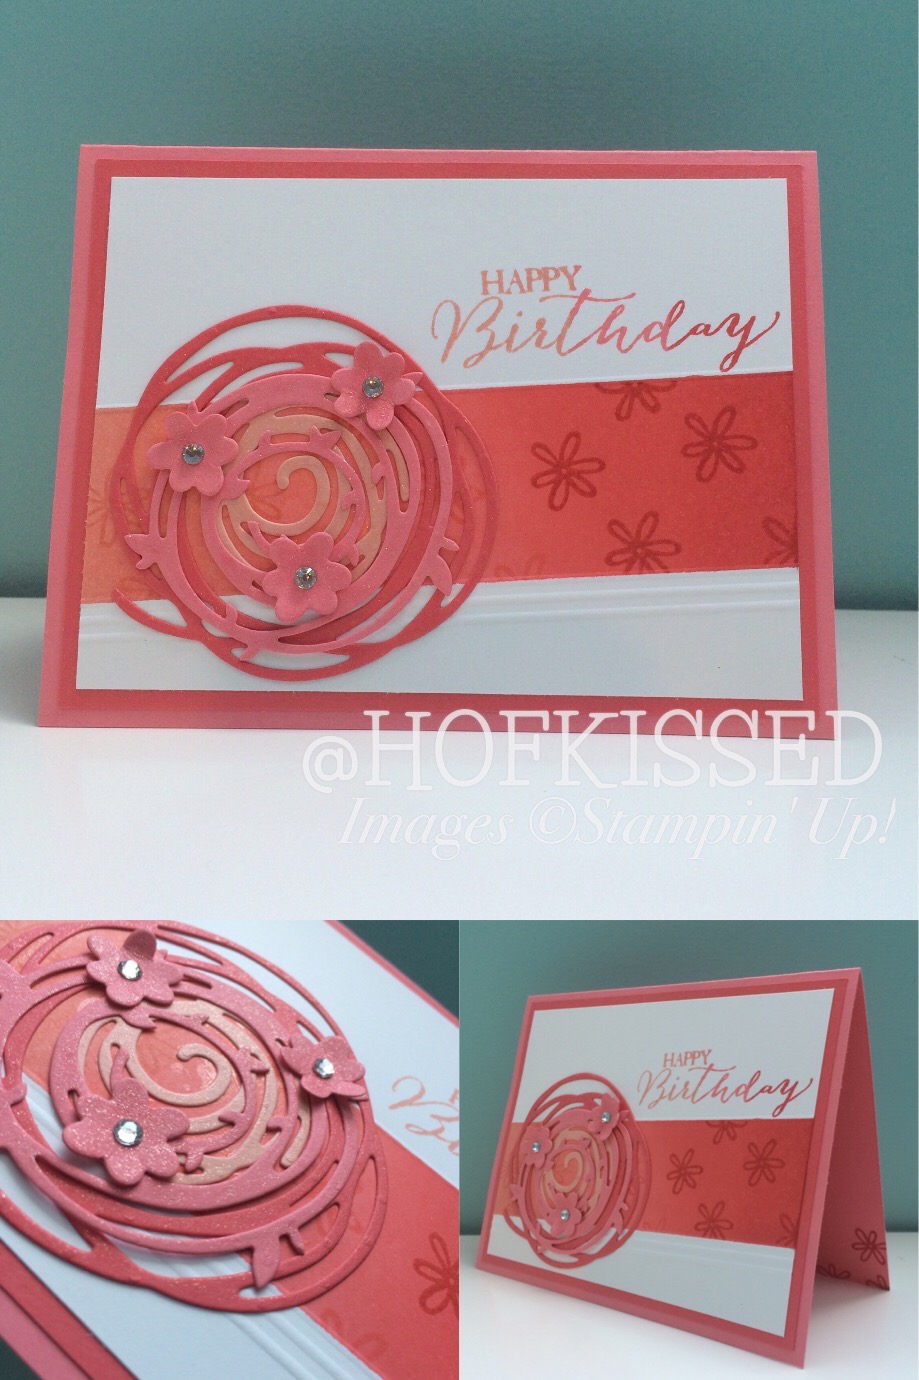
Using the new Swirly Bird Stamp Set & coordinating Thinlits (available June 1st), I created an Ombre design with sponging, stamping & cutting. Then I added a little shimmer with some clear Wink of Stella.

ONE SCRAPBOOK PAGE:

I created a scrapbook page, but instead of putting it in an album, I turned it into a home decor piece by placing it in a frame. This makes it really easy to change out the photos & layout. You can see an alternative idea here.

TWO 3D PROJECTS:

Yes, I still have some of those Burlap & Blooms Wreath Kits kicking around... so I cracked one open and repurposed some of the pieces for this shadow box. Don't the colours work wonderfully with some of the new papers and colours, available June 1st?!

Lastly, I created a caddy from upcycling a Project Life box. After cutting it up, I decorated it with some DSP, card stock and Washi Tape. This is perfect for toting around tools, adhesives and cards. So many possibilities!

Hope you enjoyed seeing what I've been up to lately. Thanks for taking a peek.

Until next time, stay crafty!
Steph


4.28.2016

3D Embellishments + Video Tutorial!

I'm excited to share with you this card I made recently and I loved it so much that I decided to shoot my FIRST EVER video tutorial (& post it on YouTube!). Crazy!


I used one of my all-time-favourite sets, Sprinkles of Life, along with the coordinating Tree Builder Punch. If you purchase this set before May 31st, Stampin' Up! will donate $3 to RMHC. I'm happy to let you know that it'll be in the new catalogue (launching June 1st) and that you won't be disappointed with the new RMHC stamp set either! ;)

I won't go into too much detail (because I want you to check out my video!), but here are a few more shots of some of the card elements.

An inside shot:


A closer look at the glimmer I added with the Clear Wink of Stella Brush:


A closer look at the 3D effect created with the paste - see the how-to in the video below:


Here's the video!


Hope you liked my video. I plan to make more of them (and post more frequently too!).

Until next time, stay crafty!
Steph


To purchase Stampin' Up! products:
www.hofkissed.stampinup.net

Find me on Facebook:
www.facebook.com/hofkissed

Search for me on all Social Media:
@hofkissed

10.31.2015

Glow Stick Broom Sticks

Happy Halloween! Today I'm sharing the "treat" my daughter and I made for all her classmates. I got the idea from Alex over at Northstory. I opted for kraft packing paper (I had lots from previous packages, so it was both plentiful and FREE!).

Here's what you'll need:
Glow Sticks from your local dollar store
Kraft Packing Packing
Fringe Scissors
Glue Dots
Tags
Twine


I didn't really pay too much attention to the length of my strips of paper, but I did cut them all to roughly 2" and I'll guess 10" in length. I used two strips per broom and 3 glue dots - one to start, one to hold the two strips together and one to finish.


When those were done, I added the bracelet attachment to the top and tied a tag to it (there were some grooves in the attachment to keep the tag from slipping down). The tag was created using pieces from past Paper Pumpkin kits (don't you love that stamp set?!) and Black Baker's Twine. My daughter then signed her name on all of them and then went back later and drew little pictures. So cute!


Here are all of them completed (including the one on the end that was accidentally cracked). They were well liked and the teachers were raving about them!


This one was my favourite tag - my daughter drew a bunch of doors for "trick-or-treating". Love!

Until next time, stay crafty! (and Happy Haunting!)
Steph