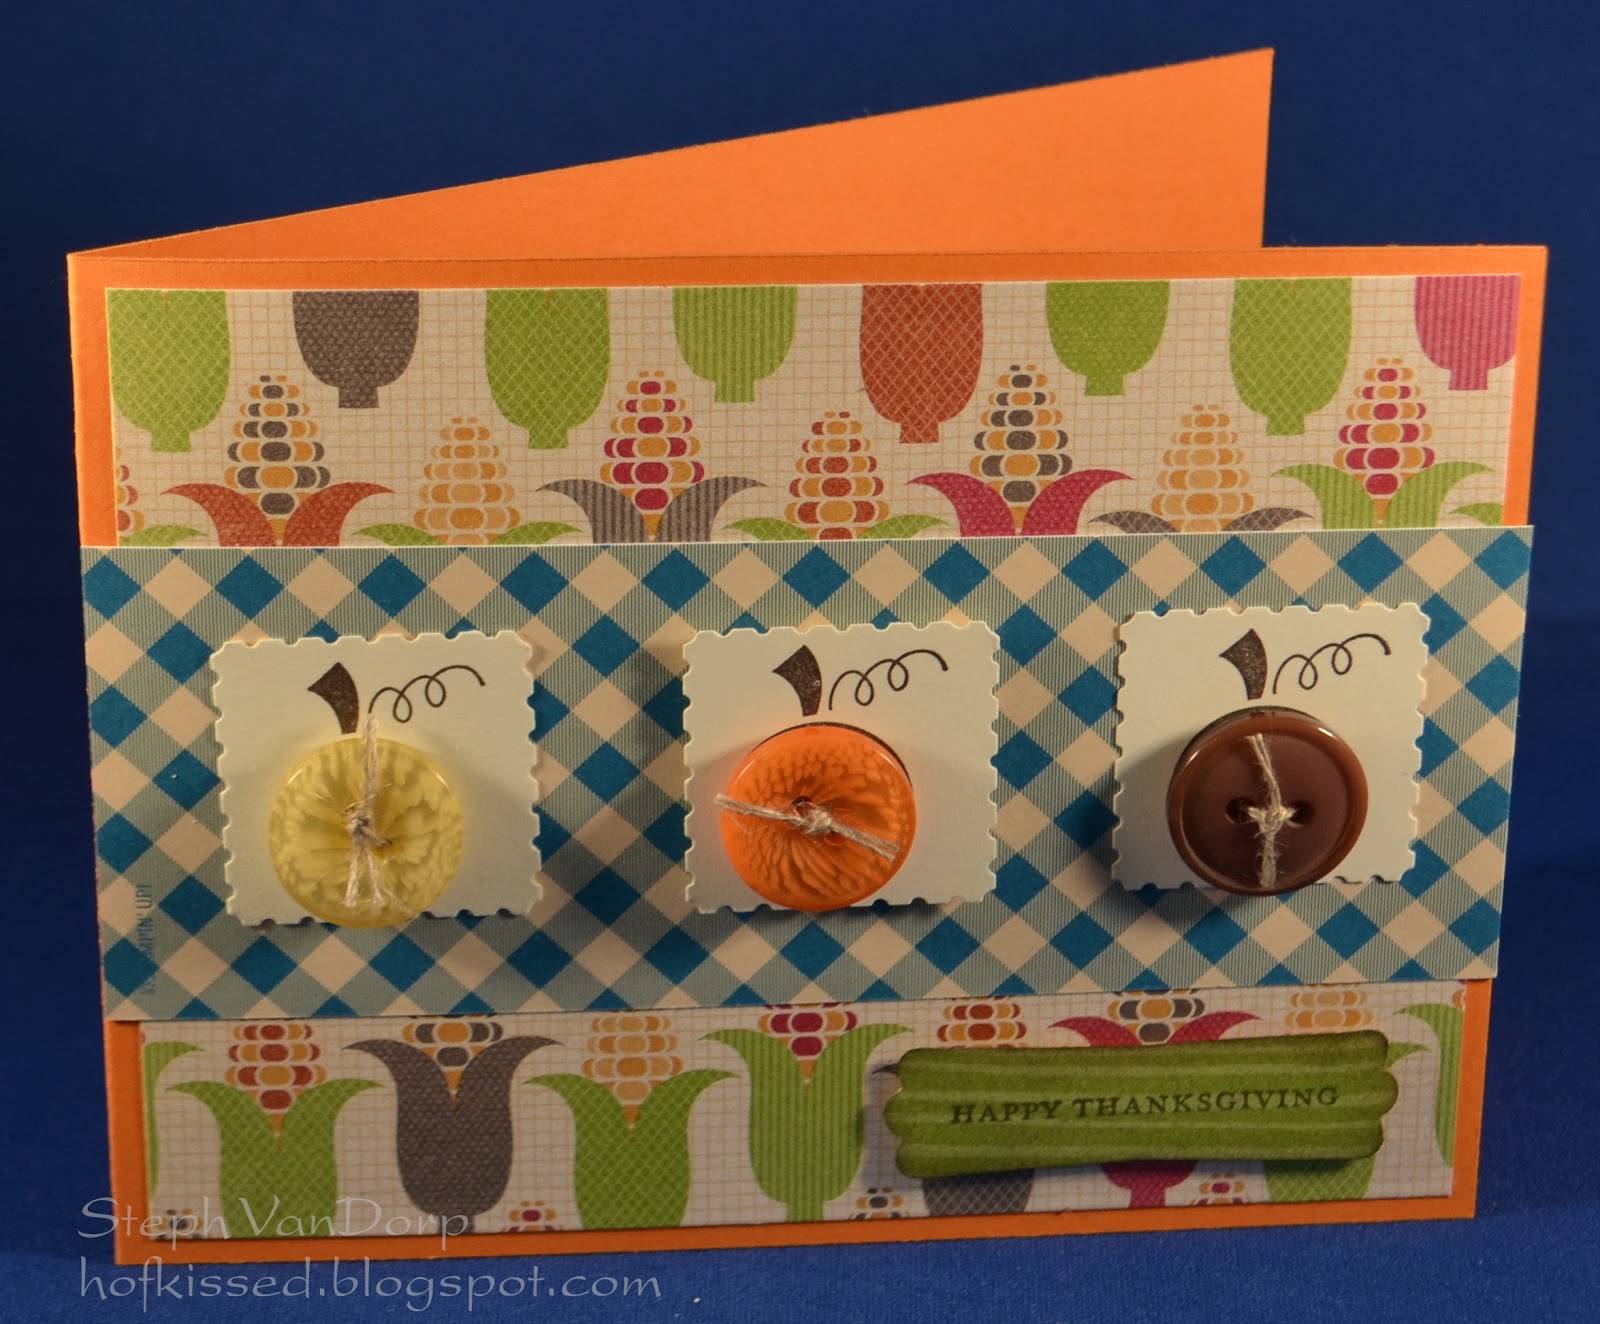
I somewhat CASEd the idea from a card I created last year (found here). Really, the only thing that is the same is the use of buttons.
What do you think?
Until next time, stay crafty!
Steph
Showing posts with label Buttons: Brights. Show all posts
8.07.2013
1.10.2013
It's A Scrap Yard Series - Post #4
Another simple card today using all my scraps! I debated adding a sentiment or not, but sometimes I like to keep it open until I need a card for a particular occasion. I think this will eventually become a birthday card, but you never know...
Like yesterday's card, all my pieces were already cut and die cut with my Big Shot using the Finishing Touches Edgelits. It was after I glued all the pieces down that I thought I needed some dimension. I just so happened to have flower buttons in all the colours! Three were from the Ice Cream Parlour Ribbon & Button Pack from SAB a few years ago (but you can purchase on the Clearance Rack currently!) and the other two are from the Brights Buttons, I believe.
Until next time, stay crafty!
Steph
![]() |
| Paper: Tempting Turquoise, Old Olive, Melon Mambo, Pumpkin Pie, Daffodil Delight Accessories: Buttons, Linen Thread |
Until next time, stay crafty!
Steph
1.05.2013
CAS, Easy Peasy Cards in Minutes!
Today I'm showcasing some simple cards I made as a thank you gift set for a client. It doesn't take much to create handcrafted cards for someone - sometimes less is more. Check them out:
All I did to create these cards was use a (retired) Simply Sent Kit that came with buttons and ribbon - I used the ribbon but opted to use different buttons I had in my stash - some extra paper and one stamp set. I knew that my client loved the button cards I had done for her in the past and also that she often preferred "blank" cards so that she could use them for any occasion she needed them for.
I created six (two of each style) for her in a matter of minutes. Provided envelopes (that came with the kit also) and wrapped them up nicely. Why not give it a try - there are some great kits that just came out in the NEW Spring Catalogue... and starting January 22nd, you can even earn one for FREE during Sale-A-Bration! Contact me for more details... I'd love to chat with you about it!
Until next time, stay crafty!
Steph
![]() |
| Paper: Simply Sent Kit (retired), Old Olive, Whisper White Ink: Real Red, Rich Razzleberry, Old Olive, Early Espresso (Stampin' Write Markers used) Stamps: Button Buddies Accessories: Various Buttons |
I created six (two of each style) for her in a matter of minutes. Provided envelopes (that came with the kit also) and wrapped them up nicely. Why not give it a try - there are some great kits that just came out in the NEW Spring Catalogue... and starting January 22nd, you can even earn one for FREE during Sale-A-Bration! Contact me for more details... I'd love to chat with you about it!
Until next time, stay crafty!
Steph
11.12.2012
Button Buddies Harvest
Even though Thanksgiving is long gone for us Canadians, the US will be celebrating in just a couple weeks. As I mentioned in my last post, I had to create some Thanksgiving cards for a client for her US friends and here is another one I made:
This one didn't require much thought because Button Buddies does the work for you. Our buttons coordinate so nicely with this stamp set! I love the Harvest DSP too and the colours are just so festive for this time of year.
Until next time, stay crafty!
Steph
![]() |
| Paper: Pumpkin Pie, Harvest DSP, Very Vanilla Ink: Early Espresso Stamps: Button Buddies, Teeny Tiny Wishes Tools: Postage Stamp Punch, Modern Label Punch Accessories: Buttons, Linen Thread |
Until next time, stay crafty!
Steph
9.12.2012
Ribbon Stem Flower
Today's card was inspired by some ribbon weaving I saw online. Thought it would be nice to create a flower stem with it. Have a look:
What do you think?
Until next time, stay crafty!
Steph
What do you think?
Until next time, stay crafty!
Steph
7.24.2012
Cherries Please!
I know Button Buddies has been around for a while now, but it's been on my wish list since the beginning and I finally got my hands on it. I kept pushing it down the wish list as new stuff came out. I hoard buttons because I love 'em and yet, don't use them too often. I bought this stamp set to get me using all my buttons! Here's my first card with my newly acquired set:
All I did was start with a Whisper White note card and emboss it with one of the Designer Frames Textured Impressions Embossing Folders. After that, I inked up the cherry stamp from the Button Buddies set with my Early Espresso and Old Olive markers, stamped it and added the buttons with glue dots. I popped up the sentiment with Dimensionals and viola!, a CAS card done in less than 5 minutes.
What do you think?
Until next time, stay crafty!
Steph
All I did was start with a Whisper White note card and emboss it with one of the Designer Frames Textured Impressions Embossing Folders. After that, I inked up the cherry stamp from the Button Buddies set with my Early Espresso and Old Olive markers, stamped it and added the buttons with glue dots. I popped up the sentiment with Dimensionals and viola!, a CAS card done in less than 5 minutes.
What do you think?
Until next time, stay crafty!
Steph
6.15.2012
Colour for The Paper Players
This week I had the opportunity to play with The Paper Players! It was a fun colour challenge because the colours are fabulous and they just look so great together! Here's the colour scheme:
Banners are all the rage now... especially so since SU! just released some Bitty Banners Framelits in the recent catty. They are so adorable! Well, I didn't use them on this card, but used them as inspiration. I cut all my banners by hand using a mix of card stock and ribbon.
For this card, I used the Basic Gray Striped Ribbon (that just retired). I haven't used it until this card... so it was time to create something with it! Then I added Melon Mambo & Lucky Limeade card stock in different widths. I embossed all the hand-cut banners with different embossing folders and my oh-so-loved Big Shot!
I accented with a Melon Mambo button (retired) and the Lucky Limeade Organdy Ribbon that I stocked up on from the last SAB. :) I thought it added a little something extra treading it through the button and fanning it out.
What do you think?
Until next time, stay crafty!
Steph
Banners are all the rage now... especially so since SU! just released some Bitty Banners Framelits in the recent catty. They are so adorable! Well, I didn't use them on this card, but used them as inspiration. I cut all my banners by hand using a mix of card stock and ribbon.
For this card, I used the Basic Gray Striped Ribbon (that just retired). I haven't used it until this card... so it was time to create something with it! Then I added Melon Mambo & Lucky Limeade card stock in different widths. I embossed all the hand-cut banners with different embossing folders and my oh-so-loved Big Shot!
I accented with a Melon Mambo button (retired) and the Lucky Limeade Organdy Ribbon that I stocked up on from the last SAB. :) I thought it added a little something extra treading it through the button and fanning it out.
What do you think?
Until next time, stay crafty!
Steph
5.14.2012
Mojo Monday!
When I saw today's sketch over at Mojo Monday, I immediately thought of the new Bitty Banners Framelits that are debuting in the 2012 - 2013 Stampin' Up! Catalogue. Here's the sketch:
See that banner at the top? Well, that's what inspired me to create this birthday card using LOTS of Bitty Banners - that's a lot of rolling through the Big Shot!
What do you think?
It's pretty bold & busy, but I think it works! I cut out 1 banner in a sheet of whisper white cardstock, then glued 45 (!!) banners around that point. Once all was dry, I ran it through the Big Shot again using the Top Note Die. I popped that up to give the card some dimension, added a few other accessories (notice another banner used, folded, behind the button?!) and added some layers of DSP & coordinating cardstock and my card was complete.
Until next time, stay crafty!
Steph
See that banner at the top? Well, that's what inspired me to create this birthday card using LOTS of Bitty Banners - that's a lot of rolling through the Big Shot!
What do you think?
It's pretty bold & busy, but I think it works! I cut out 1 banner in a sheet of whisper white cardstock, then glued 45 (!!) banners around that point. Once all was dry, I ran it through the Big Shot again using the Top Note Die. I popped that up to give the card some dimension, added a few other accessories (notice another banner used, folded, behind the button?!) and added some layers of DSP & coordinating cardstock and my card was complete.
Until next time, stay crafty!
Steph
4.29.2012
Reduce & Reuse!
I'm a big fan of recycling, and even better, to reduce & reuse waste. What better way to reduce & reuse than to create something crafty & pretty!
I've been collecting wine corks from various sources for years and together with fabric and a bamboo cutting board, I created a pretty and functional cork board. This would be perfect for the kitchen, or home office where wall space is limited.
What do you think?
Until next time, stay crafty!
Steph
I've been collecting wine corks from various sources for years and together with fabric and a bamboo cutting board, I created a pretty and functional cork board. This would be perfect for the kitchen, or home office where wall space is limited.
What do you think?
Until next time, stay crafty!
Steph
Subscribe to:
Posts (Atom)