Follow My Blog

Follow on Bloglovin
Showing posts with label Ribbon. Show all posts

8.14.2020

Hofkissed is Back!!

Well, I've never gone away really... but haven't stayed on in the Blogging world. I thought I'd like to get back to it though and share my creative adventures, at lease once a week. Perhaps you've been keeping up with me on Facebook or Instagram? I also recently got back to posting videos on my YouTube Channel. Either way, I'm changing things up a bit here on my blog and want to share all sorts of DIY's - paper crafting, home decor, thrift flips and more.

One of the many things this pandemic has taught me is to "craft my stash" and be resourceful. I've started a weekly Card Kit DIY (you can find the playlist on my YouTube Channel) and catch me live every Tuesday on my Facebook Page. You can purchase the kits from my store - Hofkissed - and craft along with me. The kits include everything you need to make the projects.

In honour of "crafting my stash" I thought it was time to figure out several ways to use my hoards of ribbon. Can you relate? Below you'll find a few of the projects and a link to the video that'll walk you through it all.

Tassels are just about the easiest thing to make with ribbon and twine and are super trendy right now with a beaded garland!


Do you love to make your own embellishments? Sometimes I just like to play around and see what the end result is. I really love how this one came together.


I'm sure you've heard of adding prints or scrapbook paper to frames for a quick and easy decor piece. But what about ribbon?!


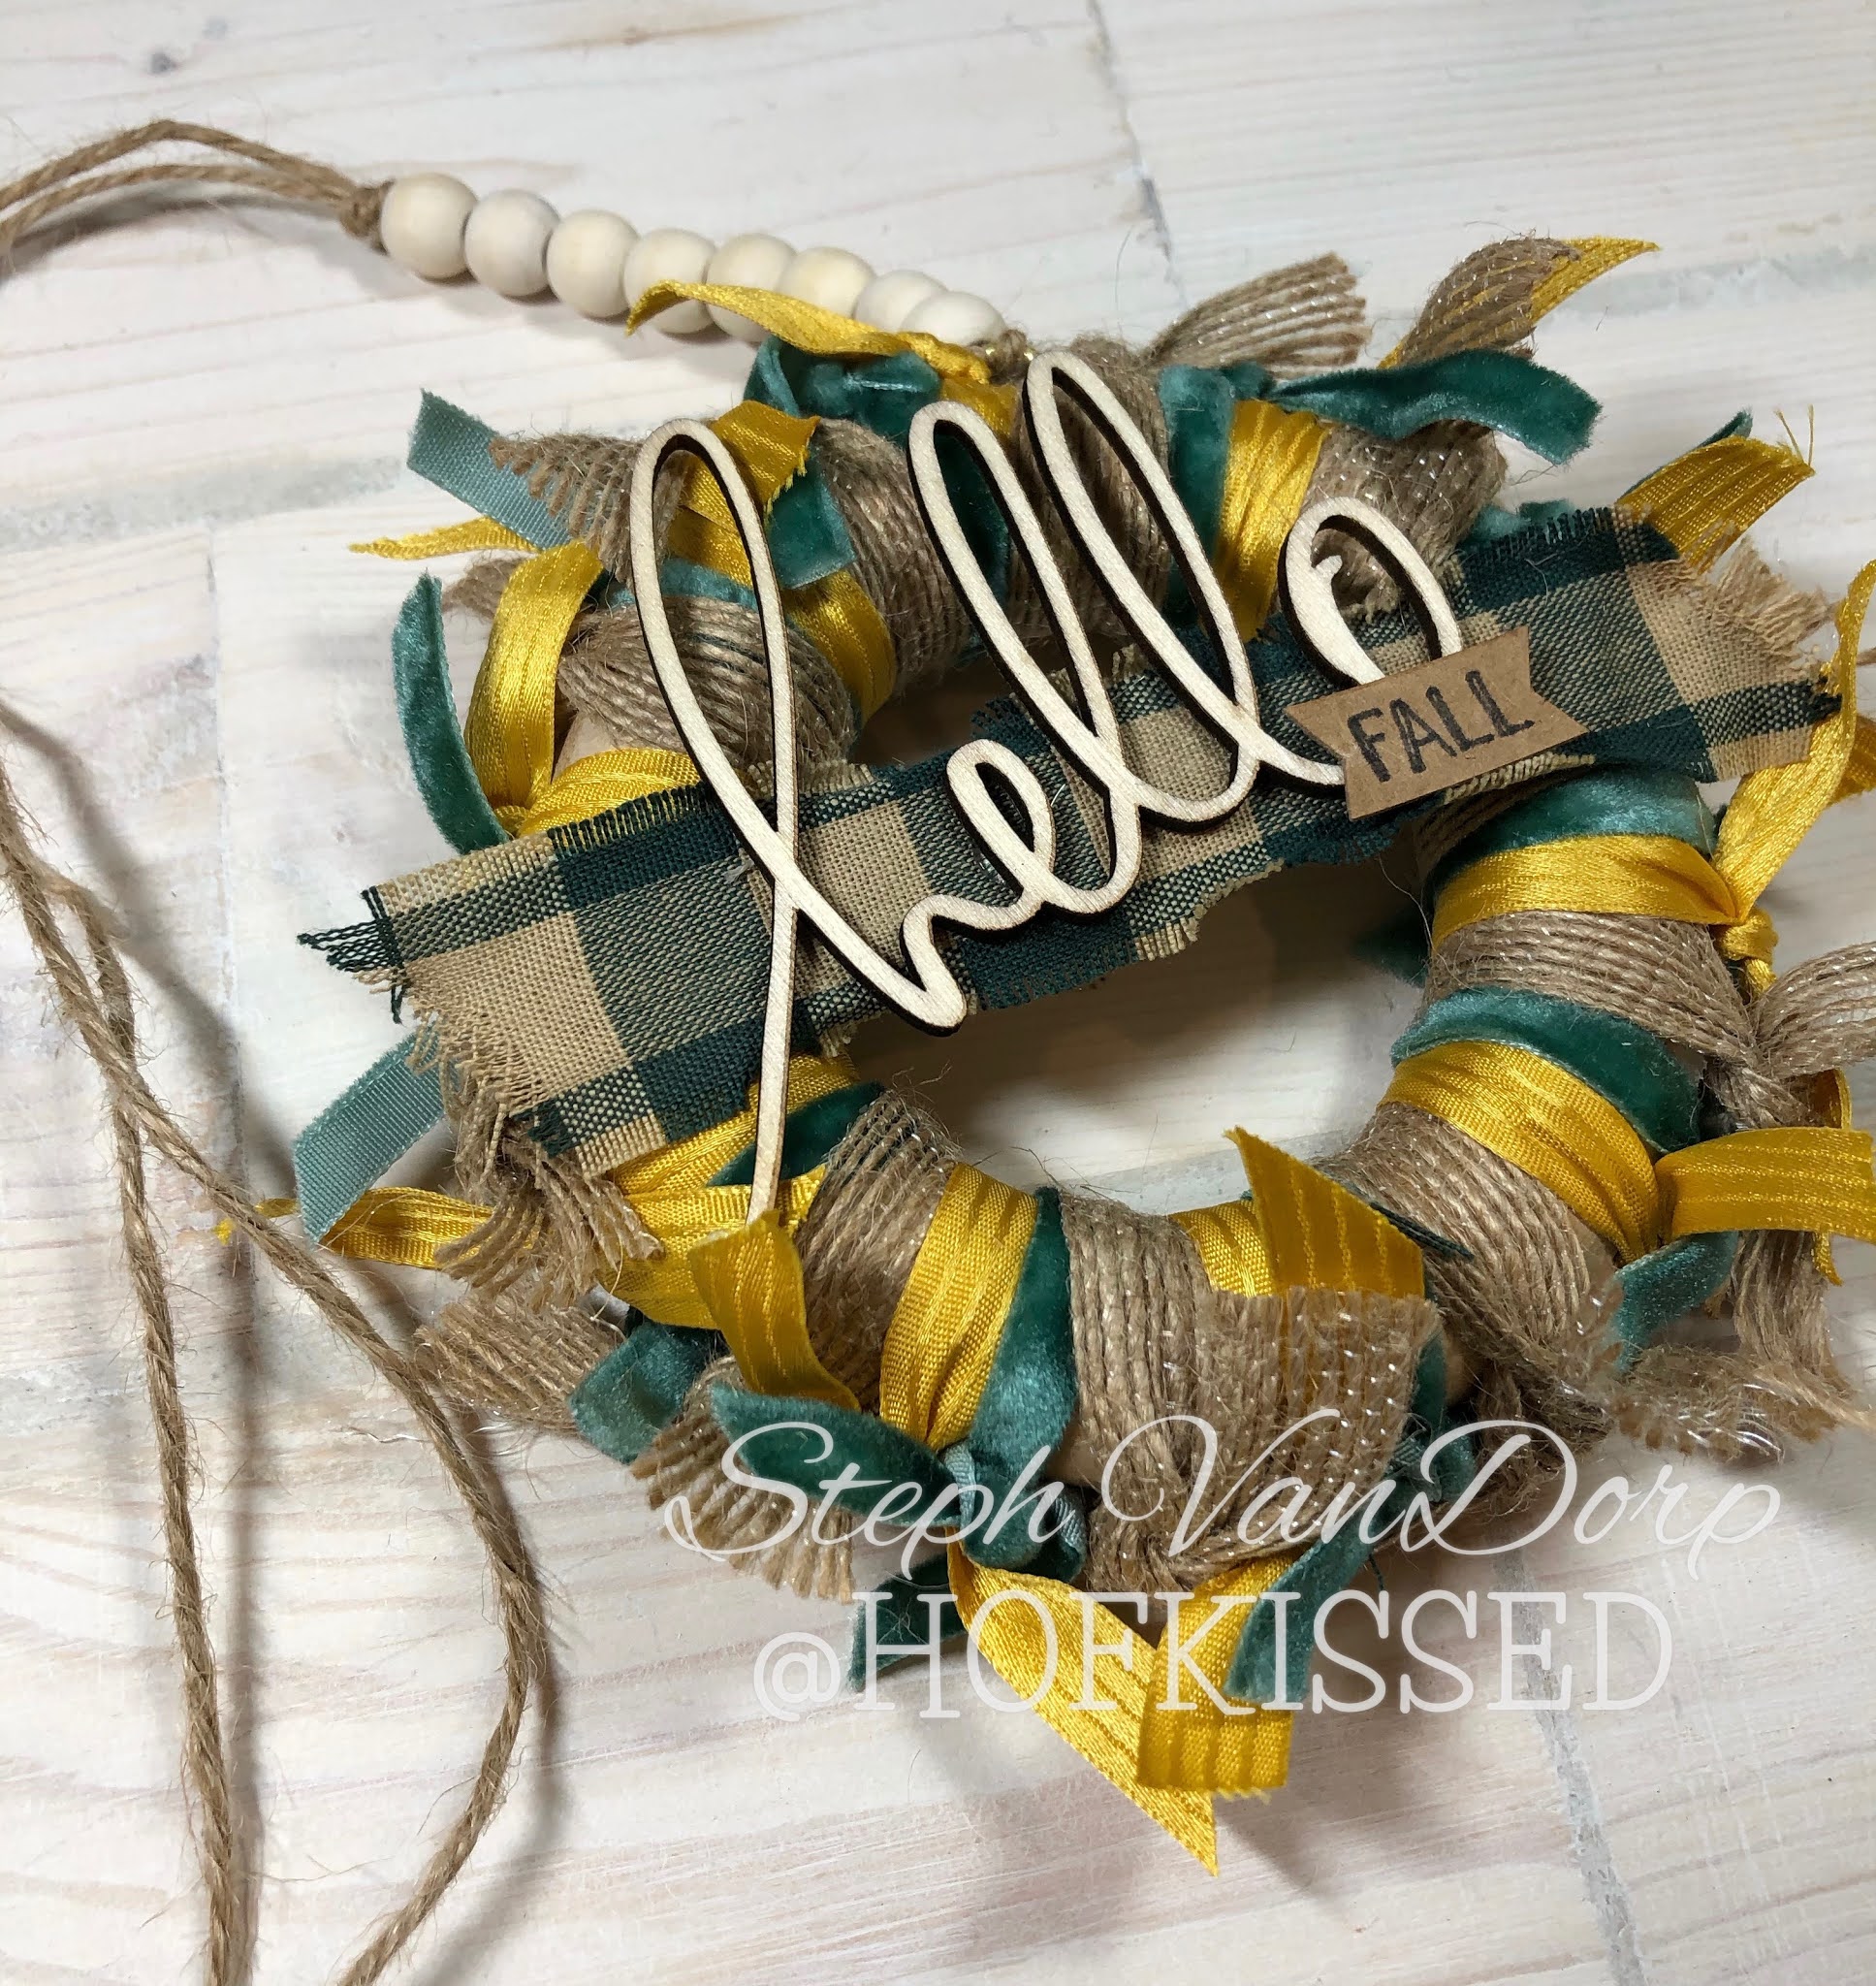
This is probably my favourite project from the series. I'm so in love with this rag wreath!!

To see a breakdown of these projects and more, be sure to check out my video... I'll walk you through each one step-by-step.


I hope this was helpful and gets you to use up that ribbon! What other ways can you come up with? I would love to see what you create - tag me on social media @hofkissed

Until next time, stay crafty!

Steph

7.16.2019

Paper Scraps #2

Thanks for popping in today. As promised in my post yesterday, I'm sharing another project I made with my paper scraps... strips of scraps that is.


On the left is the card I shared yesterday and on the right is today's card. I used the same suite of products and the inside of that cut oval (I got three pieces from the one die cut).


The Notecards & Envelopes were the perfect size for this project. I stamped all the images using Memento Black Ink and coloured the spools with Watercolour Pencils. To smooth out my pencil lines, I went over everything with a Blender Pen - love those things! If you go that route, just make sure you wipe it off between colours... unless you want to do some blending. ;)

I used some more of that ribbon from yesterday's project. It was sitting in my scrap bin and couldn't resist using it. Of course, this card could work with any ribbon or twine. I loved the little detail on the "spool" I created, though I'm sure that's meant more for a sentiment. haha.


Of course, I never ignore the inside. I kept this one pretty simple... and that's ok! If you'd like to know what I used to make this card (and yesterday's), you can find that info below and it'll take you right to my shop.

Until next time, stay crafty!
Steph

  Product List
Blender Pens
[102845]
$16.25
Big Shot
Big Shot
[143263]
$150.00
Paper Snips Scissors
[103579]
$13.50

10.06.2016

Organization 101

I did a little re-org in the studio yesterday and swapped around some of my containers and such. I love seeing everything and having things close at hand. For about the last 10 years, I've been using those wooden storage cubes that you can configure a bunch of different ways. They've seen me through several moves and tons of reconfigurations (that's what I love about them!) and finally I think I've found a configuration that works. Here are a few shots of some of the organization...


I'm not sure what I originally bought this cube for, but I did a little happy dance when I discovered the dividers fit my ribbon spools perfectly!


Same applies for my twine & trim drawer. I just love opening these up and taking a peek inside.


This last pic is obviously not a drawer, but this container now sits inside one of the shelves. It was actually in a pile to give away and then I thought it would be a better embellishment holder for all my little do-dads. Now I can just open it up and use my little scoopers to pick what I want. Aren't those sooooo adorable?!

Until next time, stay crafty!
Steph

7.08.2015

Hoarding

I don't know about you, but there are two three types of crafty things I like to hoard - paper, buttons and ribbon. I don't know why I can't stop buying all the new pretty colours and patterns. Oh wait, just thought of another one... Washi Tape.

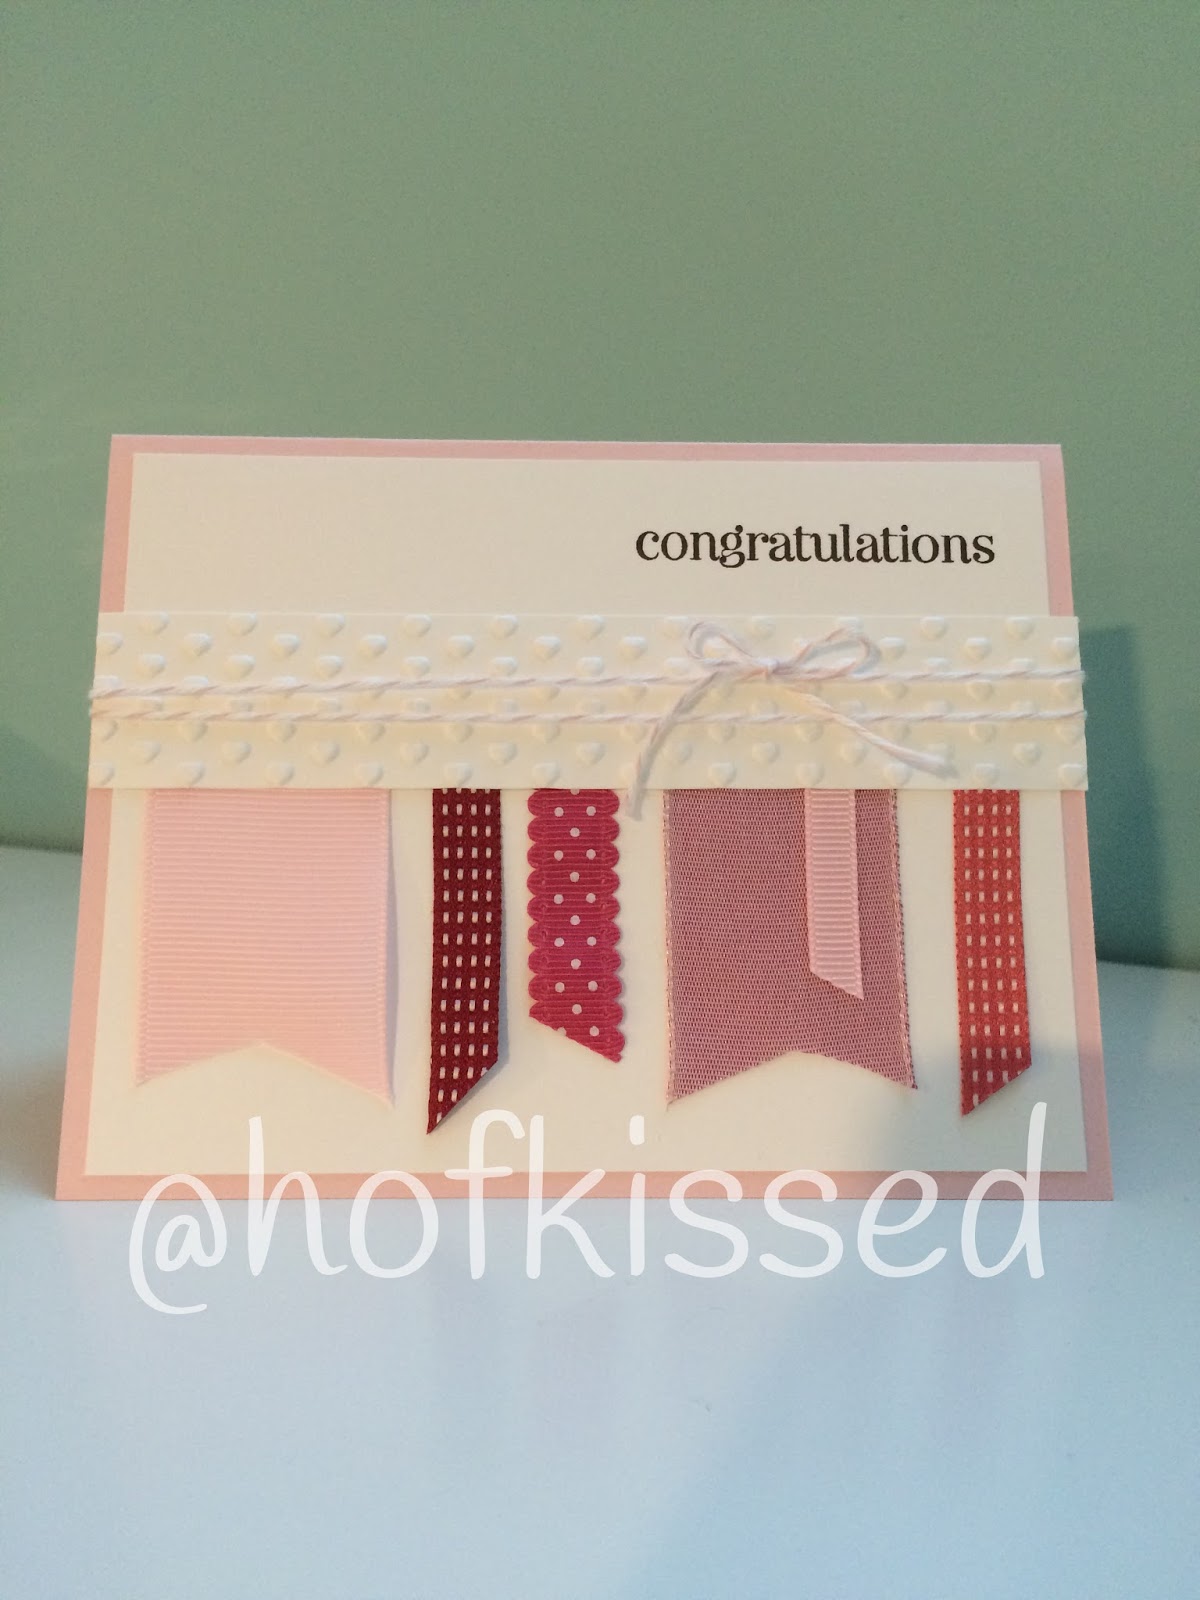
Anyway, my point is, I need to start using these things more in my card making. Here's one way I came up with to use some ribbon:


I'm sorry to say that almost all of the items I used to create this card (and sorry for the dim lighting!) is retired. But I guess that's what happens when you hoard. ;)


I wanted to showcase this simple card to you because I think it still offers a lot of punch with the various ribbon textures, colours and patterns, plus, the embossed panel & baker's twine.


Inside I kept it just as simple with a peek of the baker's twine and a sentiment.

What do you like to create with your ribbon?

Until next time, stay crafty!
Steph

7.01.2015

Happy Day!

Not only is today Canada Day, but it's also the first day I'm back after a loooong hiatus! I told you last week that I was switching things up a bit. You will now be able to find me, blogging, Mondays, Wednesdays and Fridays. For daily doses of creativity, you can find me on Instagram or Facebook. :)

Since today is Canada's birthday, I decided to share with you the decor wreath I created. Originally I wanted it to hang on the front door, but since it's been a little humid and rainy, I didn't trust that this mostly paper wreath was going to survive! Take a peek...


It's currently hanging on my "communication centre" at our front door with a Canadian Flag print from the local paper. This project cost me well under 10 dollars as I found the wreath at a thrift shop for $3 and then just used DSP, card stock, buttons and ribbons I had lying around. All in shades of red & white of course!

Here's a closure look:


I was also inspired to create this wreath because I have a class running on July 9th featuring projects created using the Simply Scored Tool. We won't be doing this wreath, but instead, a rosette. Using them on a wreath is only one of many possibilities. Maybe I'll show you some other ideas in the near future. ;)

Until next time, stay crafty!
~Steph

11.26.2014

How To...

Have you ever been frustrated when gift wrapping? Annoyed that your presents don't sit flat because you've got a knot at the bottom in order to tie a bow on top? Well, here is my "how to" so you can avoid that!

Easy peasy. Hope this "how to" was helpful and the pictures were able to help you achieve a beautifully wrapped present!

Until next time, stay crafty!
Steph

5.22.2014

Embellishment Center

If you've been following me, you've probably come to realize that I haven't had much time for crafting. Well, a big chunk of my time has been dedicated to reorganizing, decluttering, purging, donating, selling & cleaning up my space! It was time!! Long overdue, actually. With the new catalogue launching soon, I needed to make room for the new stuff and let go of all the things I've been holding on to, but haven't used in more than a year.

I also had to do a major clean-up of my space. When I get creative, I get messy. It's how I roll. But, it was getting to be too much. Over the last several months I'd work until I ended up working in a 5" square space with piles all around me and then tidy up just enough to keep at it. Finally, that wasn't cutting it anymore. I was spending too much time looking for things and not enough time making things.

Today I wanted to share one of the areas I revamped in my space - my "embellishment center". I didn't change the way I organized my stash, but I did move things around slightly. You can read more details on some of my organization tips & tricks here, here & here.

You probably know that I'm a very visual person. If I don't see it (or if it's not labeled properly in a drawer that I can't see into), I don't use it. I especially like to see all my embellishments, paper & punches out on display and within reach. I previously had all my embellishments scattered around me, but now I house them all one area:


  1. Four shelves that hold my ribbons, trims, twines & wooden embellishments. Thank you IKEA & Value Village!
  2. Glass mason jars & wooden dowels hold all my baker's twine.
  3. Glass jars from IKEA (that I repurposed from my kitchen) hold all my flowers, ribbon scraps, clay embellishments & my beloved Washi Tape!
  4. My pride & joy. Repurposed embellishment rack that holds all my brads, buttons, do-dads & whatnots. Love, love, LOVE this spinning unit!

Hope this post helps you to reorganize or revamp a space in your house too!

Until next time, stay crafty!
Steph

4.16.2013

For the Babes at Sunday Stamps

Kathya's got a great sketch challenge this week over at Sunday Stamps... perfect to get your creativity flowing!


 Paper: Pretty in Pink, Certainly Celery, Bashful Blue, Whisper White
Ink: Pretty in Pink, Certainly Celery, Bashful Blue, Basic Grey
Stamps: Patterned Occasions (SAB), That's the Ticket, Itty Bitty Banners
Tools: Big Shot, Perfect Polka Dots & Stripes TIEF's, Scallop Circle & 1-1/4" Circle & Ticket Duo Punches
Accessories: Pearls, Ribbon

When SU! announced their "Colour Refresh" last week, I thought that I should use up and showcase some of the retiring colours. These three are perfect for baby cards - soft & subtle! I played around a lot with texture and dimension. I popped up the elephant image and if you think the little pearl accents aren't SU!, think again! I coloured our pearls using Sharpies. :)

Check out what the rest of the wonderful design team has created and then post your design. We love seeing your creations. You have until Friday evening.


Until next time, stay crafty!
Steph

9.24.2012

FREE Ribbon - 1 Week Left!!


There's only one week left to get your FREE ribbon with every $50 purchase! This is a great deal... the 3/8" Stitched Satin Ribbon retails for $12.25 and you can choose any of the five colours that suits your needs. Spend $250 and get all five!

Contact me for details and to place your order. Hurry, you only have until September 30th!

Until next time, stay crafty!
Steph

9.12.2012

Ribbon Stem Flower

Today's card was inspired by some ribbon weaving I saw online. Thought it would be nice to create a flower stem with it. Have a look:


Paper: So Saffron, Whisper White, Island Indigo, Calypso Coral
Ink: Calypso Coral, More Mustard, So Saffron
Stamps: Fabulous Florets, Petite Pairs
Tools: Big Shot, Apothecary Accents, Paper Piercing Pack, Modern Label, Blossom Punch
Accessories: Ribbon (retired), Brights Button

The base and layer with the Apothecary Accents Framelit is pretty self explanatory. For the flowers, I stamped the flowers from Fabulous Florets in Calypso Coral ink on Whisper White. I then used my Blender Pen with Calypso Coral, More Mustard and So Saffron ink to get the desired look I wanted. To make my flowers larger so that the proportions would look right with the stem and the card, I punched two flowers in Calypso Coral using my Blossom Punch. Placing the punch behind my stamped flower, I started to bend and fold the petals to align better with the image. For the smaller flower, I cut each of the five petals and glued them behind. I think I achieved the look I was going for.

What do you think?

Until next time, stay crafty!
Steph