Follow My Blog

Follow on Bloglovin
Showing posts with label Tool: Framelits. Show all posts

1.12.2013

It's A Scrap Yard Series - Post #6

I think today will be my final post in this series. Not to say I won't be using my scraps anymore, but I just won't focus my posts on them in this manner. It's sure been fun and I'm glad that I finally got my scraps organized & used! Here's today's card:

Paper: Sahara Sand
Ink: Early Espresso
Stamps: Feeling Sentimental (SAB Preview!)
Tools: Simply Scored, Simply Scored Borders Plate (NEW!)
Aside from my card base, everything is from my scrap bin. I had the banners that were cut using my Big Shot and the Itty Bitty Framelits. I trimmed them a bit to work with this card. Instead of using card stock or DSP to stamp on, I trimmed up a paint chip sample that worked with my colour scheme.

Since this is a "manly" card, I didn't want to add any ribbons or embellishments, so I used the NEW Simply Scored Borders Plate from the Spring Catalogue. I LOVE it!

Until next time, stay crafty!
Steph

12.25.2012

Merry Christmas

Wishing you & yours a very Merry Christmas and a healthy and happy holiday season!

Paper: Very Vanilla, Soft Suede, Festival of Prints DSP Pack
Stamps: Snowflake Soiree
Tools: Big Shot, Window Framelits, Lacy Brocade TIEF, Heat Tool
Accessories: Gold Embossing Powder, 1-1/4" Cherry Cobbler Ribbon (retired)
Techniques: Heat Embossing
Of course, I also have to show you my last Christmas card of the season. :) This card was made using scraps on my desk from previous projects, but I like the way it turned out and I hope you do too. I added a banner out of ribbon and some heat embossing. I also popped up the ornament to give the card some depth.

Until next time, stay crafty!
Steph

12.21.2012

Tree Shining Bright

Since we're so close to Christmas, I'll be posting the few last Christmas cards for 2012. Today's card has a lot of sparkle, thanks to the Glimmer Paper!

Paper: Pool Party, Very Vanilla, Champagne Glimmer Paper
Ink: Soft Suede
Stamps: More Merry Messages
Tools: Big Shot, Delicate Designs TIEF, Lacy Brocade TIEF, Holiday Framelits
Accessories: Cherry Cobbler Seam Binding Ribbon
With a little raised texture from the embossing folders, some colour from the Seam Binding Ribbon and lots of bling with the Glimmer Paper, this card came together quickly and has a CAS look to it that I just love. Also feeling the non-traditional colour scheme for Christmas.

What do you think?

Until next time, stay crafty!
Steph

12.12.2012

Christmas Scraps

Can you believe that Christmas is less than two weeks away?! I can't! Like every year, this time is always crazy busy and I've been in full Christmas production crafting mode for many months now. With all the crafting and cutting, I'm left with a ginormous pile of scraps... so I decided to make some cards using mostly scraps I had lying around. Take a look:

Paper: Very Vanilla, Poppy Parade, Whisper White
Ink: Cherry Cobbler
Stamps: Greetings of the Seasons, Jolly Bingo Bits
Tools: Big Shot, Petals-a-Plenty TIEF, Scentsational & Labels Framelits
I was able to make four identical cards using these scraps: a cutout from the Labels Framelits, tree cutouts from the Scentsational Framelits because I had made many tags with the negative cutout of this image and a piece of Poppy Parade card stock left over from making my Santa Gum casings.

After a little stamping and embossing, this card came together quickly! Why not try making something with the scraps you have lying around? You'll be surprised what you can make!

Until next time, stay crafty!
Steph

12.06.2012

MDS Tags

Don't you just love MDS2?! If you haven't yet tried it, what are you waiting for?? You can try it out for 30 days for FREE! Click here to give it a try.

One of the many things I love about MDS2 over the original is that you're able to colour stamps using multiple colours. Check out this tag I created:


I love creating hybrid projects because as much as I love MDS, I still love working with my hands too. :) I created the bird image in MDS so that it would fit inside my XL Oval punch. Once I sized it, I started colouring the image. So quick & simple! I printed several on my home printer and punched them out.

The tag itself is cut using the Layered Labels Framelits and I rounded off the one end. I cut a banner from Cherry Cobbler Coredinations and ran it through my Woodgrain TIEF. Gave it a slight sand and glued it to the tag. I popped up my bird with Dimensionals.

For the "bow" at the top, I cut strips of Tulle from Cherry Cobbler & Crumb Cake. I gathered it and tied with Linen Thread in the middle and then looped it through my tag and tied it in place.

I hope you like... why don't you give MDS2 a try?!

Until next time, stay crafty!
Steph

9.30.2012

Simply Christmas

Today I have another simple card for you created from a Simply Scrappin' kit. These kits are great, and not just for scrapbooking!


Paper: Cherry Cobbler, Whisper White, Christmas Lane Simply Scrappin'
Ink: Old Olive
Stamps: Joyous Celebrations
Tools: Big Shot, Window Frames Framelits, Modern Label Punch
Accessories: Cherry Cobbler Seam Binding Ribbon, Dazzling Diamonds


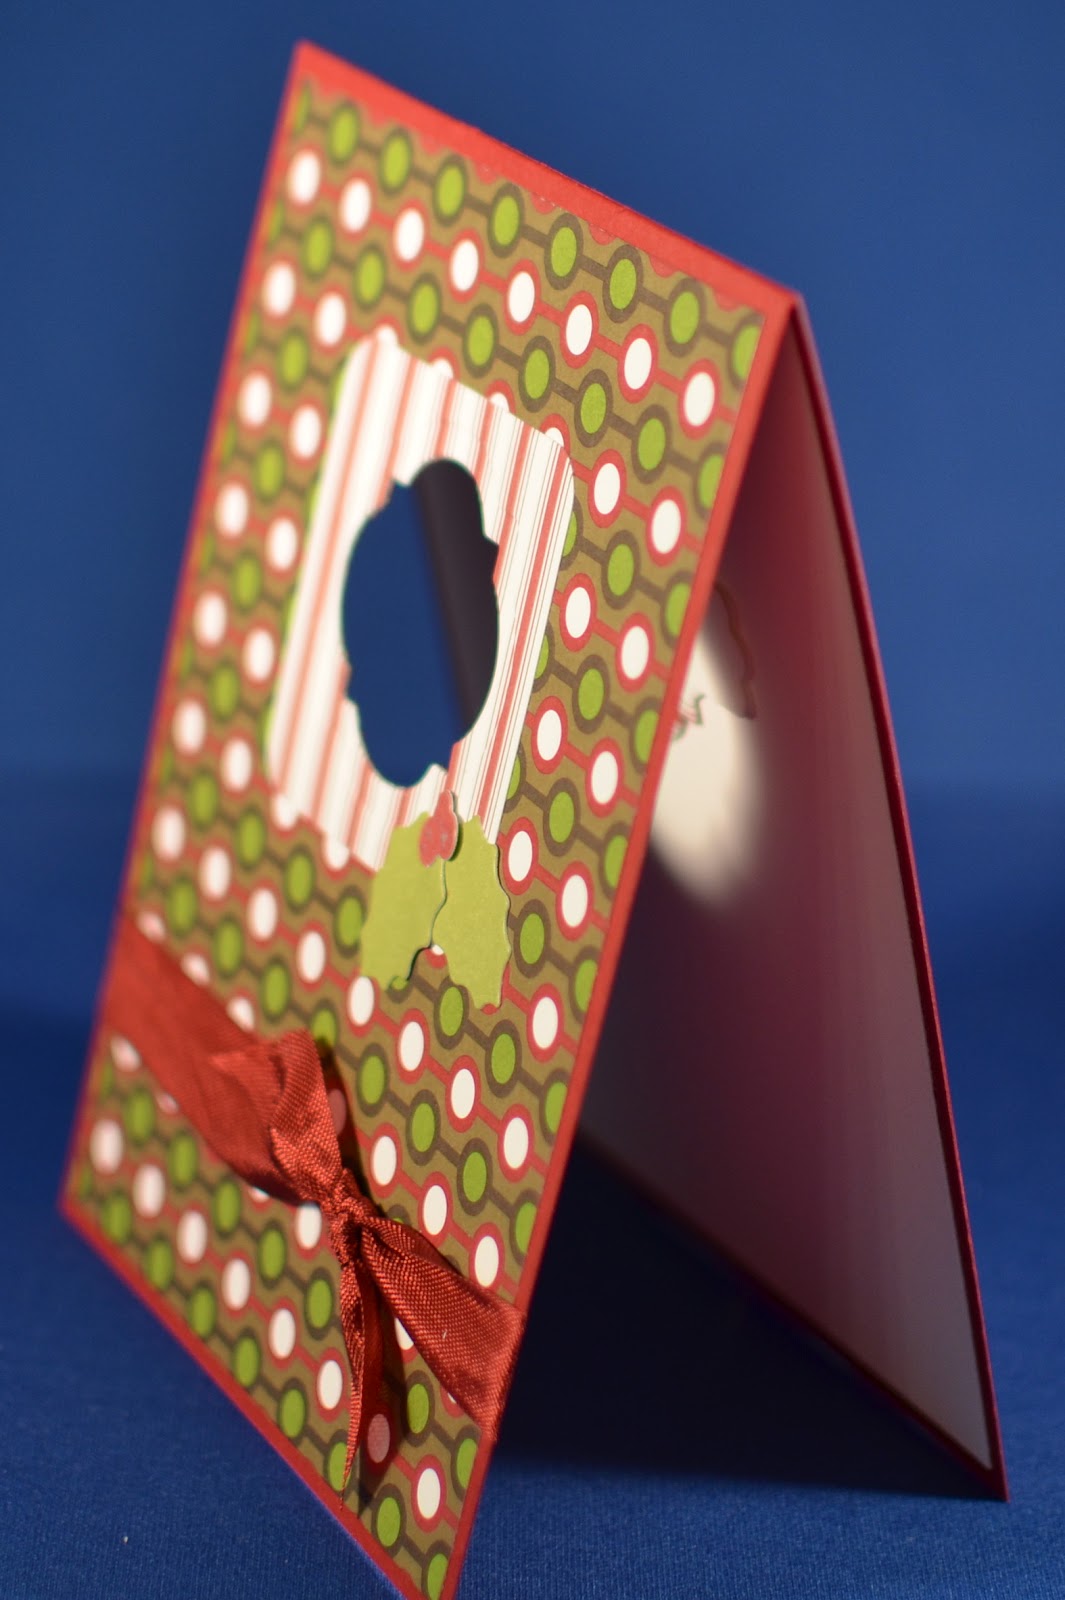
Thanks to the Simply Scrappin' kit, this card was quick and easy. Perfect if you have lots of Christmas cards to make! How cute is the "peek-a-boo" window?! So simple with Framelits since you can put them anywhere on your page!

Simply Scrappin' kits come with 12 x 12 card stock (coordinating colours to match the kit contents), self-adhesive accent sheets and DSP. The one I used is retired (Christmas Lane), but there are many wonderful new kits available in the Annual Catalogue, and one in the Holiday Catalogue - Merry Moments. I hope to be able to play around with that one soon!

Don't forget, today is the last day for the Back to Spool Promotion. Spend $50 (CAD) and get your choice of FREE 3/8 Satin Stitched Ribbon. Maybe pick up a few Simply Scrappin' Kits...

Until next time, stay crafty!
Steph

9.18.2012

Ornaments

Who doesn't love a stamp set with coordinating Framelits?! Well, one of my fav is the Ornament Keepsakes and Holiday Framelits. What makes it even better is that SU! offers a 15% discount when you purchase both together!


Paper: Basic Black, Whisper White, Real Red
Ink: Black, Real Red
Stamps: Comtempo Christmas (retired), Ornament Keepsakes
Tools: Big Shot, Holiday Framelits, Argyle TIEF
Accessories: Real Red Grosgrain Ribbon (retired)
Recently I received a replacement stamp from SU! because there was a misprint that happened during our pre-order period (yes, us Demos get to pre-order a month before a catty comes out!). Anyway, with the replacement stamp, I received not only the replacement label for it, but a sheet with four others as well (that didn't need to be replaced). So instead of throwing them out, why not us them on a card?! That's what the black ornament is - a stamp label. :)

To go along with my re-purposed labels, I die cut a coordinating ornament with the framelits in Whisper White. I popped up that entire layer and behind it, glued a piece of Real Red card stock that I embossed with the Argyle Textured Impressions Embossing Folder.

Inside, I reversed things a bit. I stamped the longer ornament in Real Red and used the die cutout (Whisper White) that I embossed also and popped it up. Sorry the pictures are so dark.

I was also able to create an identical card to this, but with the rounder ornament label and longer ornament die cut.

What do you think?

Until next time, stay crafty!
Steph

9.11.2012

Thanks is for Giving

Several days back I posted a simple gift set we made at the Regional event in Hamilton. Our team challenge was to create one and bring it to our meeting yesterday. Well, I kinda flubbed it a bit because I do have trouble keeping things simple! I shoulda just stuck to stamps and paper. I guess you can call mine a "stepped up" version. :)


Paper: SU! Note Cards, Soft Suede, Whisper White, Pool Party, Very Vanilla, Crumb Cake
Ink: Pool Party, Soft Suede, More Mustard
Stamps: Fresh Vintage (SAB 2012), Friendship Preserves, Seasonal Sayings
Tools: Big Shot, Window Frames Framelits, Festive Paper Piercing Pack, Fun Flowers Bigz Die
Accessories: Comfort Cafe Fabric

The first issue was that I didn't have any Vellum, so I had to think up another way to create my "case". Once I decided on fabric, it just spiraled out of control from there! I had to use more fabric on the cards, of course, and then I just kept layering and stamping.

I'm really pleased with how they turned out, but certainly not the simplicity that I should have gone for...

What do you think?

Until next time, stay crafty!
Steph

8.05.2012

Summer Days

The summer's going by pretty fast and lately, my days have been super busy! I don't know where the time goes. But I did manage to get some stamping time in yesterday... but maybe that was only because I woke up at 3:30 a.m.?!

Today I have a few note cards I made using Happy Hour. This is such a great set and it was my first time inking it up. I know what I'm going to be using these cards for later on, but thought I'd share them with you know.

Paper: Berry Blossoms DSP (retired), Whisper White
Ink: Calypso Coral, Lucky Limeade, Wisteria Wonder, Early Espresso
Stamps: Happy Hour
Tools: Big Shot, Window Frames Framelits
These were pretty quick and easy to put together. I know the Berry Blossoms DSP is retired, but it just works so well with the "fruity" drink I chose to feature on the cards. Doesn't a drink like this remind you of summer, warmth, relaxation?! Oh how I'd love to be on a beach somewhere sipping one of these...

I did some paper piecing with this project. I first stamped the drink in Early Espresso. After stamping the straw and mini umbrella, I pieced the liquid from the drink over top (cutting it out by hand from a scrap piece of paper). This not only gives the effect that the straw and umbrella are sitting in the drink, but also adds more colour. You could also get this effect using your coloured Stampin' Write Markers, but then you'd have to do some masking in order for the drink accessories to fade into the liquid.

What do you think?

Until next time, stay crafty!
Steph

8.03.2012

Thanks a Bunch

I have a simple card for you today that uses many new products - both from the main catty and the new Holiday Catalogue that went live August 1st. If you haven't received your copy of the Holiday catty yet, please contact me for a FREE one.

Paper: More Mustard, Lovely Flowers DSP (retired)
Ink: Old Olive, Perfect Plum
Stamps: Friendship Preserves
Tools: Big Shot, Preserves Framelits, Chevron TIEF, Paper Piercing Template, Piercer, Mat
Like I said, this is a simple card, but I think there's a lot of punch because of the Chevron Textured Impression Embossing Folder and the layered stamped image with paper piercing.

After embossing my More Mustard card base and adding the strip of Lovely Flowers (retired) DSP, I stamped a stamp from the Friendship Preserves set twice, once in Old Olive and then again in Perfect Plum. I cut the "thanks a bunch" out from the image and popped it up with Dimensionals on top of the Old Olive piece that I cut using the coordinating Framelits. I love coordinating Framelits!! Before popping the entire thing up again on my card base, I used one of the new Paper Piercing Templates from the Holiday Catalogue and pierced around the top half of the image.

What do you think?

Until next time, stay crafty!
Steph

7.06.2012

A Colour & Sketch Challenge Duo

It is hot, hot, hot here in Cambridge today... a perfect excuse to stay inside and get all inky! :) Today I decided to combine two challenges in one card. There was a sketch challenge over at Mojo Monday and a colour challenge over at Stampin' Royalty. Here are the details:


When the stamp set Tea Shoppe came out in the last Occasions Mini, I just fell in love. I haven't had much opportunity however, to play much with it, so it's probably a good thing that I gravitated to it when I sat down to work on a card for these challenges. The colour combo of Basic Gray, Daffodil Delight and Baja Breeze are also such a calm trio and also thought it would be a great fit for the stamp set. Here's my card:


I used the Rock & Roll technique on the smaller tea cups. First, I inked up in Daffodil Delight and then rocked and rolled the inked up stamp over the Baja Breeze ink pad. It gives the image kind of a vintage/patina look to it. Cool, eh?!

To add some dimension and texture to the card, I cut some labels from the Labels Collection Framelits in Baja Breeze and Very Vanilla and embossed them with the Fancy Fan embossing folder. I also stamped the largest tea cup from the stamp set in Baja Breeze on Very Vanilla card stock and fussy-cut it out. I do love to fussy-cut, honestly! I think I may be one of very few out there that do enjoy it. ha. To finish, I added some Daffodil Delight Seam Binding Ribbon, layered a few pieces together and stamped some flowers on the inside in Basic Gray. Viola!

What do you think?

Until next time, stay crafty!
Steph

6.14.2012

The Last Humming Bird

This is the first time playing with Pals Paper Arts. The challenge this week (PPA136) was a colour challenge. In order to participate, you had to use Real Red, Night of Navy and Whisper White in your design.


Here's what I came up with:


It's hard to tell in the photo, but I interlocked two frames that I cut out with the Labels Collection Framelits and then cut out the inner pieces the same way so that everything would fit nicely together. Cool, eh?! Before gluing everything down, I stamped the floral image from Elements of Style and if you've been following my blog, you'll notice I used that humming bird again (!) from the same stamp set. I promise, that's the last of my humming bird cards for a while. :)

I embossed the card front with the NEW fan embossing folder from SU! and then created a flower with folded ribbon. The Real Red Grosgrain ribbon that I used is retired now, but it's the only ribbon I had in that colour. I threw in some hat pins (also retired), glued on my humming bird and viola!

What do you think?

Until next time, stay crafty! 
Steph

6.12.2012

Swaps

On the weekend, I attended a Demonstrator Event. It was a ton of fun. Part of that event (as I'm told happens with all SU! events), is that there was an optional swap. It was my first one and although it was daunting at first, I can tell you that I'll be participating in them again! So much fun and you get so many great ideas from the cards you receive.

The hard part for me was finding items to use that I had enough of... but after participating in this swap, I found out it's not necessary to have them all the same. Good to know for the future!

So on to my swap card. I really didn't do much stamping with this one, but instead created a fun "locking" card. I used mostly cardstock and fabric.

What do you think?


I just love the Labels Framelits collection. So versatile and easy to use. The Big Shot was definitely my friend on this card. At the last minute, I decided I wanted to also do a little stamping... so I used some stamps from the Papaya Collage and Memorable Moments stamp sets. The latter actually has a nice outline stamp that coordinates with the Labels Framelits. How perfect! I also hand-drew some faux stitching on the front label to mimic the inside stamp... did you catch that? :)

Until next time, stay crafty!
Steph