Follow My Blog

Follow on Bloglovin
Showing posts with label Technique: Bleaching. Show all posts

4.19.2013

Dress It Up!

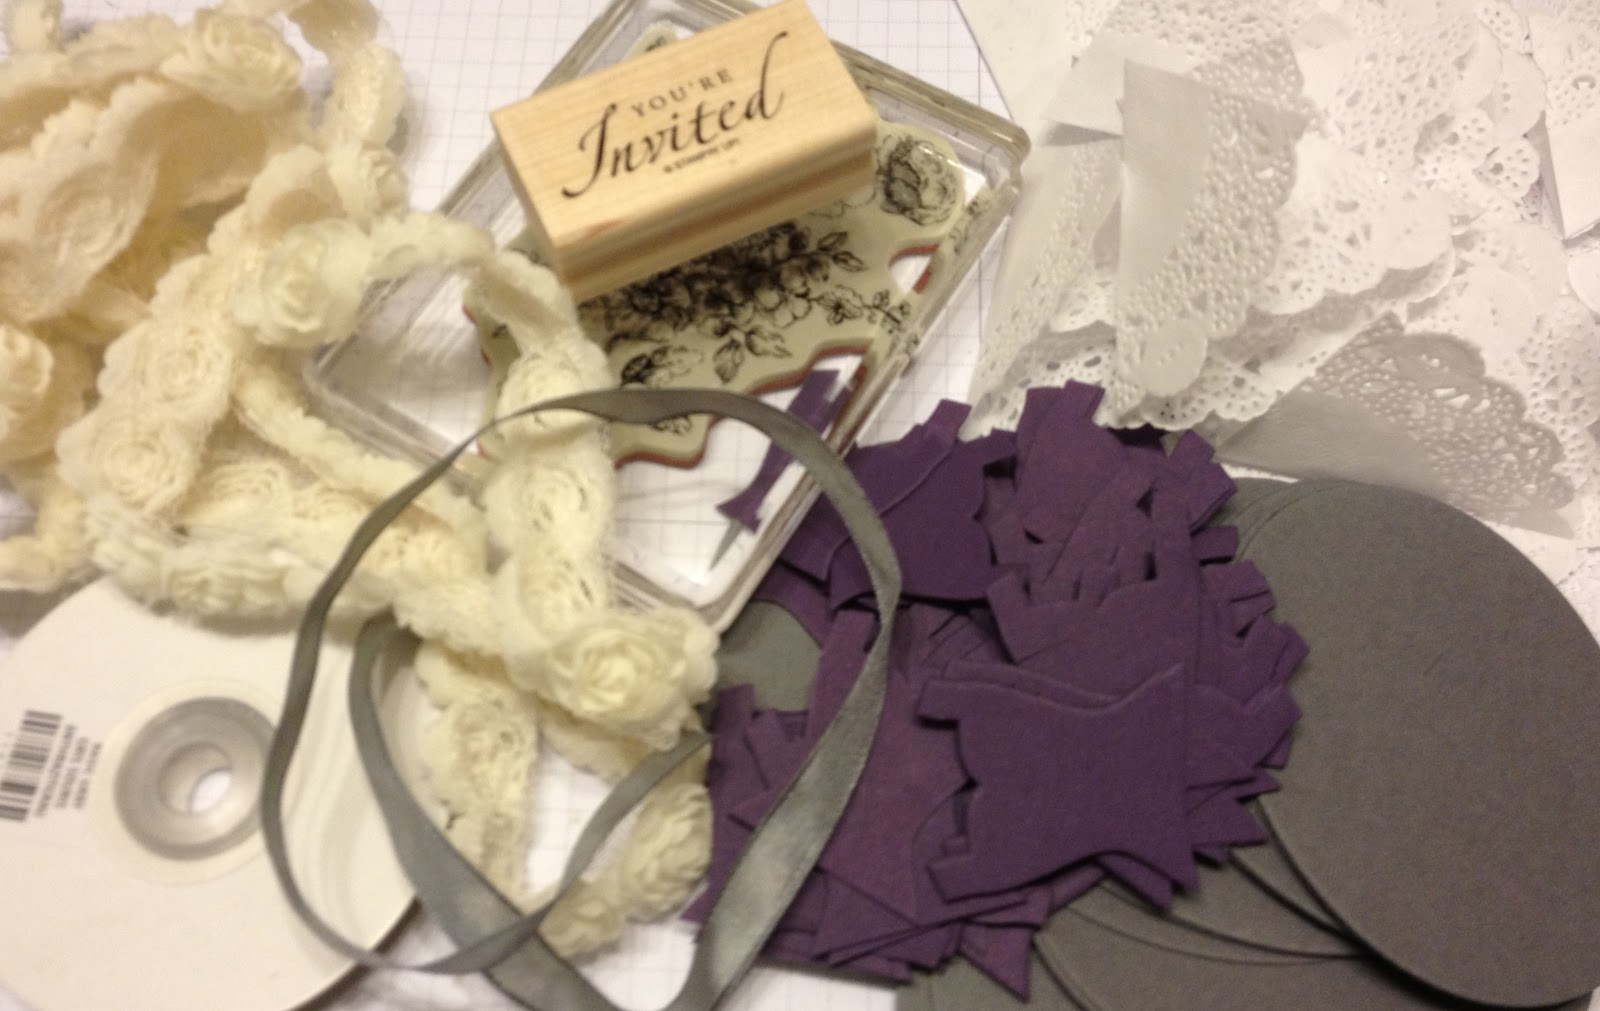
I've recently finished 50+ custom shower invitations and will share several steps of the design process with you over the next couple of posts. Here are the materials I used:


The bride's colours are purple and grey, so I incorporated them into the invitations. After a few designs, I settled on one that used a bleaching technique. Today's post will walk you through that. Bleaching works best with a darker piece of cardstock.

To bleach, I like to use a spare wood mount stamp case. These are perfect for all sorts of things. I fold some paper towel and pour some bleach on top. You don't want to add too much... just enough to get on the stamp.


Once you've "inked up" your stamp with the bleach, stamp the image on your cardstock:


And watch the magic happen before your eyes...
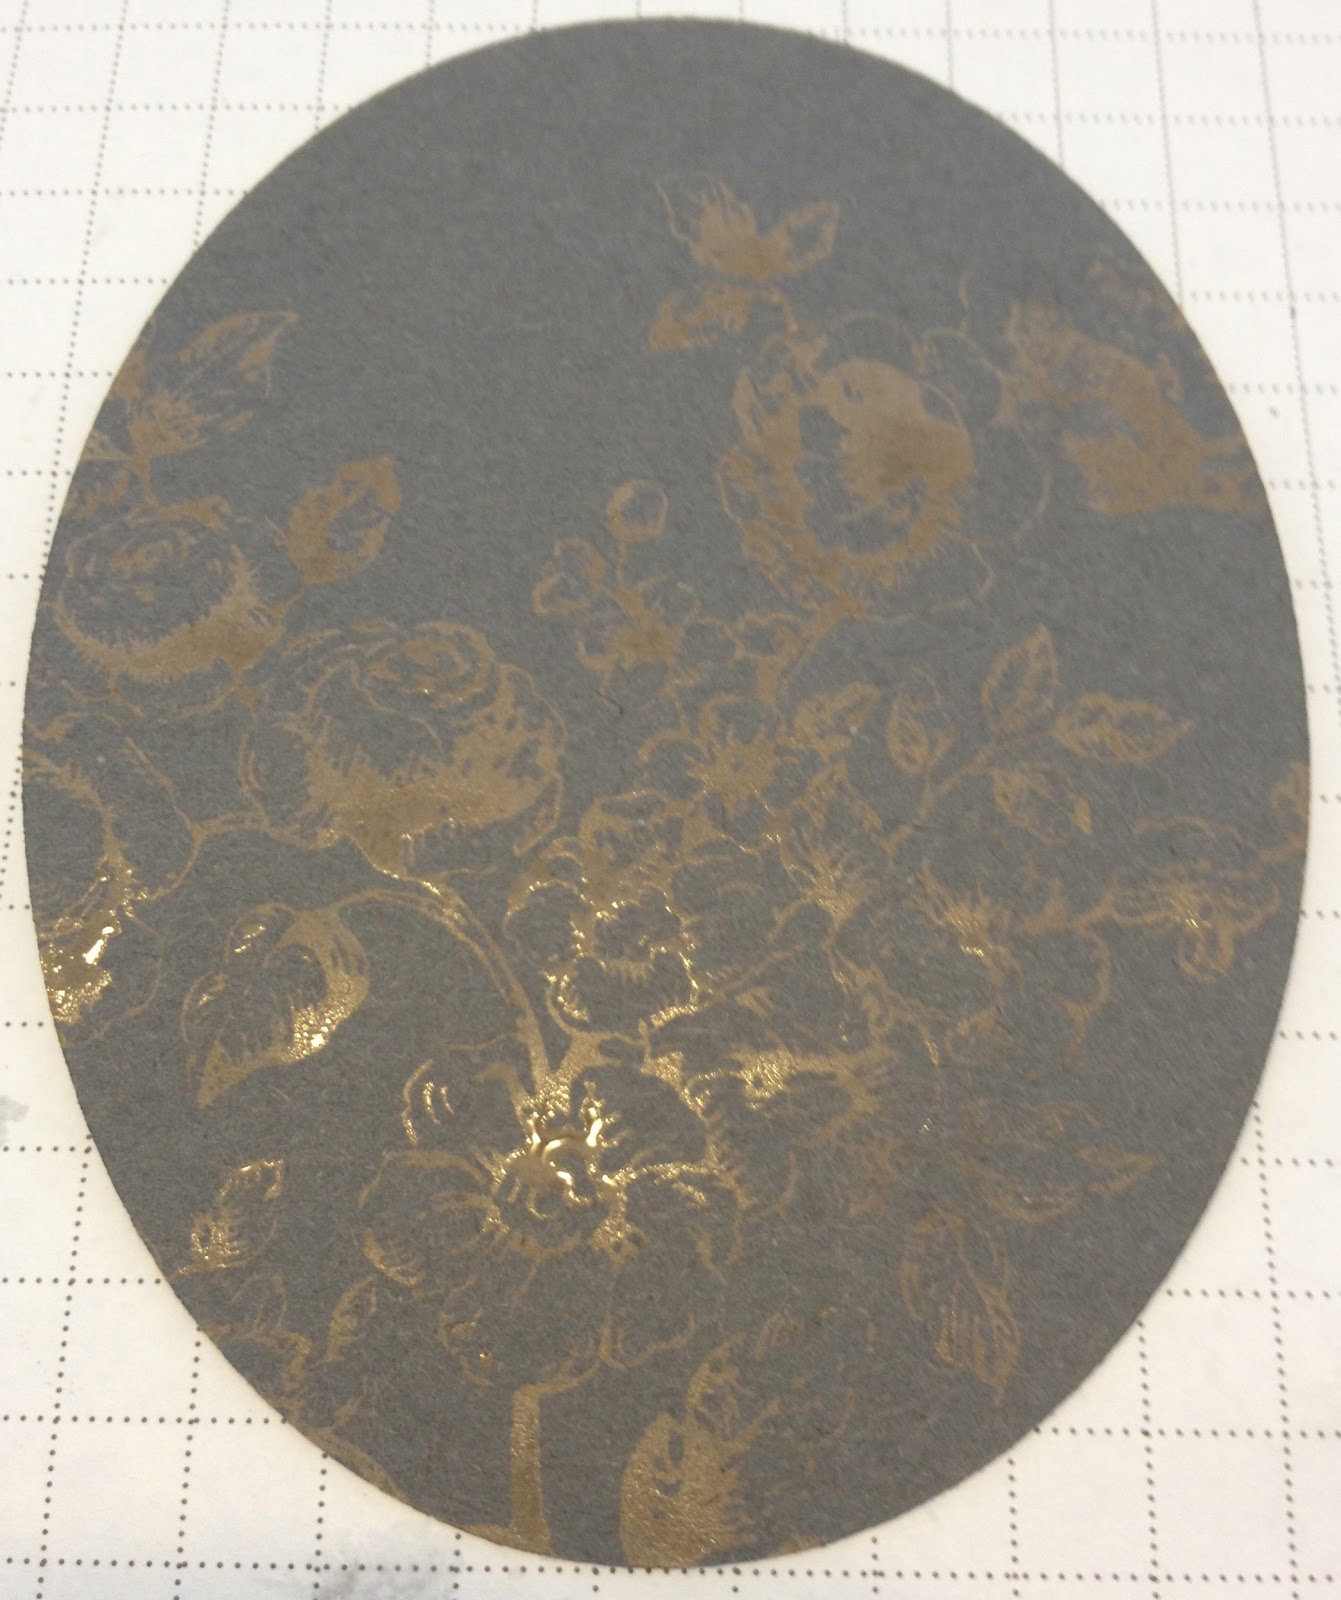

Here is the final result. It dries in under a minute, and I think is a really cool technique.


Once I completed my 50+ bleached ovals, it was time to add the sentiment. I used the retired stamp set Sincere Salutations and Elegant Eggplant.


Once all of my ovals were stamped, I glued them to the base of my card. I used Naturals White Cardstock because I didn't want a stark white base.


Make sure you come back and visit me again tomorrow so that you can see the completed card and another step-by-step guide on the second part to my design... want a hint? It involves the Dress Framelits from the Spring Catalogue. :)

Until next time, stay crafty!
Steph

6.13.2012

Battle of the Demos

Ok, not really. But our Demo group, lead by our fabulous leader, Leena Girsa of A La Cards had a "back to basics" challenge that I just loved! Here's what we were given:
  • Two pieces of DSP:  4x6 and 2x6
  • Whisper White CS 3 7/8" x 5 1/8"
  • Rich Razzleberry 4 1/4 x 5 1/2
  • Tempting Turquoise 4 1/4 x 5 1/2
  • Daffodil Delight 4 x 5 1/4 and 2 x 5 1/4
  • Island Indigo 4 x 51/4
  • Real Red 2 1/2 x 5 1/2
  • Tangerine Tango 2 1/2 x 5 1/2
  • Card Bases in Real Red, Lucky Limeade and Whisper White
  • 12" of Daffodil Delight stitched grosgrain ribbon
  • 16" of Daffodil Delight seam binding ribbon
  • 18" of Lucky Limeade baker's twine
  • 5 brights buttons
  • 2 glimmer brads
The goal was to create as many projects from the supplies - no BIG SHOT, but we could use any stamps and punches we had in our possession. I admit, I was stuck for a long while because I absolutely love using the Big Shot and just felt lost without it. I just didn't think I could create a "wow" factor without it. Finally, I told myself just to start cutting and it wasn't long before I got down to business.

Here's what I came up with:


What do you think? I'm sure you've noticed that humming bird again! :)

We had to make at least 2 full cards, and in addition to that, I made 2 bottle tags, 1 bookmark, 5 teeny tiny gift tags, 1 mini card, 2 mini tags and 1 "scrapling". That's 14 projects!

I urge you to give this a try. It's lots of fun and you'll be amazed at what you can accomplish when you go "back to the basics".

Until next time, stay crafty!
Steph