Follow My Blog

Follow on Bloglovin

5.30.2016

A Portfolio of Recent Work

Today I'm sharing a variety of my recent work. Let's just say I had a busy weekend! ;)

THREE CARDS:

I love pulling apart Paper Pumpkin and creating something different! I used various pieces from the March 2016 kit, along with a leaf image from the Flower Patch Stamp Set.

This was a complete "out of the box" design that came to me as I was about to cut my card base. I thought, why not create a really irregular card base?! I designed as I went and kinda love how it turned out.

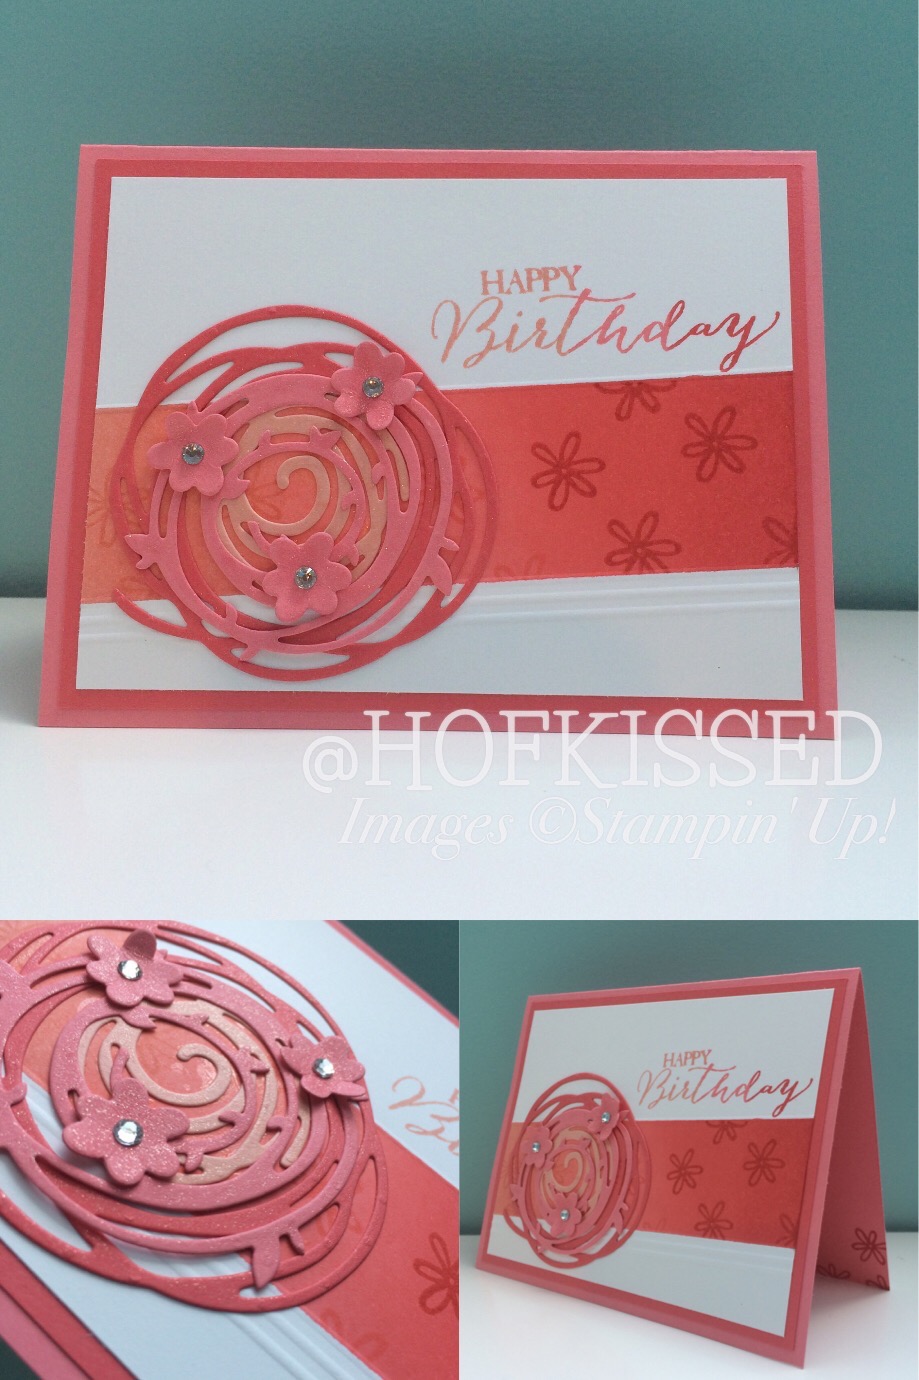
Using the new Swirly Bird Stamp Set & coordinating Thinlits (available June 1st), I created an Ombre design with sponging, stamping & cutting. Then I added a little shimmer with some clear Wink of Stella.

ONE SCRAPBOOK PAGE:

I created a scrapbook page, but instead of putting it in an album, I turned it into a home decor piece by placing it in a frame. This makes it really easy to change out the photos & layout. You can see an alternative idea here.

TWO 3D PROJECTS:

Yes, I still have some of those Burlap & Blooms Wreath Kits kicking around... so I cracked one open and repurposed some of the pieces for this shadow box. Don't the colours work wonderfully with some of the new papers and colours, available June 1st?!

Lastly, I created a caddy from upcycling a Project Life box. After cutting it up, I decorated it with some DSP, card stock and Washi Tape. This is perfect for toting around tools, adhesives and cards. So many possibilities!

Hope you enjoyed seeing what I've been up to lately. Thanks for taking a peek.

Until next time, stay crafty!
Steph


5.27.2016

Custom Retirement Card

As promised earlier in the week on my Facebook Page, here is a custom retirement card I did for a client. It's a large card - 8" x 11"! Those can be tricky to work with, but if you split them up into sections, you can create anything!


Above is a close up of some of the elements I included that were interests of the recipient.


For this card, I split it into quarters, opting to create sections measuring 11" x 2". When you work the card in this manner, it's easier to create such a large card. I pulled my colour scheme from the DSP that I used (as the recipient loves to travel) and included those colours - Basic Grey, Real Red, So Saffron & Pool Party - on all my panels so that it all worked together.


On the inside, I stamped some butterflies up one side using Papillion Potpourri in the same four colours from the front. I used the same image for all colours, except the Basic Grey ones. For those, I stamped a smaller butterfly, which I punched out using the Bitty Butterfly Punch.

To see all of Stampin' Up!'s products and to purchase online, please visit my store at www.hofkissed.stampinup.net

If you need custom work done, give me a shout!

Until next time, stay crafty!
Steph

5.24.2016

Party Animal

I'm excited to share that the Balloon Builders stamp set will be available in the new Annual Catalogue (live June 1st)! There are so many possibilities. Check out this cutie:


The stamp set is great because you get so much depth from using the same ink colour - bet you thought I switched colours or stamped off, right?! Nope! ;)

I kept the card fairly simple, using only the stamp set, Balloon Punch and pieces from past Paper Pumpkin kits. To add some depth, I popped some of the balloons up with Dimensionals.

To purchase Stampin' Up!, shop my online store - www.hofkissed.stampinup.net - and if you're looking for the new catalogue and don't have a Demonstrator, send me an email... I'd love to send you one!

Until next time, stay crafty!
Steph

5.05.2016

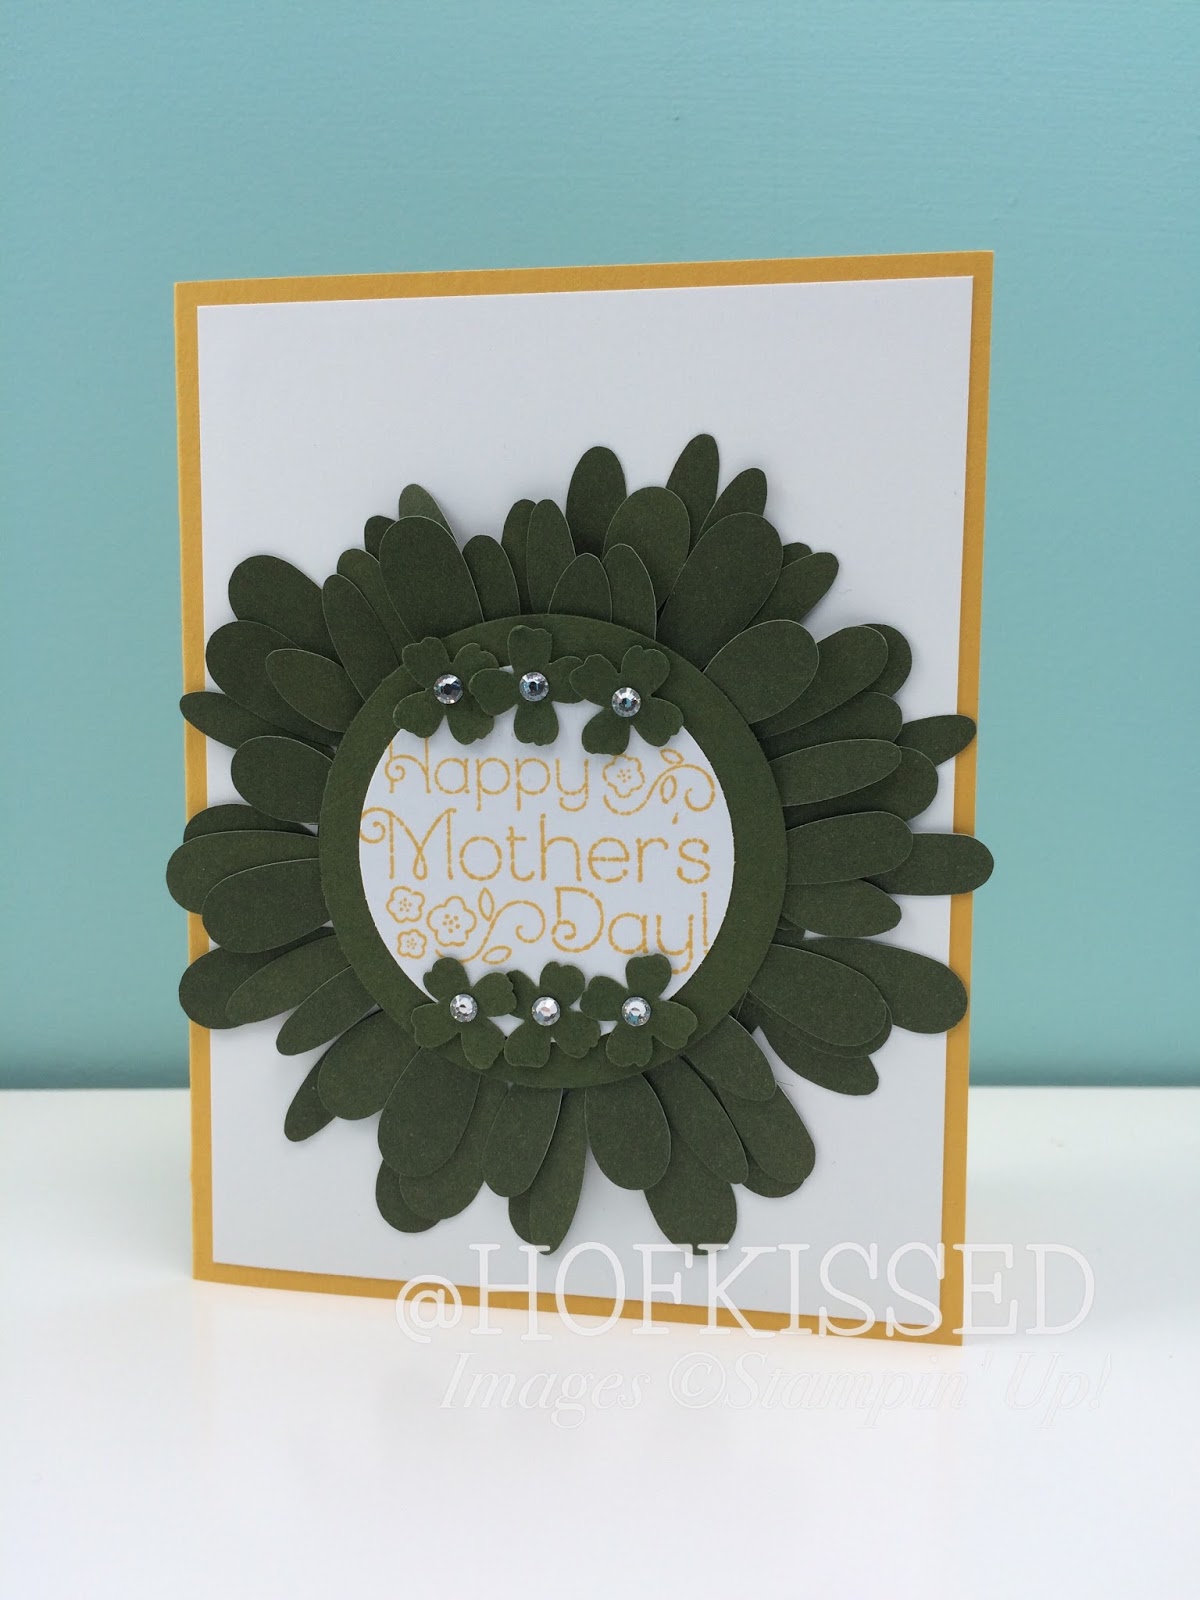
Mother's Day Wreath with Paper Pumpkin

You know how much I love Paper Pumpkin! Such a fun creative escape every month - everything  you need comes right to your door. Plus, there are often leftover pieces to make something else. Check out this wreath card:


All I did was use some of the leftover "leaves" from the March Kit - Lovely Little Wreath. I wrapped them around in circles and then punched out a circle from Mossy Meadow card stock, along with some little flowers using the Itty Bitty Punch Pack (retiring!). The stamp set is from the kit also.

Join Paper Pumpkin before May 10th and you'll get this month's kit. Here's a little sneak peek...


If you live in Canada and need a Demonstrator, make sure you choose me - Steph VanDorp - when you sign up. Then head on over to my online store, and purchase past kits (while supplies last)!

Until next time, stay crafty!
Steph

4.28.2016

3D Embellishments + Video Tutorial!

I'm excited to share with you this card I made recently and I loved it so much that I decided to shoot my FIRST EVER video tutorial (& post it on YouTube!). Crazy!


I used one of my all-time-favourite sets, Sprinkles of Life, along with the coordinating Tree Builder Punch. If you purchase this set before May 31st, Stampin' Up! will donate $3 to RMHC. I'm happy to let you know that it'll be in the new catalogue (launching June 1st) and that you won't be disappointed with the new RMHC stamp set either! ;)

I won't go into too much detail (because I want you to check out my video!), but here are a few more shots of some of the card elements.

An inside shot:


A closer look at the glimmer I added with the Clear Wink of Stella Brush:


A closer look at the 3D effect created with the paste - see the how-to in the video below:


Here's the video!


Hope you liked my video. I plan to make more of them (and post more frequently too!).

Until next time, stay crafty!
Steph

To purchase Stampin' Up! products:
www.hofkissed.stampinup.net

Find me on Facebook:
www.facebook.com/hofkissed

Search for me on all Social Media:
@hofkissed

4.04.2016

Organize with Project Life by Stampin' Up!

Today I'm sharing an idea I've had for a while and a couple of weeks ago, it came to life! You'll probably do the same "happy dance" I did when you see what I've done!


My original idea was to use a 12"x12" pocket page for a picture collage, but then I thought it would work wonderfully as a message board as well!

What you need:

  1. A frame to hold a 12"x12" pocket page
  2. A Project Life by Stampin' Up! card kit of your choice (or print your pictures!)
  3. A pocket page of your choice, from Stampin' Up! of course
  4. A dry-erase marker, if using as a message board
The possibilities are endless... now go and create while doing your "happy dance". You're welcome. ;)

Until next time, stay crafty!
Steph

You can find most of the supplies online at www.hofkissed.stampinup.net

2.27.2016

Happy Birthday

Have you missed me?! Sorry for the unexpected hiatus. I have been buried deep in paperwork and organization, a migraine or two here and there and planning my next couple of months of classes and projects! A few projects are centered around birthdays, so I'm starting back by sharing a birthday card with you!


Since I've been out of it for a bit, I turned to the Internet for some inspiration and found myself checking out some online challenges. I found three that inspired me - the sketch at CAS(E) this Sketch, the colours over at Fusion Card Challenge and then I decided to mash it all up using Friday Mashup!


I'm pretty proud of myself that I managed to work with three challenges on one card and really loving how it all turned out too. Are you wondering where my stencils came from? I used the "garbage piece" from the last Paper Pumpkin - Hello Sunshine.

Until next time, stay crafty!
Steph

Shop online anytime - www.hofkissed.stampinup.net
  • Paper - Pretty in Pink, Shimmer Specialty, Silver Glimmer Paper
  • Ink - Soft Sky, Smokey Slate, Night of Navy
  • Stamps - Age Awareness
  • Tools - Balloon Builder Punch

2.14.2016

You Send Me Soaring

Happy Valentine's Day! Hope you're spending the day with loved ones. I'm readjusting back to the cold temps here in Canada. I just returned from sunny Florida and I think I might be hibernating in my studio for the next week. ;)

Today's card features the ever-popular The Sky is the Limit stamp set from Sale-A-Bration - only available until tomorrow - it's a limited time set (SAB runs until March 31st though!). I paired it with Timeless Textures from the Occasions Catalogue, and the little heart from last month's Paper Pumpkin kit, Cute Conversations.


I started by stamping in Real Red and when I got the look I was after, I stamped the plane in Basic Black. The sentiment was punched using the Decorative Label Punch, but I trimmed off the top and bottom piece so that the Blushing Bride Glimmer Paper that I punched with the the same punch would pop through.


On the inside, I simply created the same border as I did on the front.

Until next time, stay crafty!
Steph

Built for Free Using: My Stampin Blog