Follow My Blog

Follow on Bloglovin

3.21.2017

Quick & Easy Tuesdays

Hello & welcome to another Tuesday! Here are some quick and easy projects to get you through the week.


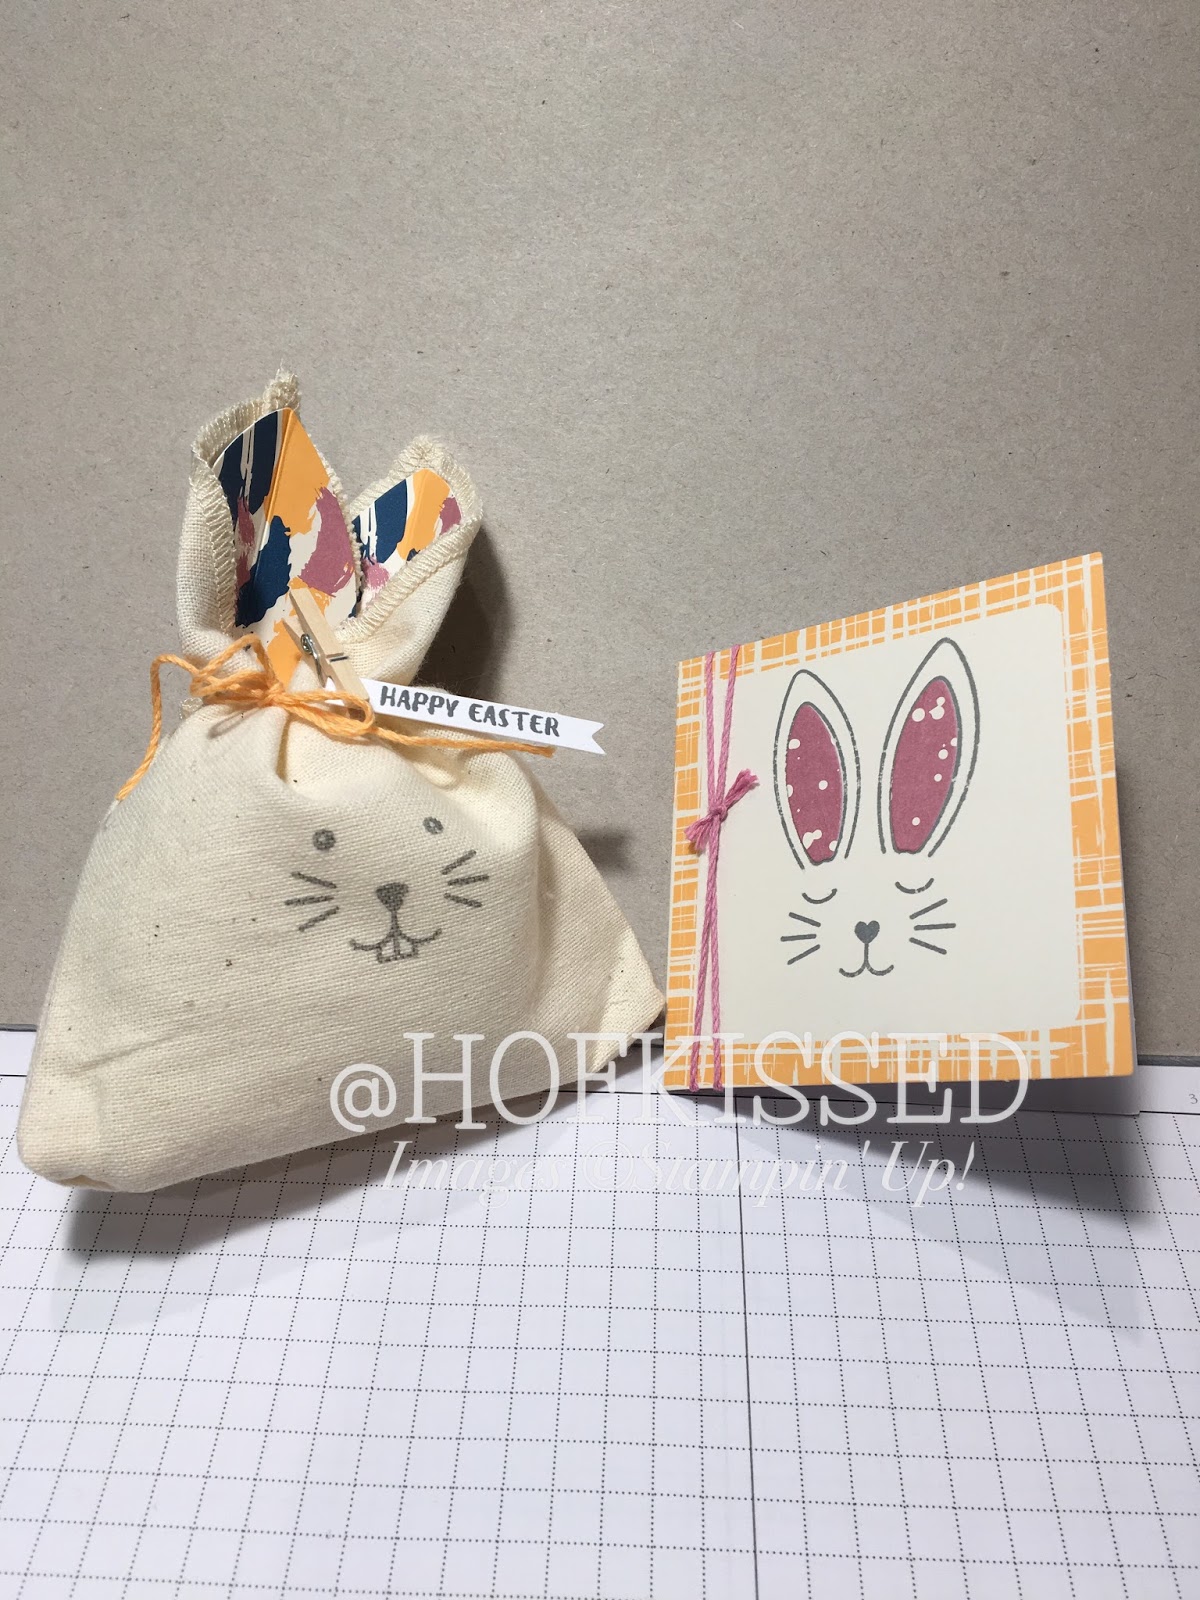
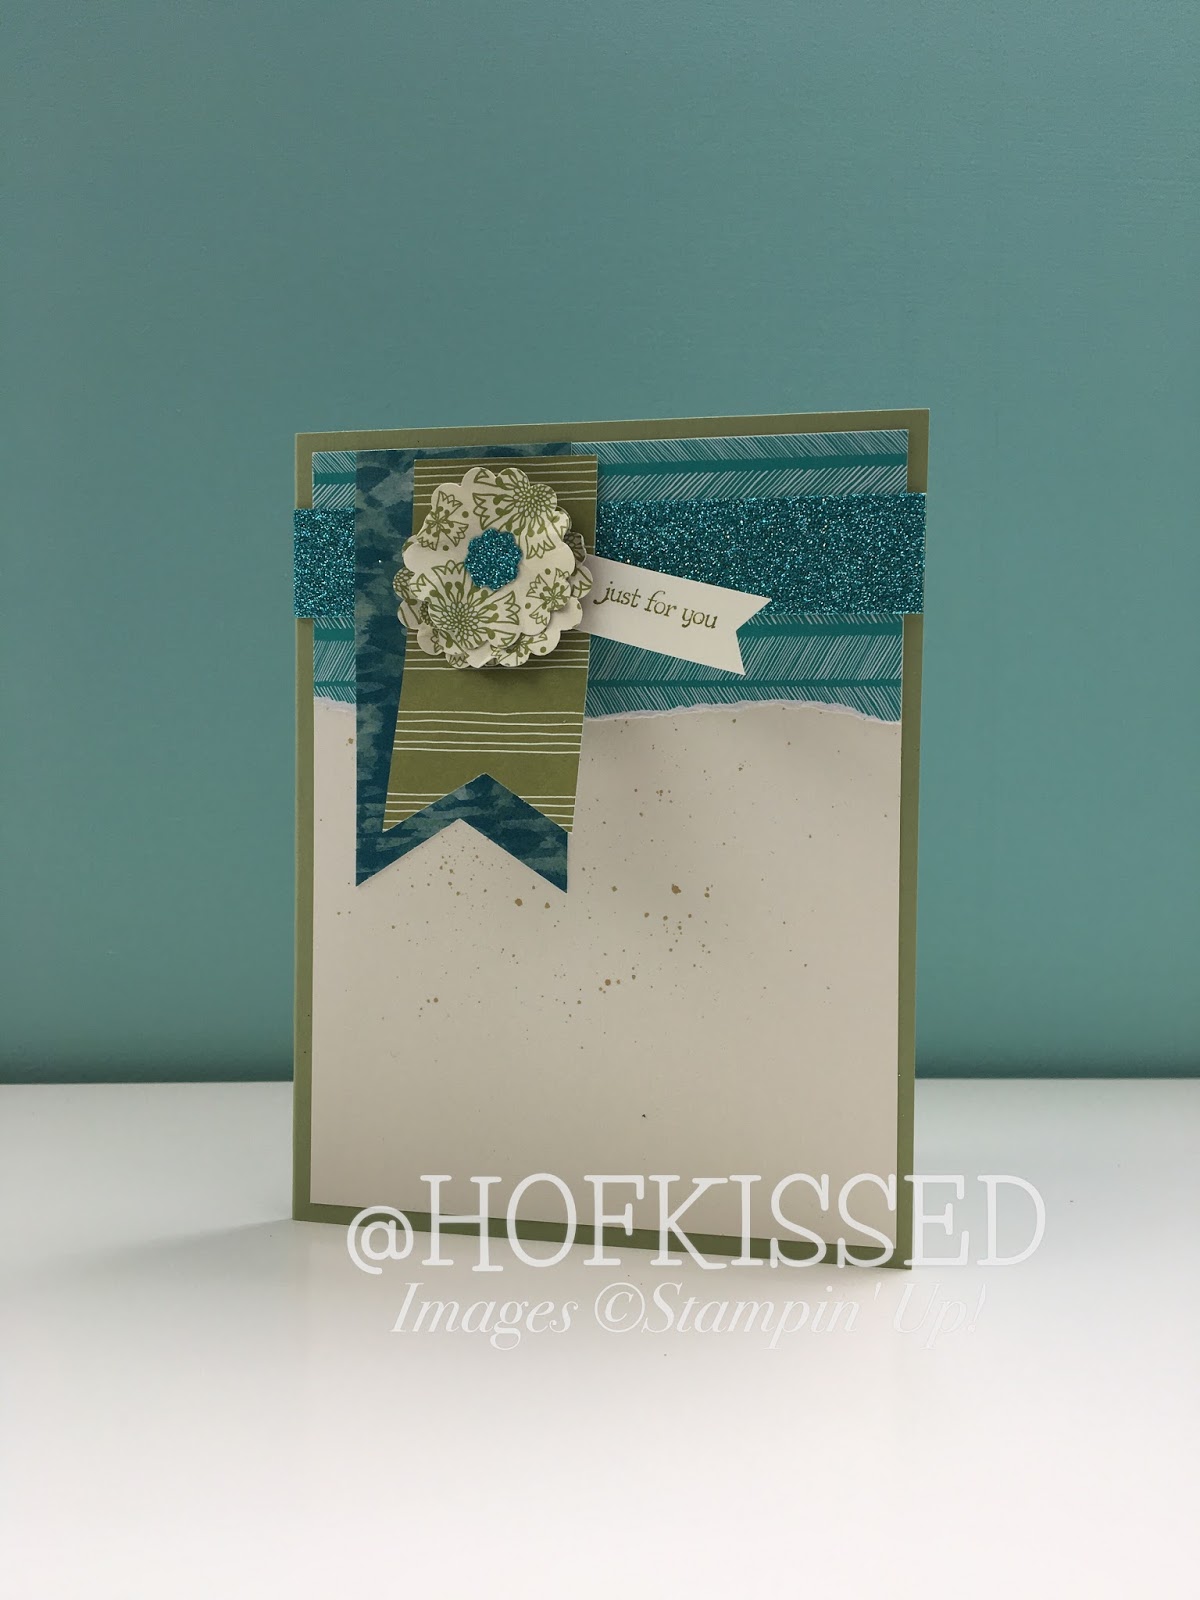
I actually designed these several months ago for a team meeting, but it's fitting to share them with you today because not only are they quick & easy, but you could earn some of the products for FREE until March 31st!


Click here to be taken to the list of current catalogue products you can now earn for free in the final week of Sale-A-Bration! There's cardstock, Designer Series Paper (DSP), Washi Tape & even embossing folders! One of the products you could earn for FREE is the Party Animal DSP that I've used on these cards. Here are a few ways to earn your DSP and make these projects:

Balloon Adventures Bundle - Stamp Set & Thinlits - $68.25, #144708
Party Animal DSP - ($14.50), #147365 - FREE

OR

Balloon Adventures Stamp Set - $32, #142823
Balloon Punch - $23.50, #140609
Note Cards & Envelopes - $8.00, #131527
Party Animal DSP - ($14.50), #147365 - FREE


Of course you could order any products totaling $60 and choose any items for FREE, including other products from the suite, any catalogue or online item, Clearance Rack and numerous Sale-A-Bration freebies. But the reason I chose these cards to feature as quick and easy projects today is because the Animal Party Product Suite makes it easy with coordination.


By the way, the Washi Tape from this suite can also be earned for free. ;)

Until next time, stay crafty!
Steph

To check out all Stampin' Up! product offerings, my classes & to order online, please visit my site at www.hofkissed.stampinup.net

3.20.2017

A Sketch Challenge - HSS #259

Happy Monday!

Hope you had a fabulous weekend. I thought I'd start my week off with a sketch challenge over at Hand Stamped Sentiments. It was just what I needed to finish designing the last card for my class next week.


With Sale-A-Bration coming to a close on March 31st, I wanted to incorporate some of the awesome Inside the Lines DSP that you can earn for FREE with a $60 order. Just because it's colouring paper though, doesn't mean you always have to colour it.


I used the dies from the Detailed Dragonfly Thinlits and cut from Kraft Cardstock. I created a panel (actually, it's a card I cut apart from a past card kit... but you could easily create one yourself) and turned it into a shaker card! I love how the beads and sequins are highlighted against the black and white paper.


Before putting my shaker card together, I embossed the card layer with an embossing folder that I thought was carried over from the Holiday Catalogue, but just discovered it was not! Oops! A great alternative thought would be the current Petal Burst embossing folder.

Until next time, stay crafty!
Steph

For more information on Stampin' Up!, my class offerings or to purchase products, please visit my site at www.hofkissed.stampinup.net

Here is the sketch I used and the challenge where I entered this card for consideration:

3.19.2017

Alternative Projects for Paper Pumpkin March 2017

You know I love Paper Pumpkin... just as much as I love altering the kits every month to create something different then what was intended. ;) Yesterday, I posted a video to my YouTube Channel that walks you through the kit and then the projects I posted below. I promised in the video that I would post some still shots of the projects, so here they are!

Here's what the kit makes - so adorable, right?! I really loved all the different faces you could stamp and how nicely you could stamp on the fabric bags.


By having some Note Cards and Envelopes on hand and the willingness to cut your kit apart a bit, you could create the following two cards...


I really enjoyed playing around with the stamp images in this kit! By doing some repeat stamping with the "eyes", "whiskers" and "mouth/nose" you can create some great backgrounds or patterns. Cool, eh?!  For the card on the right, I used one of the "ears" to create petals. I coloured them in with Watercolour Pencils and blended the colours together with a Blender Pen.


I explain more about the next two in the video, but I used the tissue paper that comes in every kit and applied it to the card front. It adds lots of interest and colour. I also created a shaker card - those are so fun!


Lastly, I turned those easter eggs into dinosaur eggs... and combined them with the No Bones About It stamp set. :)


Hope you loved these alternative projects! Don't forget, a 3-month Paper Pumpkin subscription is on sale until March 31st, and purchasing one before the end of the month qualifies you for a FREE Sale-A-Bration product. It's a win-win! In addition, Sara Douglass (CEO of Stampin' Up!) has created April's kit and included a free gift to everyone inside each kit!! Can't wait to see what it is... don't forget to subscribe by April 10th if you want in on her kit.

Here's the video:


Until next time, stay crafty!
Steph

To purchase Stampin' Up!, or for more info, please visit my site at www.hofkissed.stampinup.net

3.14.2017

Quick & Easy Tuesdays

Hello! At least once a month, on Tuesdays, I offer a "Quick & Easy" project class in my studio. So I thought I would start sharing these simple and easy projects on my blog, every Tuesday!

Today's card was inspired by a sketch over at Paper Craft Crew and I'm actually entering this card into their challenge PCC234. Check it out:


To keep this card quick and simple, I searched through my scrap drawer and mixed and matched pieces of DSP - Designer Series Paper, making sure to keep them in tones of blues and greens.


The splatter on the card layer was created with the Gold Wink of Stella Glitter Brush - I simply knocked it on a clear block until I got the look I wanted. Next, I added a strip of DSP, tearing the bottom edge for more texture. The Glitter Paper is from the FREE pack you can earn until March 31st (or while supplies last). The flagged banners are scraps also and were flagged with the Banner Tripple Punch. I created the flower with a couple of retired scalloped circle punches - haphazardly layering three together with a glitter center. I tucked the sentiment in behind before gluing & chose the greeting from Teeny Tiny Wishes.


Lastly, I added another strip of glitter paper along the inside edge, because who wouldn't love opening this card to see more glimmer?!

Until next time, stay crafty!
Steph

For more information on, or to purchase Stampin' Up! products in Canada, please visit my site at www.hofkissed.stampinup.net

Here is the sketch I used for this card: